Tl;dr – take me to the pictures!
Lancia Martini. Name me a more iconic pairing of manufacturer and sponsor in motorsport. I’ll be waiting! And then give me the most memorable car of the Group A period of the WRC. Some may say the Celica or Impreza 555, but really we all know the answer is the Lancia Delta HF Integrale. I’ve only just found out the Delta is the most successful WRC car of all time, too.
With Italeri re-releasing the 1:24 scale Integrale kit again, it was a perfect addition to my collection of Martini-liveried racing cars. Much like the Lancia LC2, this is another former Protar model kit reboxed by Italeri, albeit with some new parts and a new decal sheet. I’ve written elsewhere about the somewhat questionable quality of these reboxed Protar kits, so I’ll spare you this time around. But what I will say is that Italeri’s 1:24 Lancia Delta HF Integrale is generally a very solid, reasonable quality model kit. The plastic parts are detailed and in my example didn’t suffer from excessive mould lines or flash. There are some nice options to customise and add detail to the kit, and furthermore the decals were good quality too. Plus, a relatively affordable, easily accessible kit of a front-running WRC car is always welcome.
Note, there’s a separate 1:12 scale but otherwise identical Integrale kit available from Italeri. This blog does not cover the 1:12 kit. Sorry!
Assembling the Italeri Lancia Delta HF Integrale
Assembling the Lancia Delta kit was quite straightforward. The instructions are clear and while there is some nice detail in places, there isn’t an abundance of individual parts. In fact, some bizarre decisions were taken when designing the kit, for instance the lovely detail on the underside of the car which is completely hidden when finished. Contrast this with the complete lack of engine and suspension components!
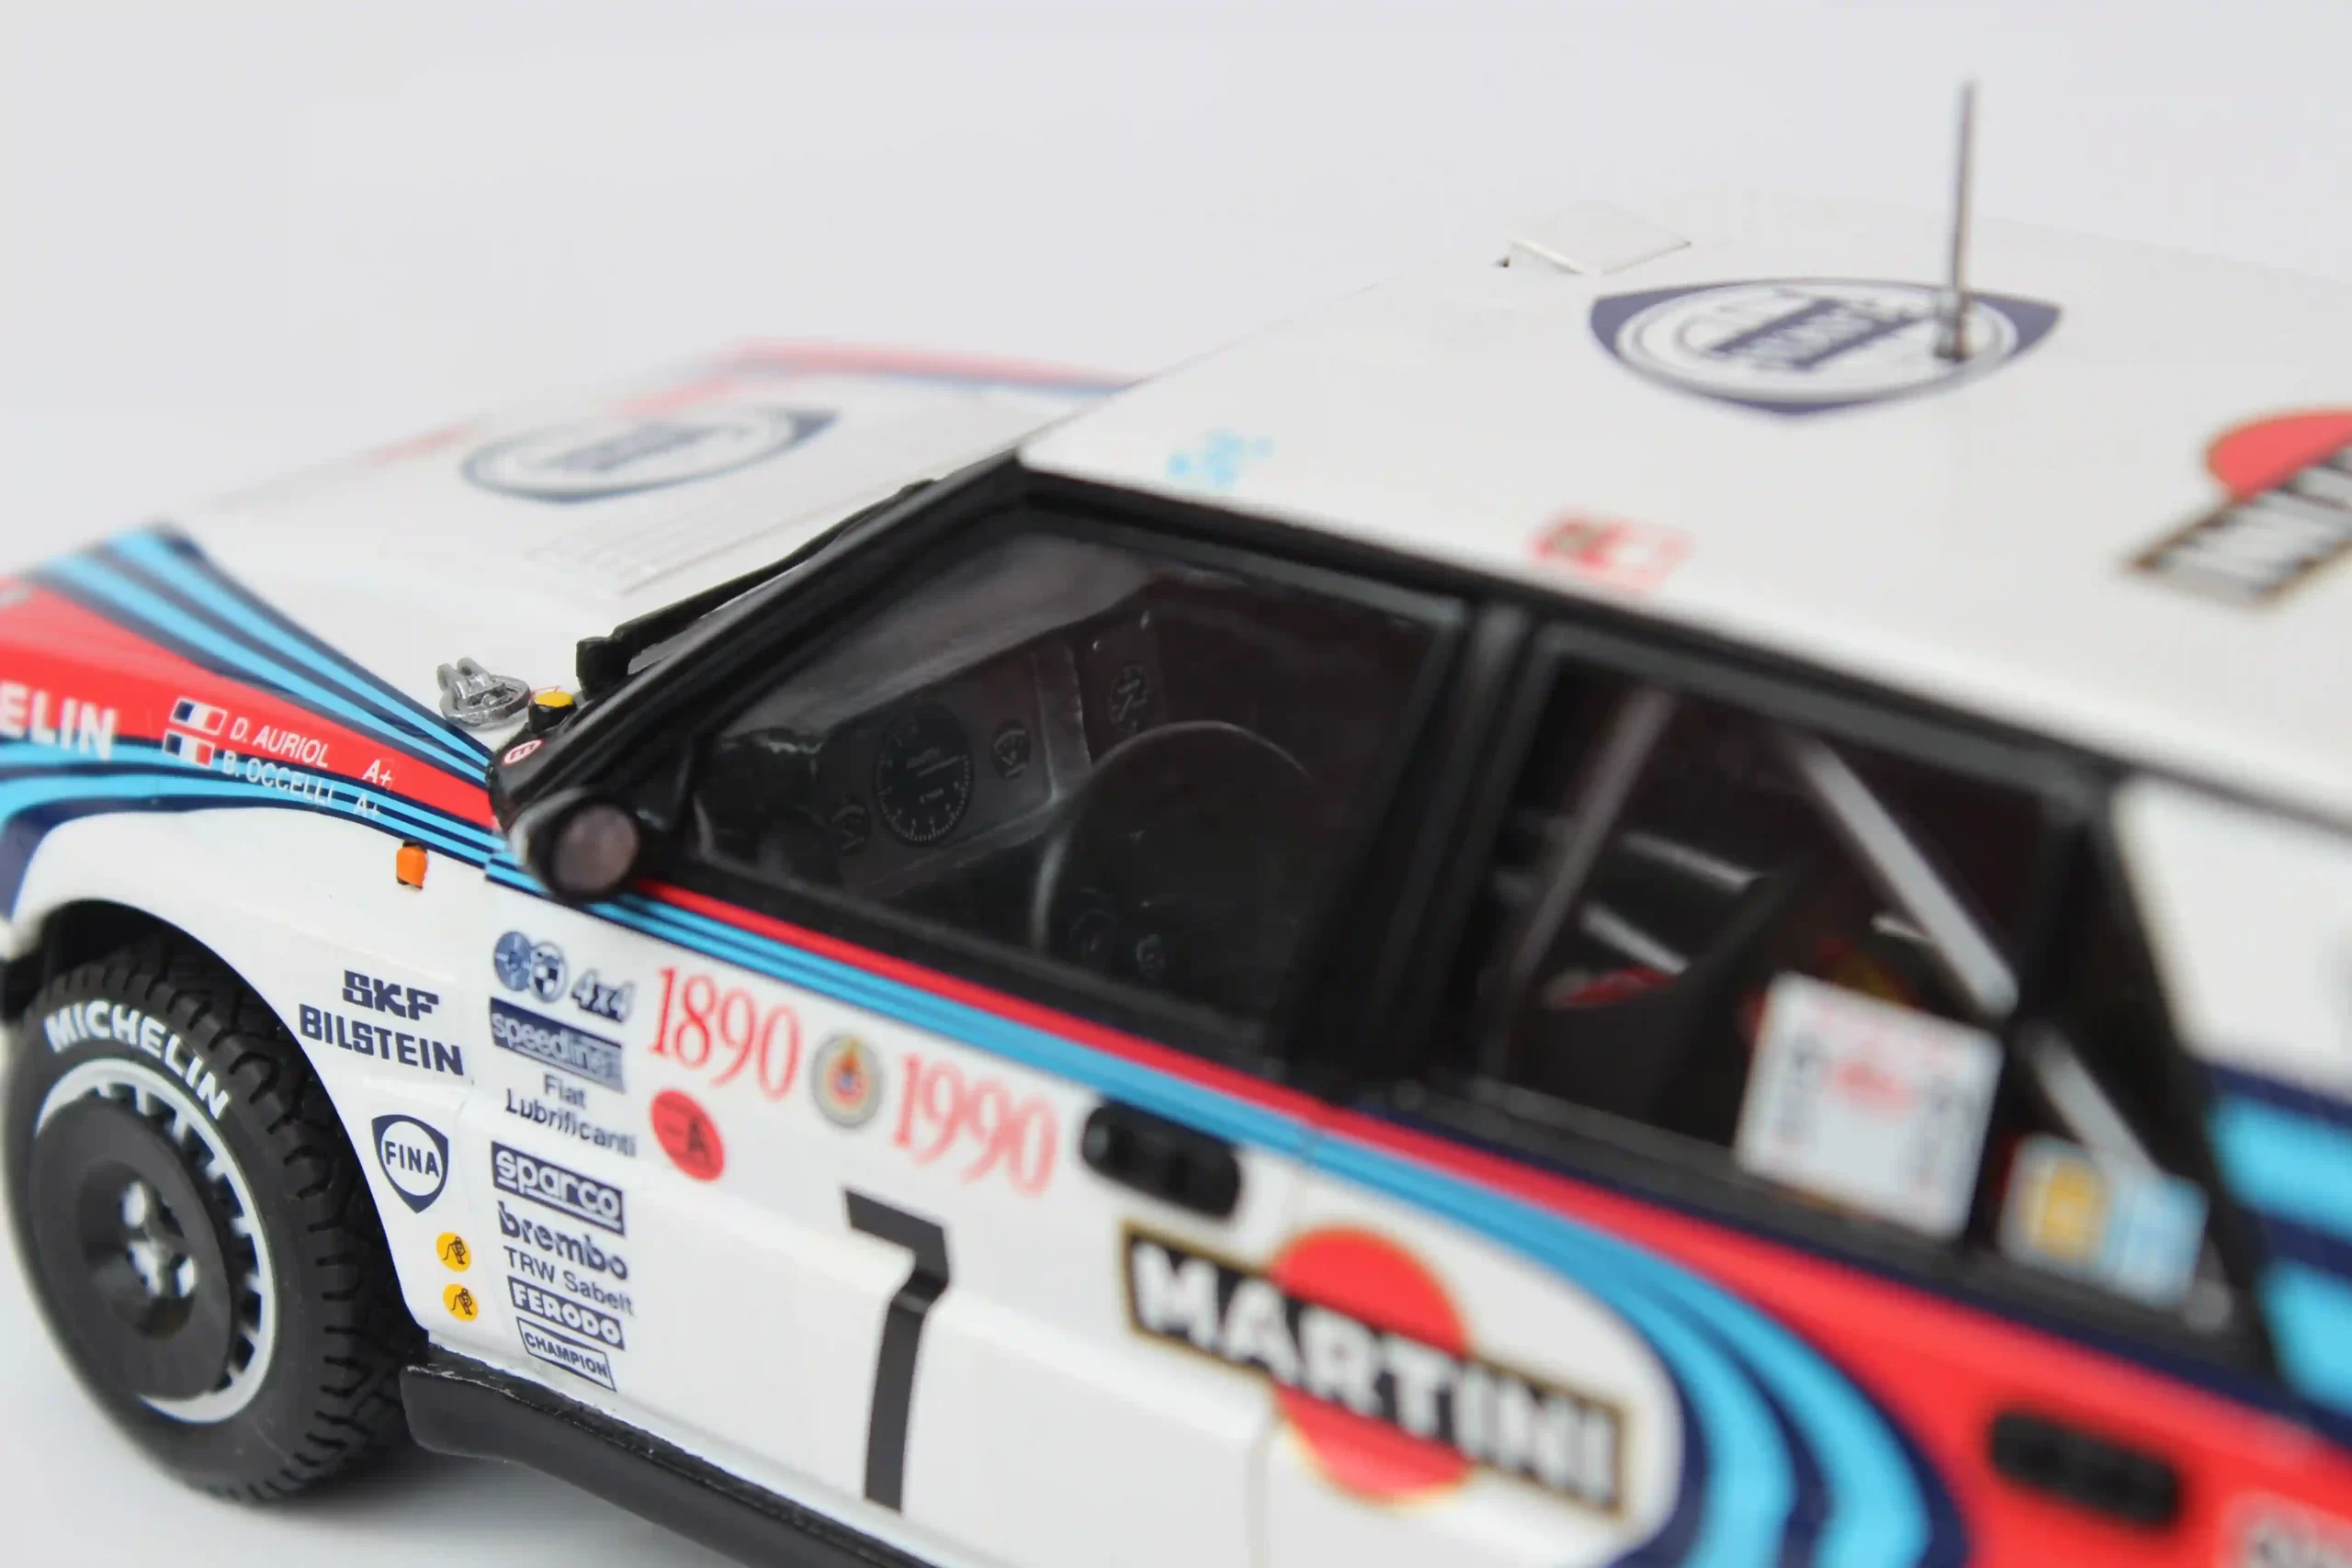
The detailed interior of the Lancia is good quality and provides plenty of opportunity to add more if desired. I put seatbelts in, made up of a mishmash of different seatbelt component sets, as I didn’t have any full sets left to use. I did also make some other minor modifications, originally with a view to showing off the interior detail. This is possible because the drivers’ side door is separate from the rest of the body shell and can be left open. It’s a nice touch from Italeri, but I chose to have it closed, which did leave a quite unsightly gap underneath the A pillar.
How’s the fit, sir? It’s bloody terrible!
In addition to the observations above, there were a series of fitment issues as I went through building the kit. Part of that may be my fault. With all of my model kits, I try and assemble as much of the bodywork as possible into a single piece. This allows for easier painting and decal work, and I believe a superior finish.
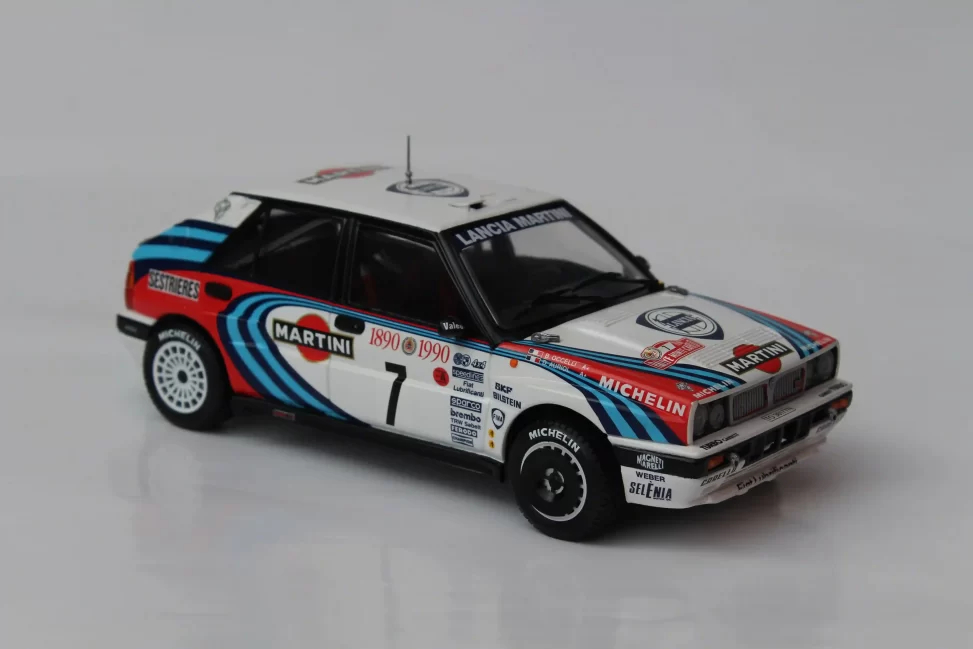
In the case of the Integrale, the front and rear bumpers are separate to the main shell. I chose to fit these before assembling the rest of the car, which necessitated some modifications to the floor. I had to cut away some small sections at the front corners of the floor to allow it to fit under the bumpers, which have quite a bit of overhang. These cut away pieces aren’t visible once the body is assembled to the floor.
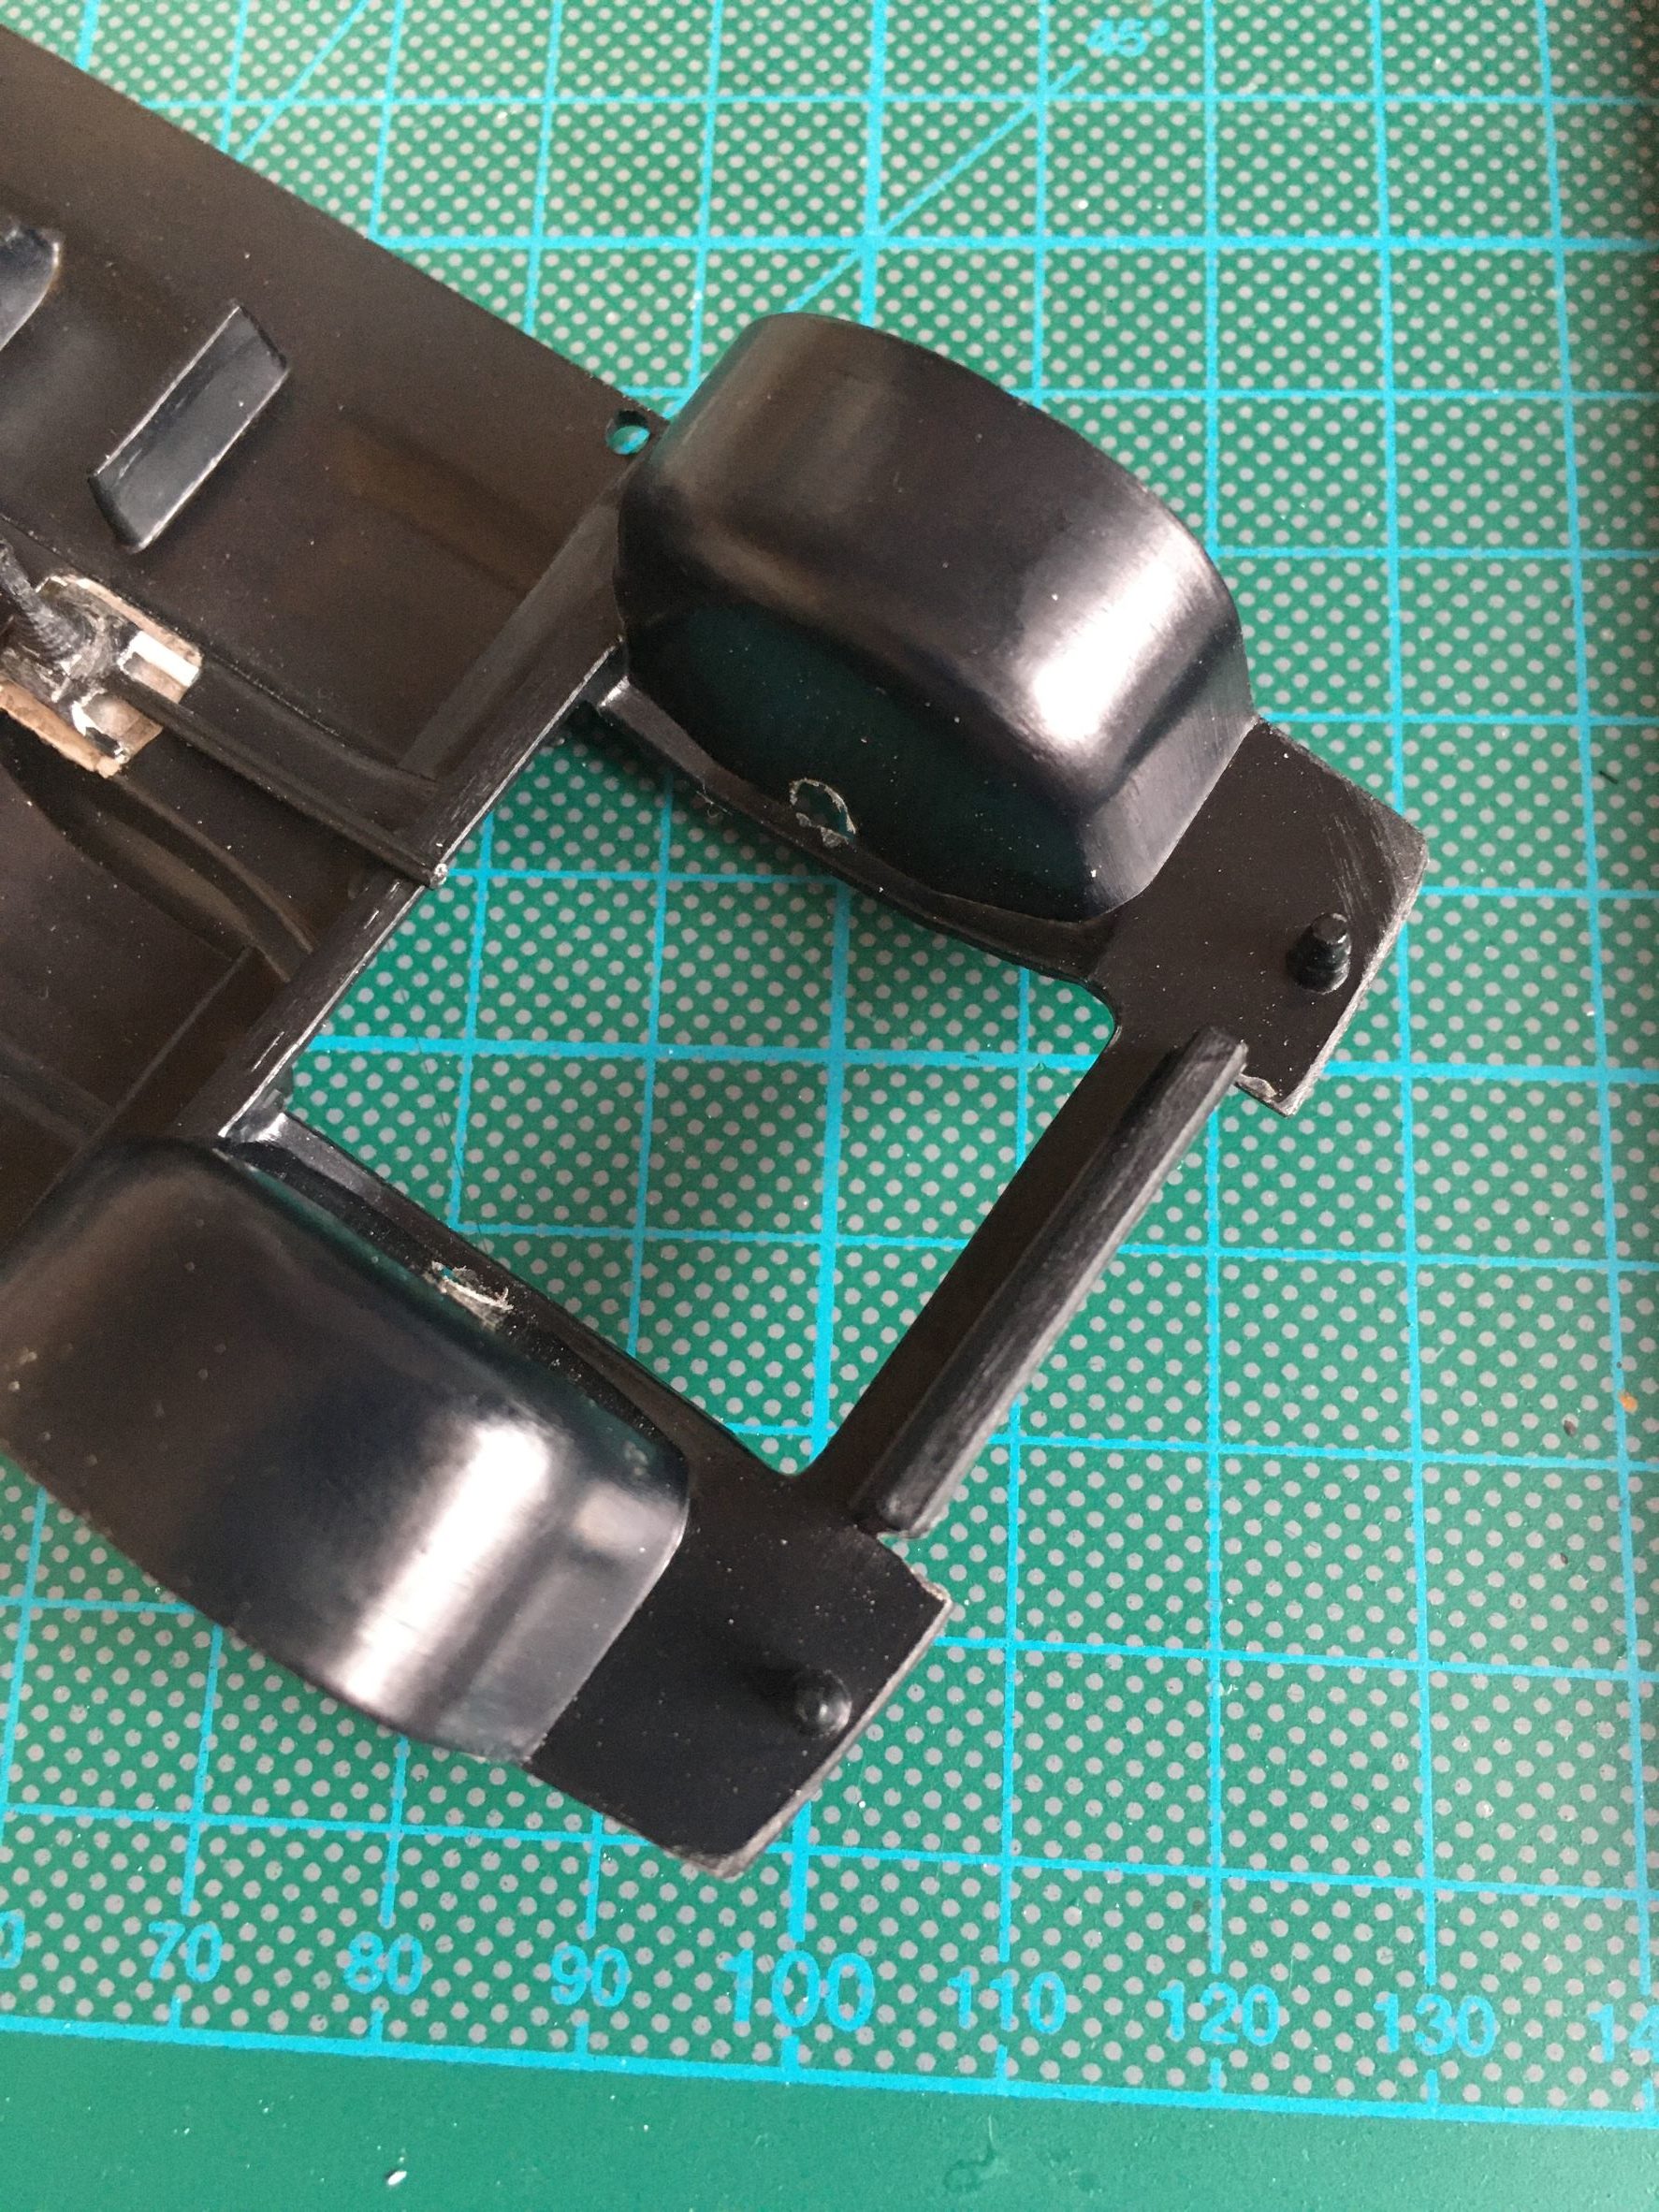
Get your pipe in the hole…
However, in fitting the body to the floor, it had to go over the roll cage, which was incredibly tight. This process was complicated by the presence of the fuel pipe, which runs from the filler cap through the parcel shelf. Italeri do provide a hole in the parcel shelf for it to fit through. But getting that pipe and hole lined up correctly while also getting the rest of the shell over the roll cage was a nightmare! In the end, I had to give up with the pipe as there was no space for me to manoeuvre it once the body was on. If I were approaching it again, I’d extend the length of the pipe piece, so it’s easier to locate in the hole while the body shell is still only partially on the rest of the car.
And if that wasn’t enough, once the shell was secured, the rear axle was completely misaligned with the body. The wheels were too far forwards and didn’t sit centrally in the wheel arches. The solution here was to break the rear axle off the floor and reposition it to better align with the body. Not ideal, but the adjustment was relatively minor.
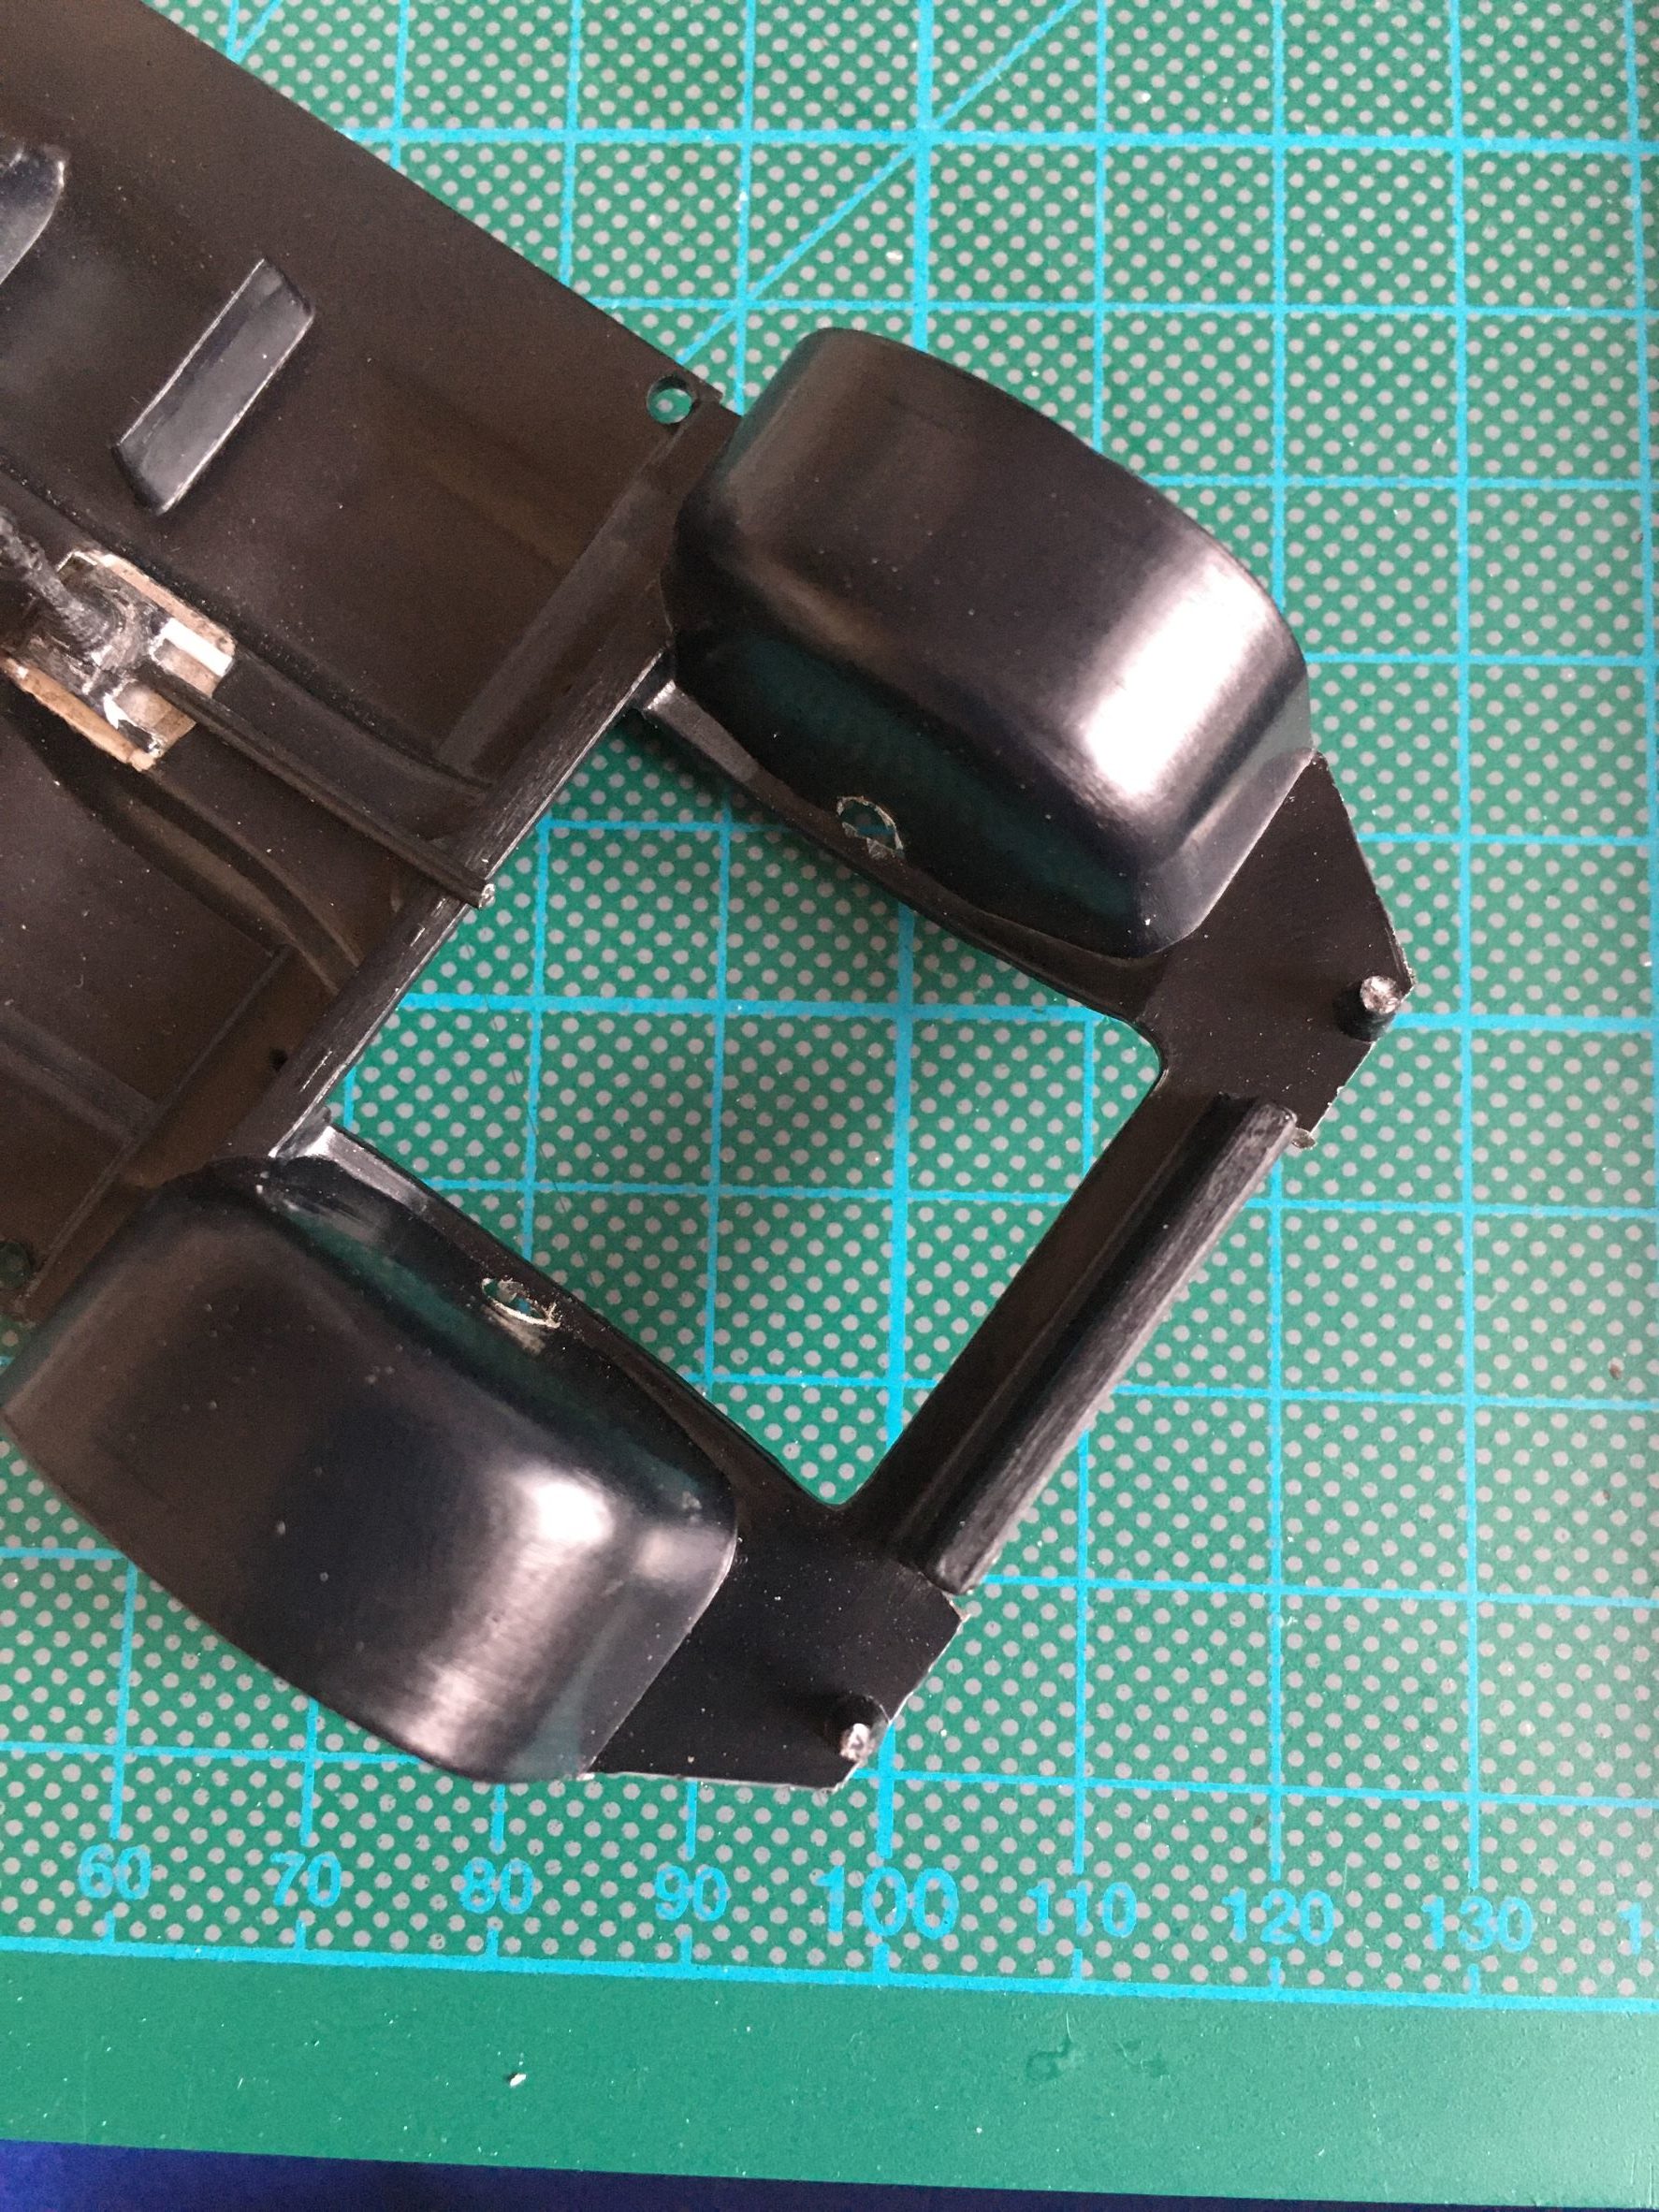
Masking and painting
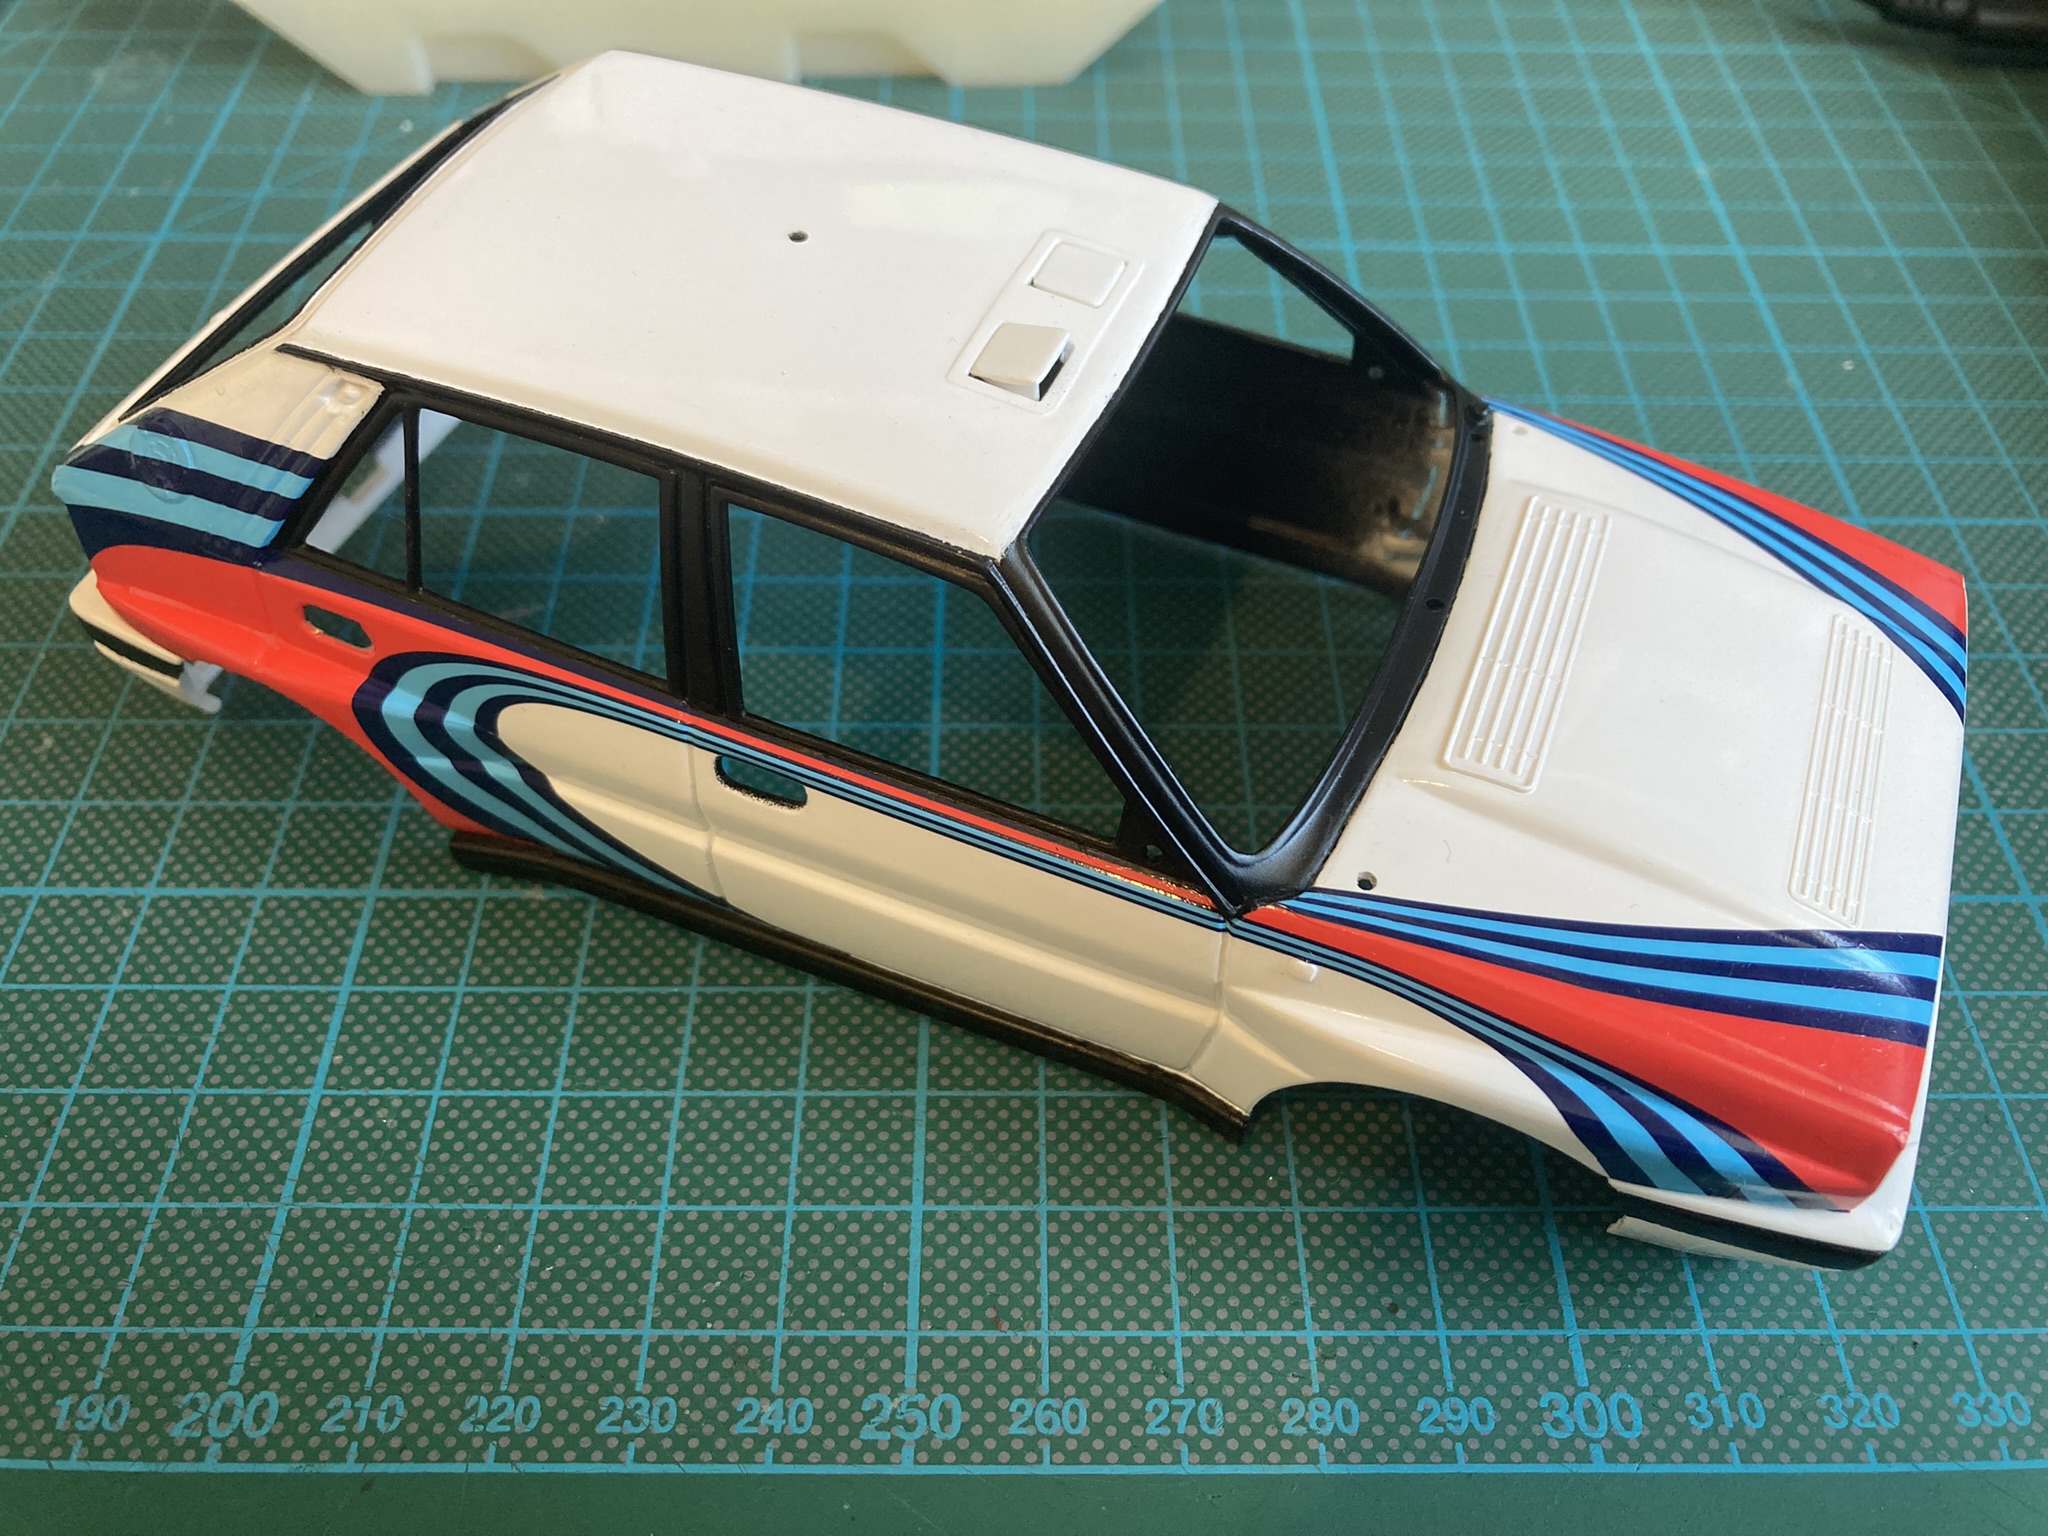
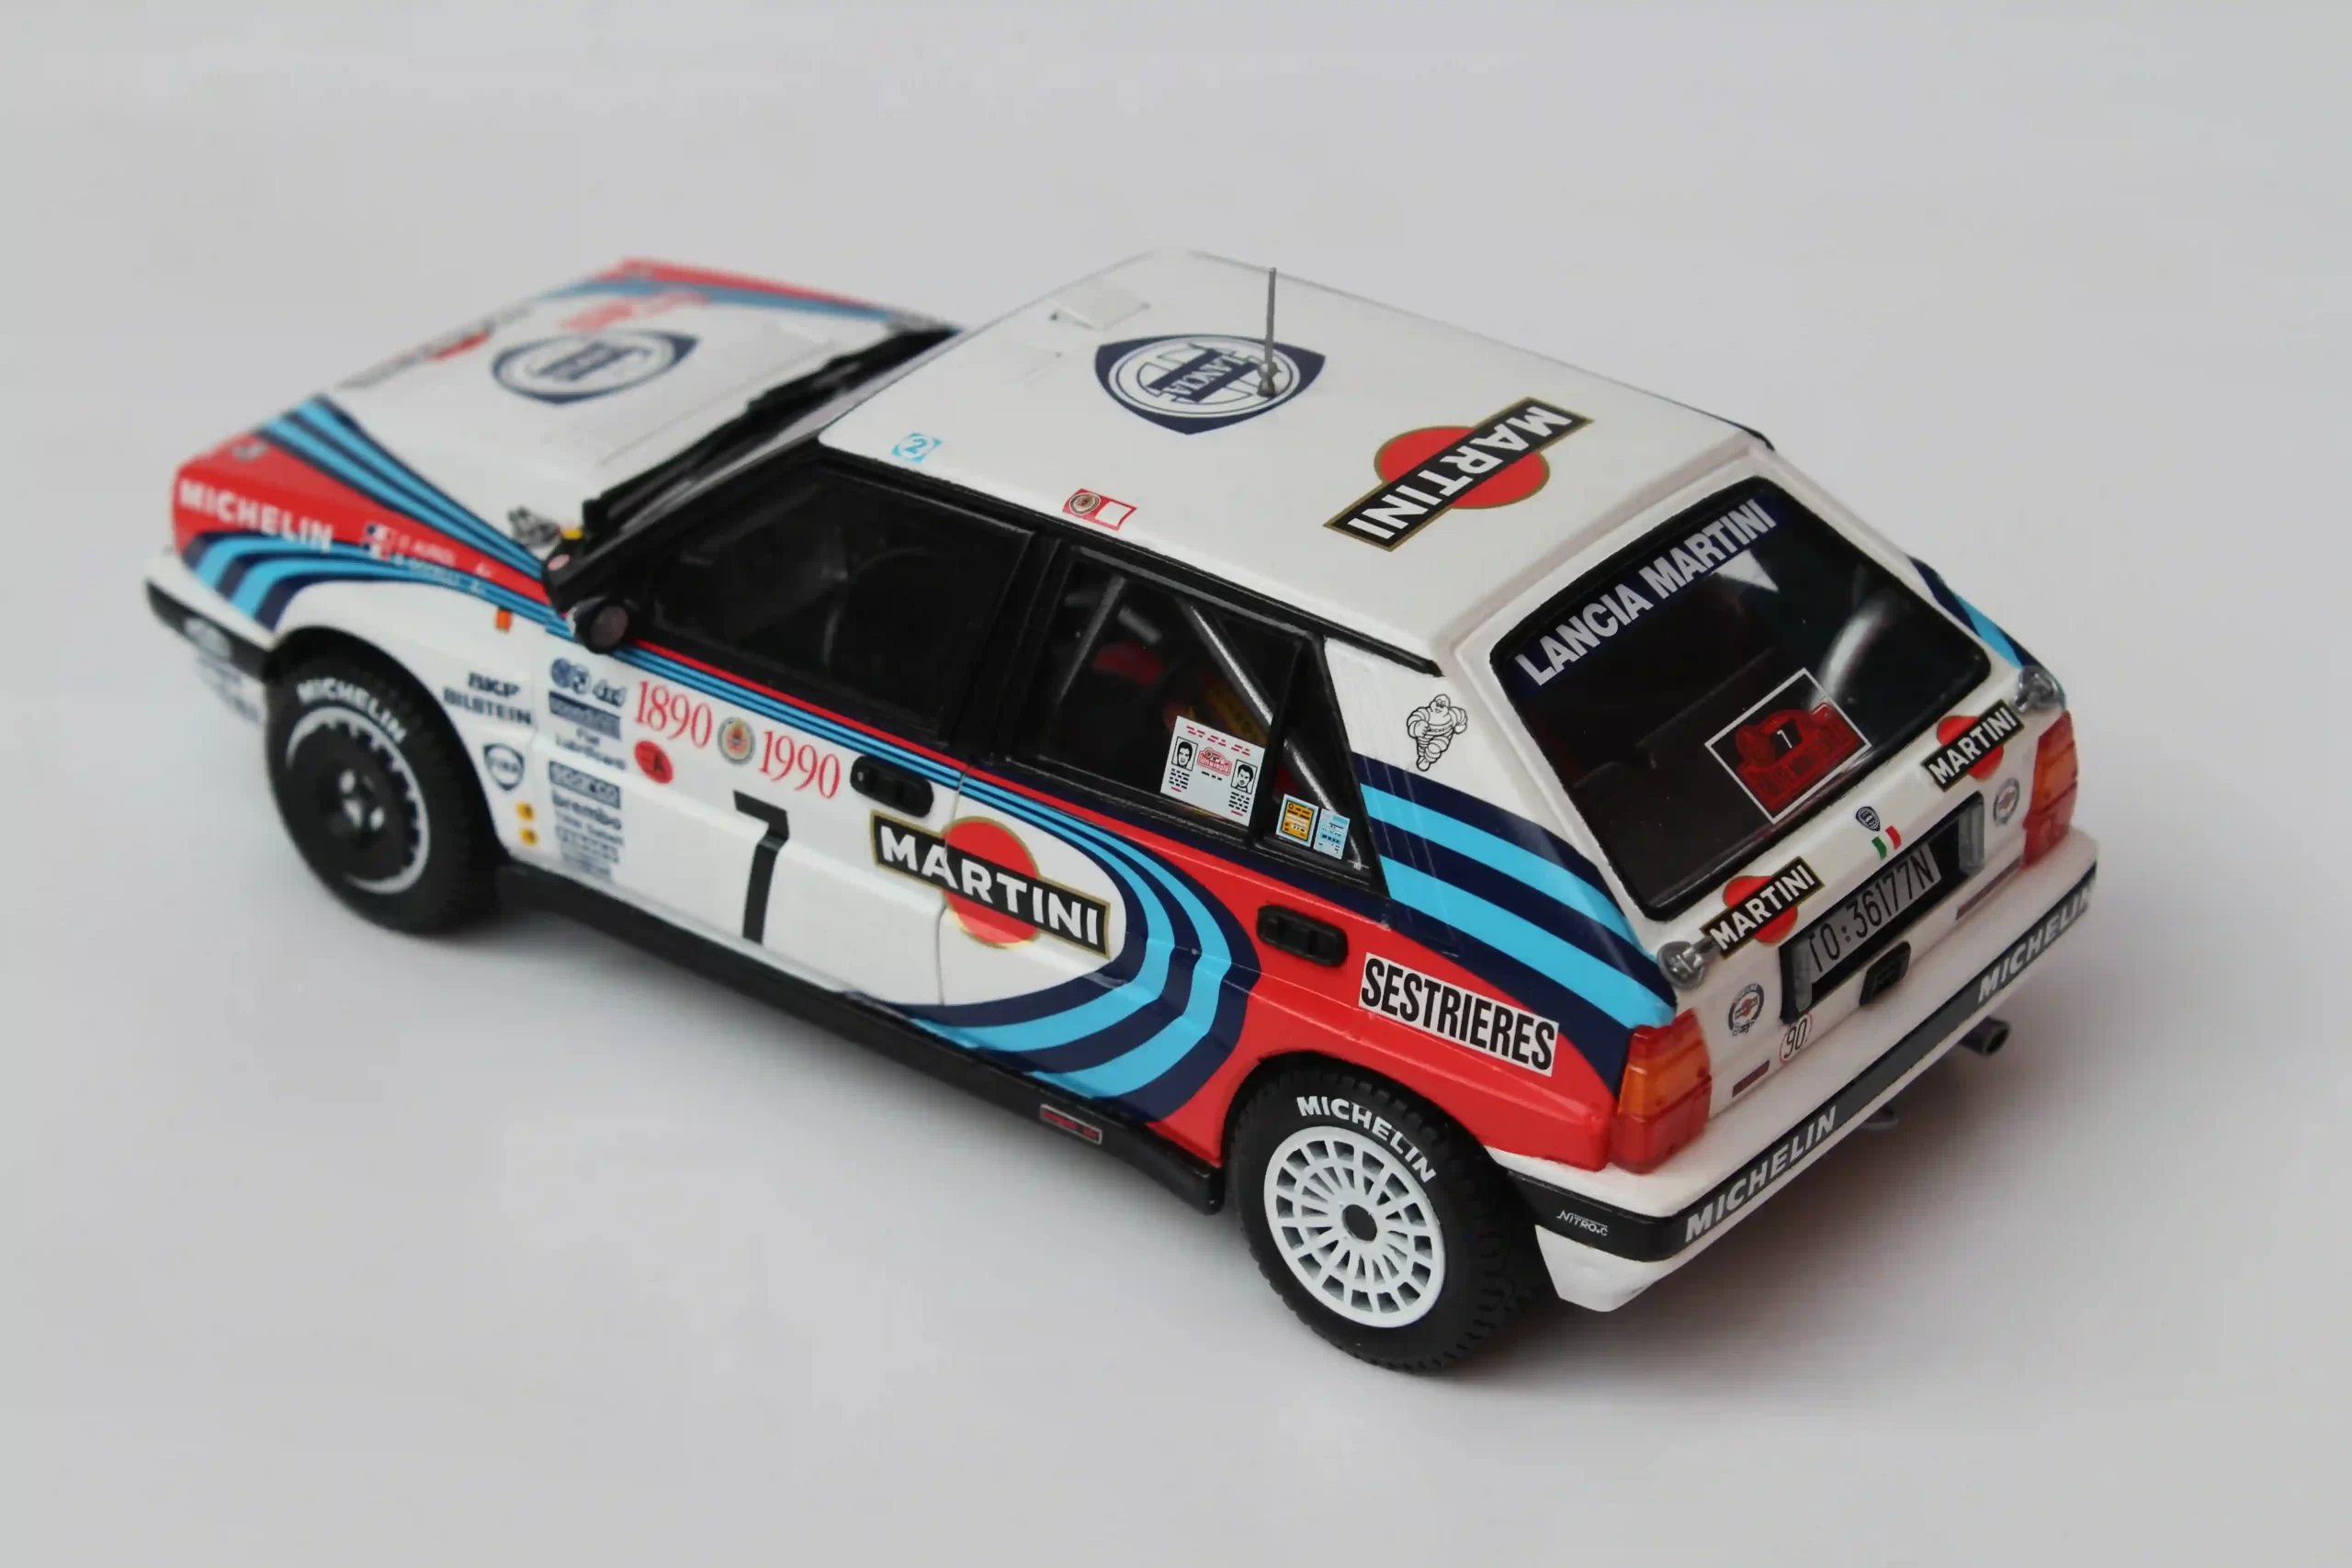
As with most Martini cars, the paint scheme is very simple for the Lancia Delta. I gave the body a few coats of Tamiya TS26 white and masked the black sections. Rather than hand paint the window frames, I decided to mask and spray them with Tamiya TS29 semi gloss black. There was a bit of clean-up work to do once the masking tape came off, and some of the lines could’ve been clearer, but overall the result was acceptable.

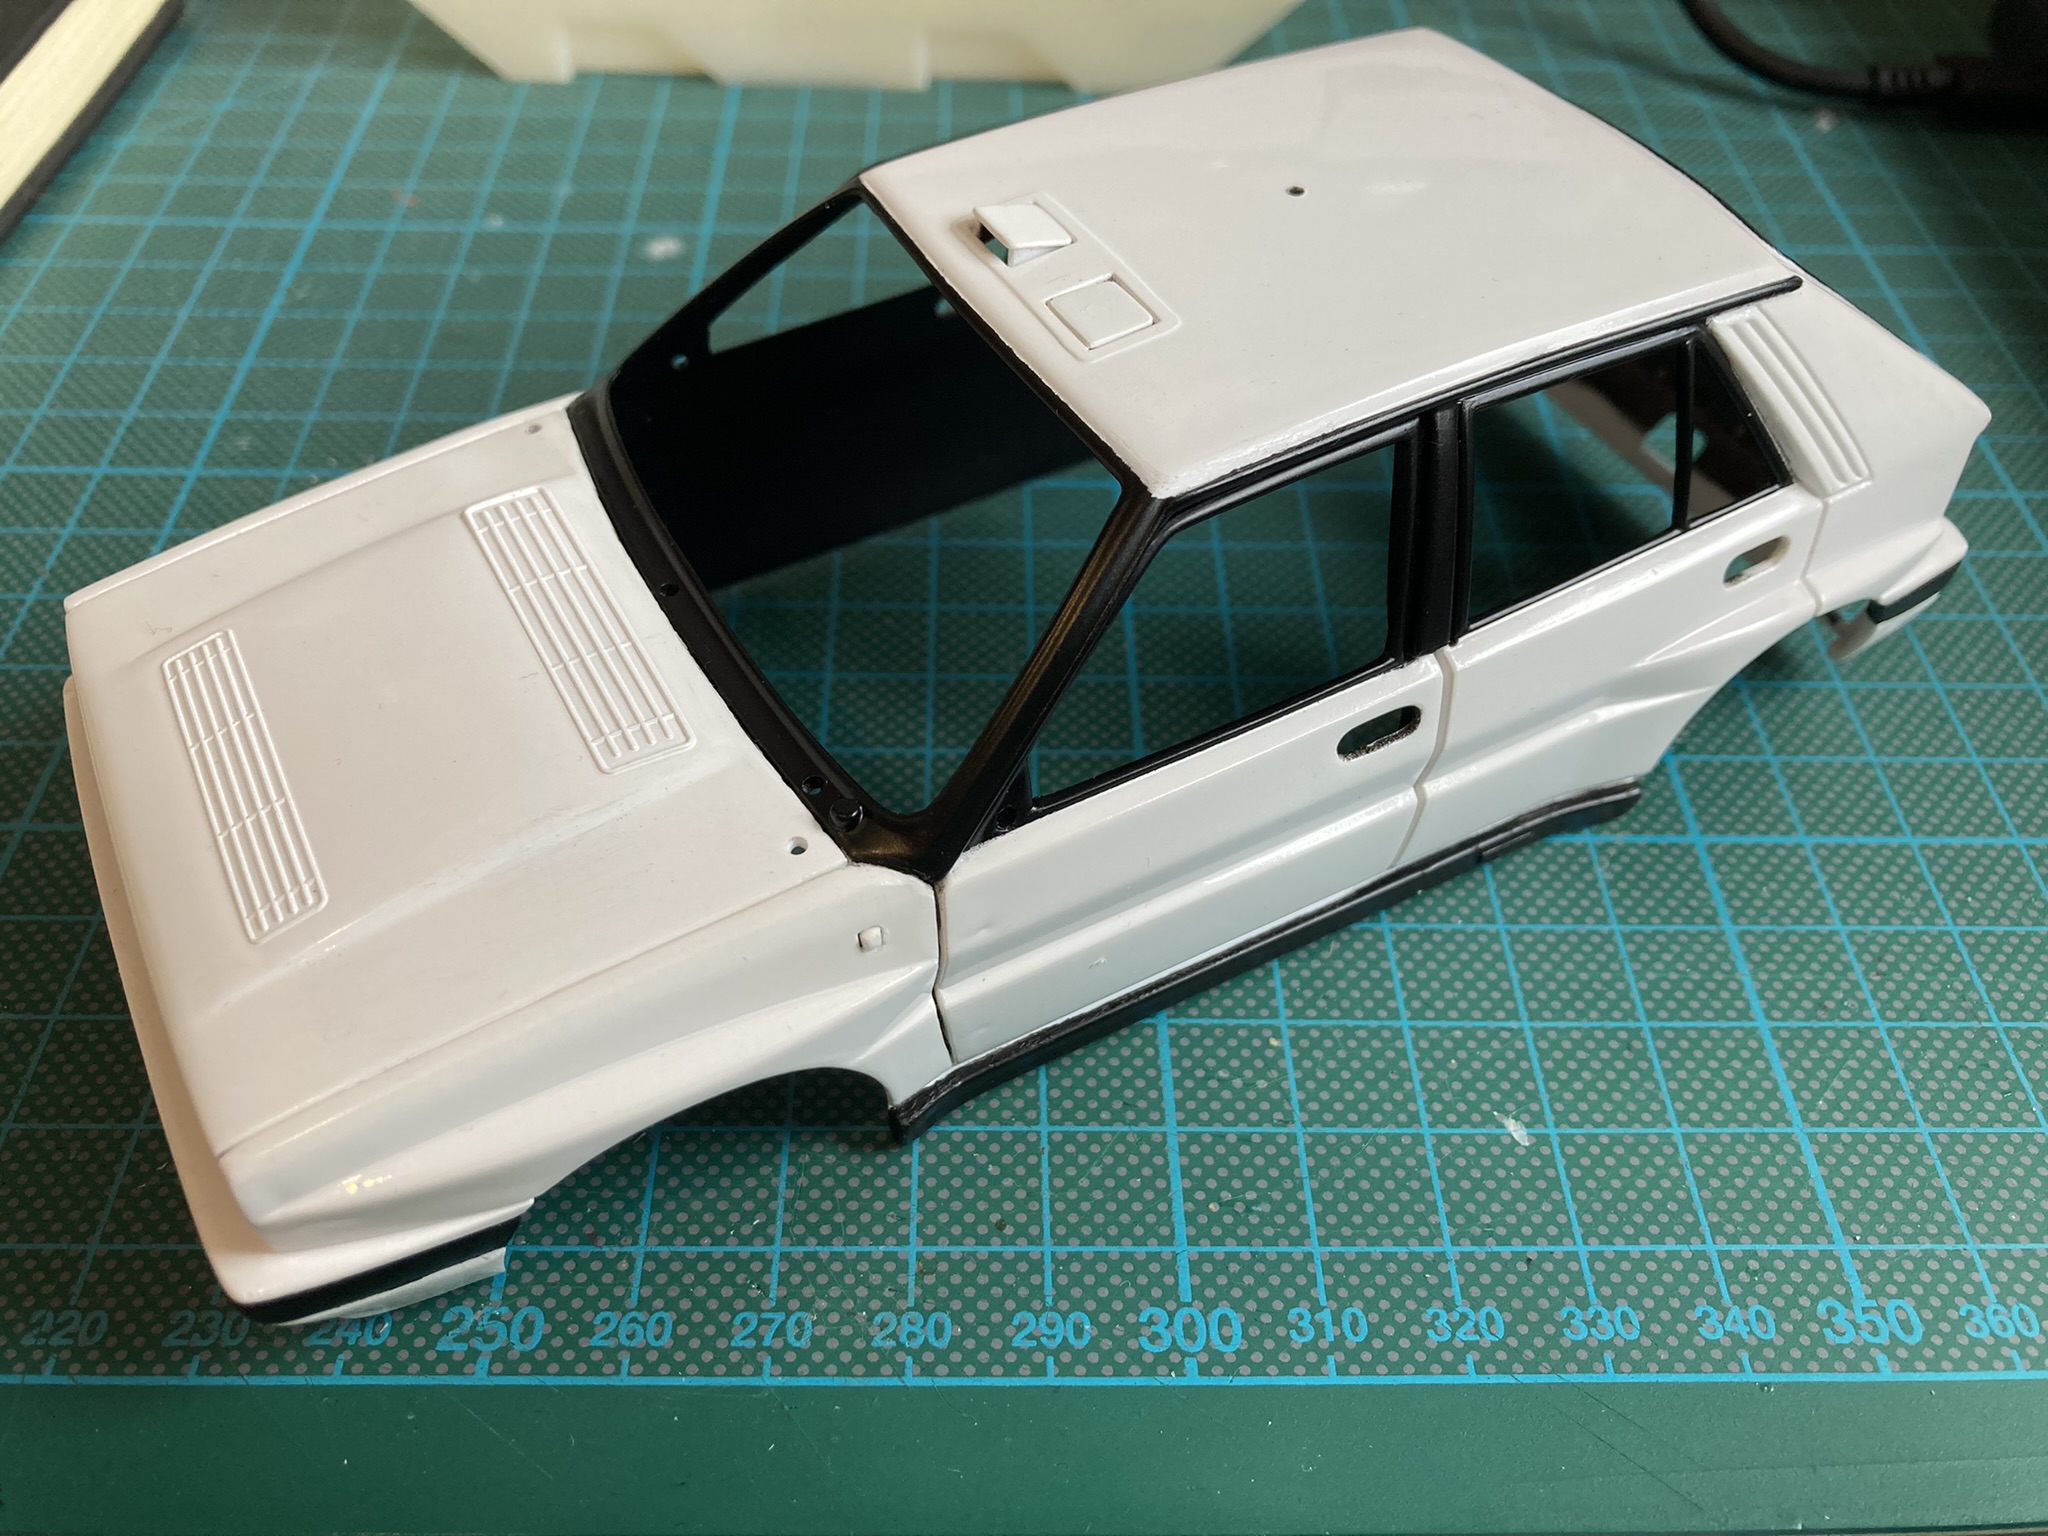
With the white and the black done, the only other significant paint work was the metal areas, which were mainly inside the car. For most of these, I used Tamiya TS42 along with some other shades where required. Then it was onto the decals.
More Martini decal practice
Another Martini kit, another set of Martini decals for me to tackle! Like the LC2 kit, the decal sheet Italeri have produced for the Delta Integrale is very good. The Martini stripes are similar to the ones on the Lancia 037 and weren’t too problematic. The main areas to be careful with are the ledges around the rear wheels. It’s difficult to get the decals to comply with the 90 degree angles. If you try and force it, it’s very easy to tear the decal if it’s stretched across a cavity with not enough excess surface area to accommodate the extra you’re asking of it.
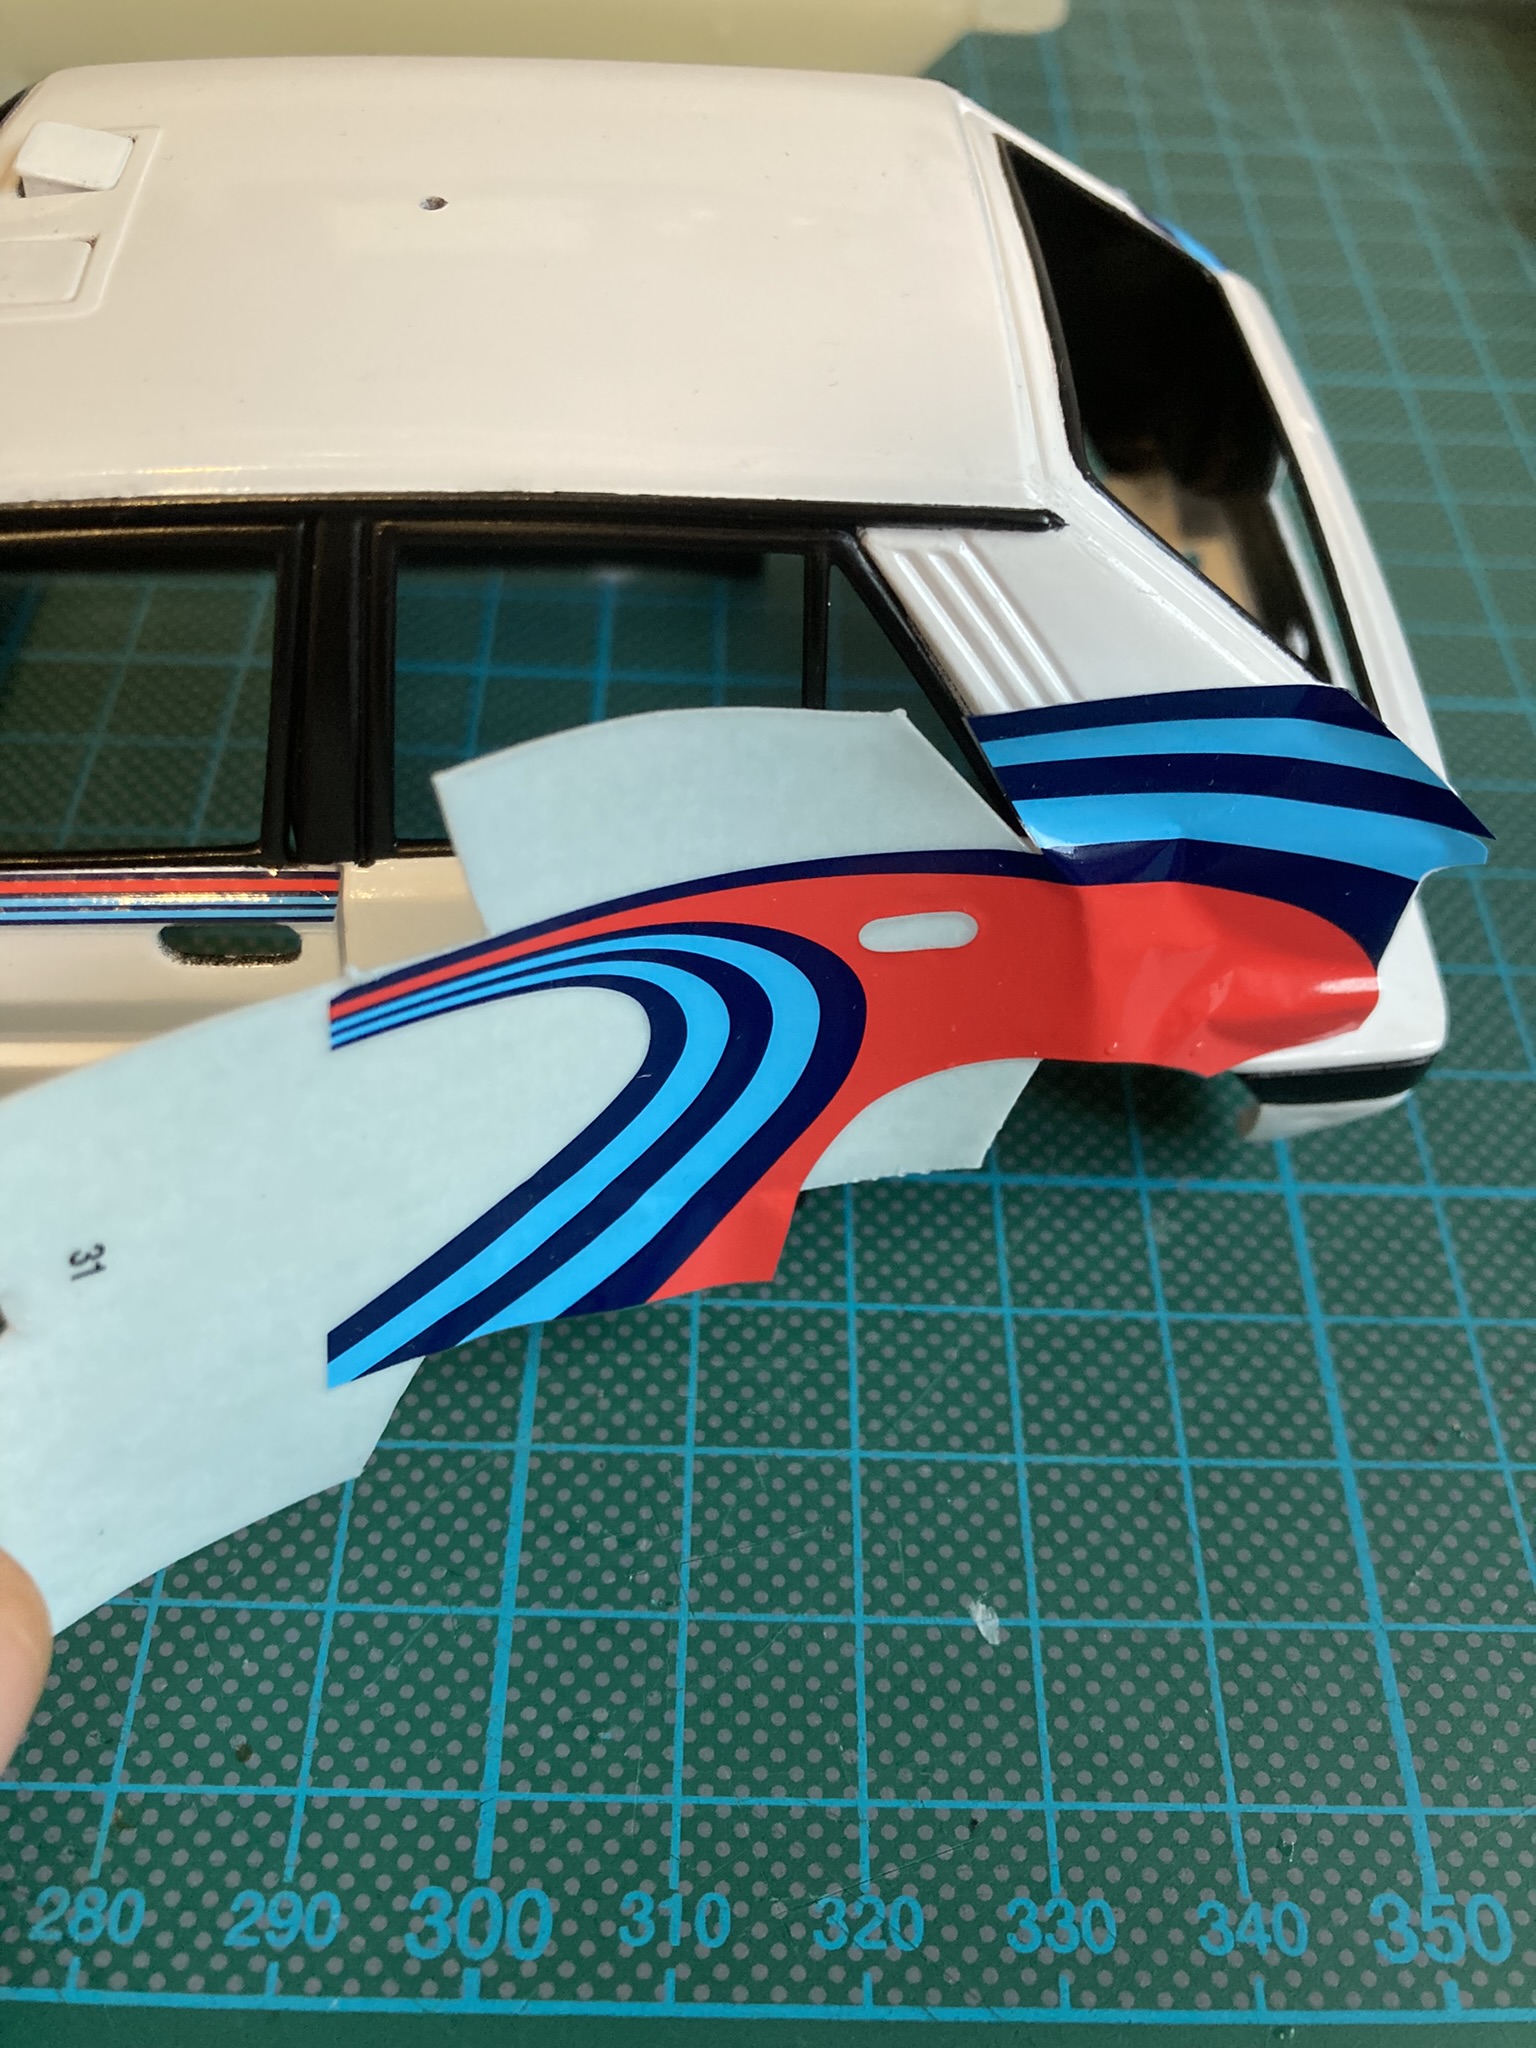
Imagine the decal forming the diagonal side of a right-angled triangle, and the other two sides are the car’s body. The combined length of the two sides making up the car’s body is longer than the diagonal line of the decal. So if you force the decal to try and cover the other two sides, you will inevitably tear it. It’s an easy mistake to make!
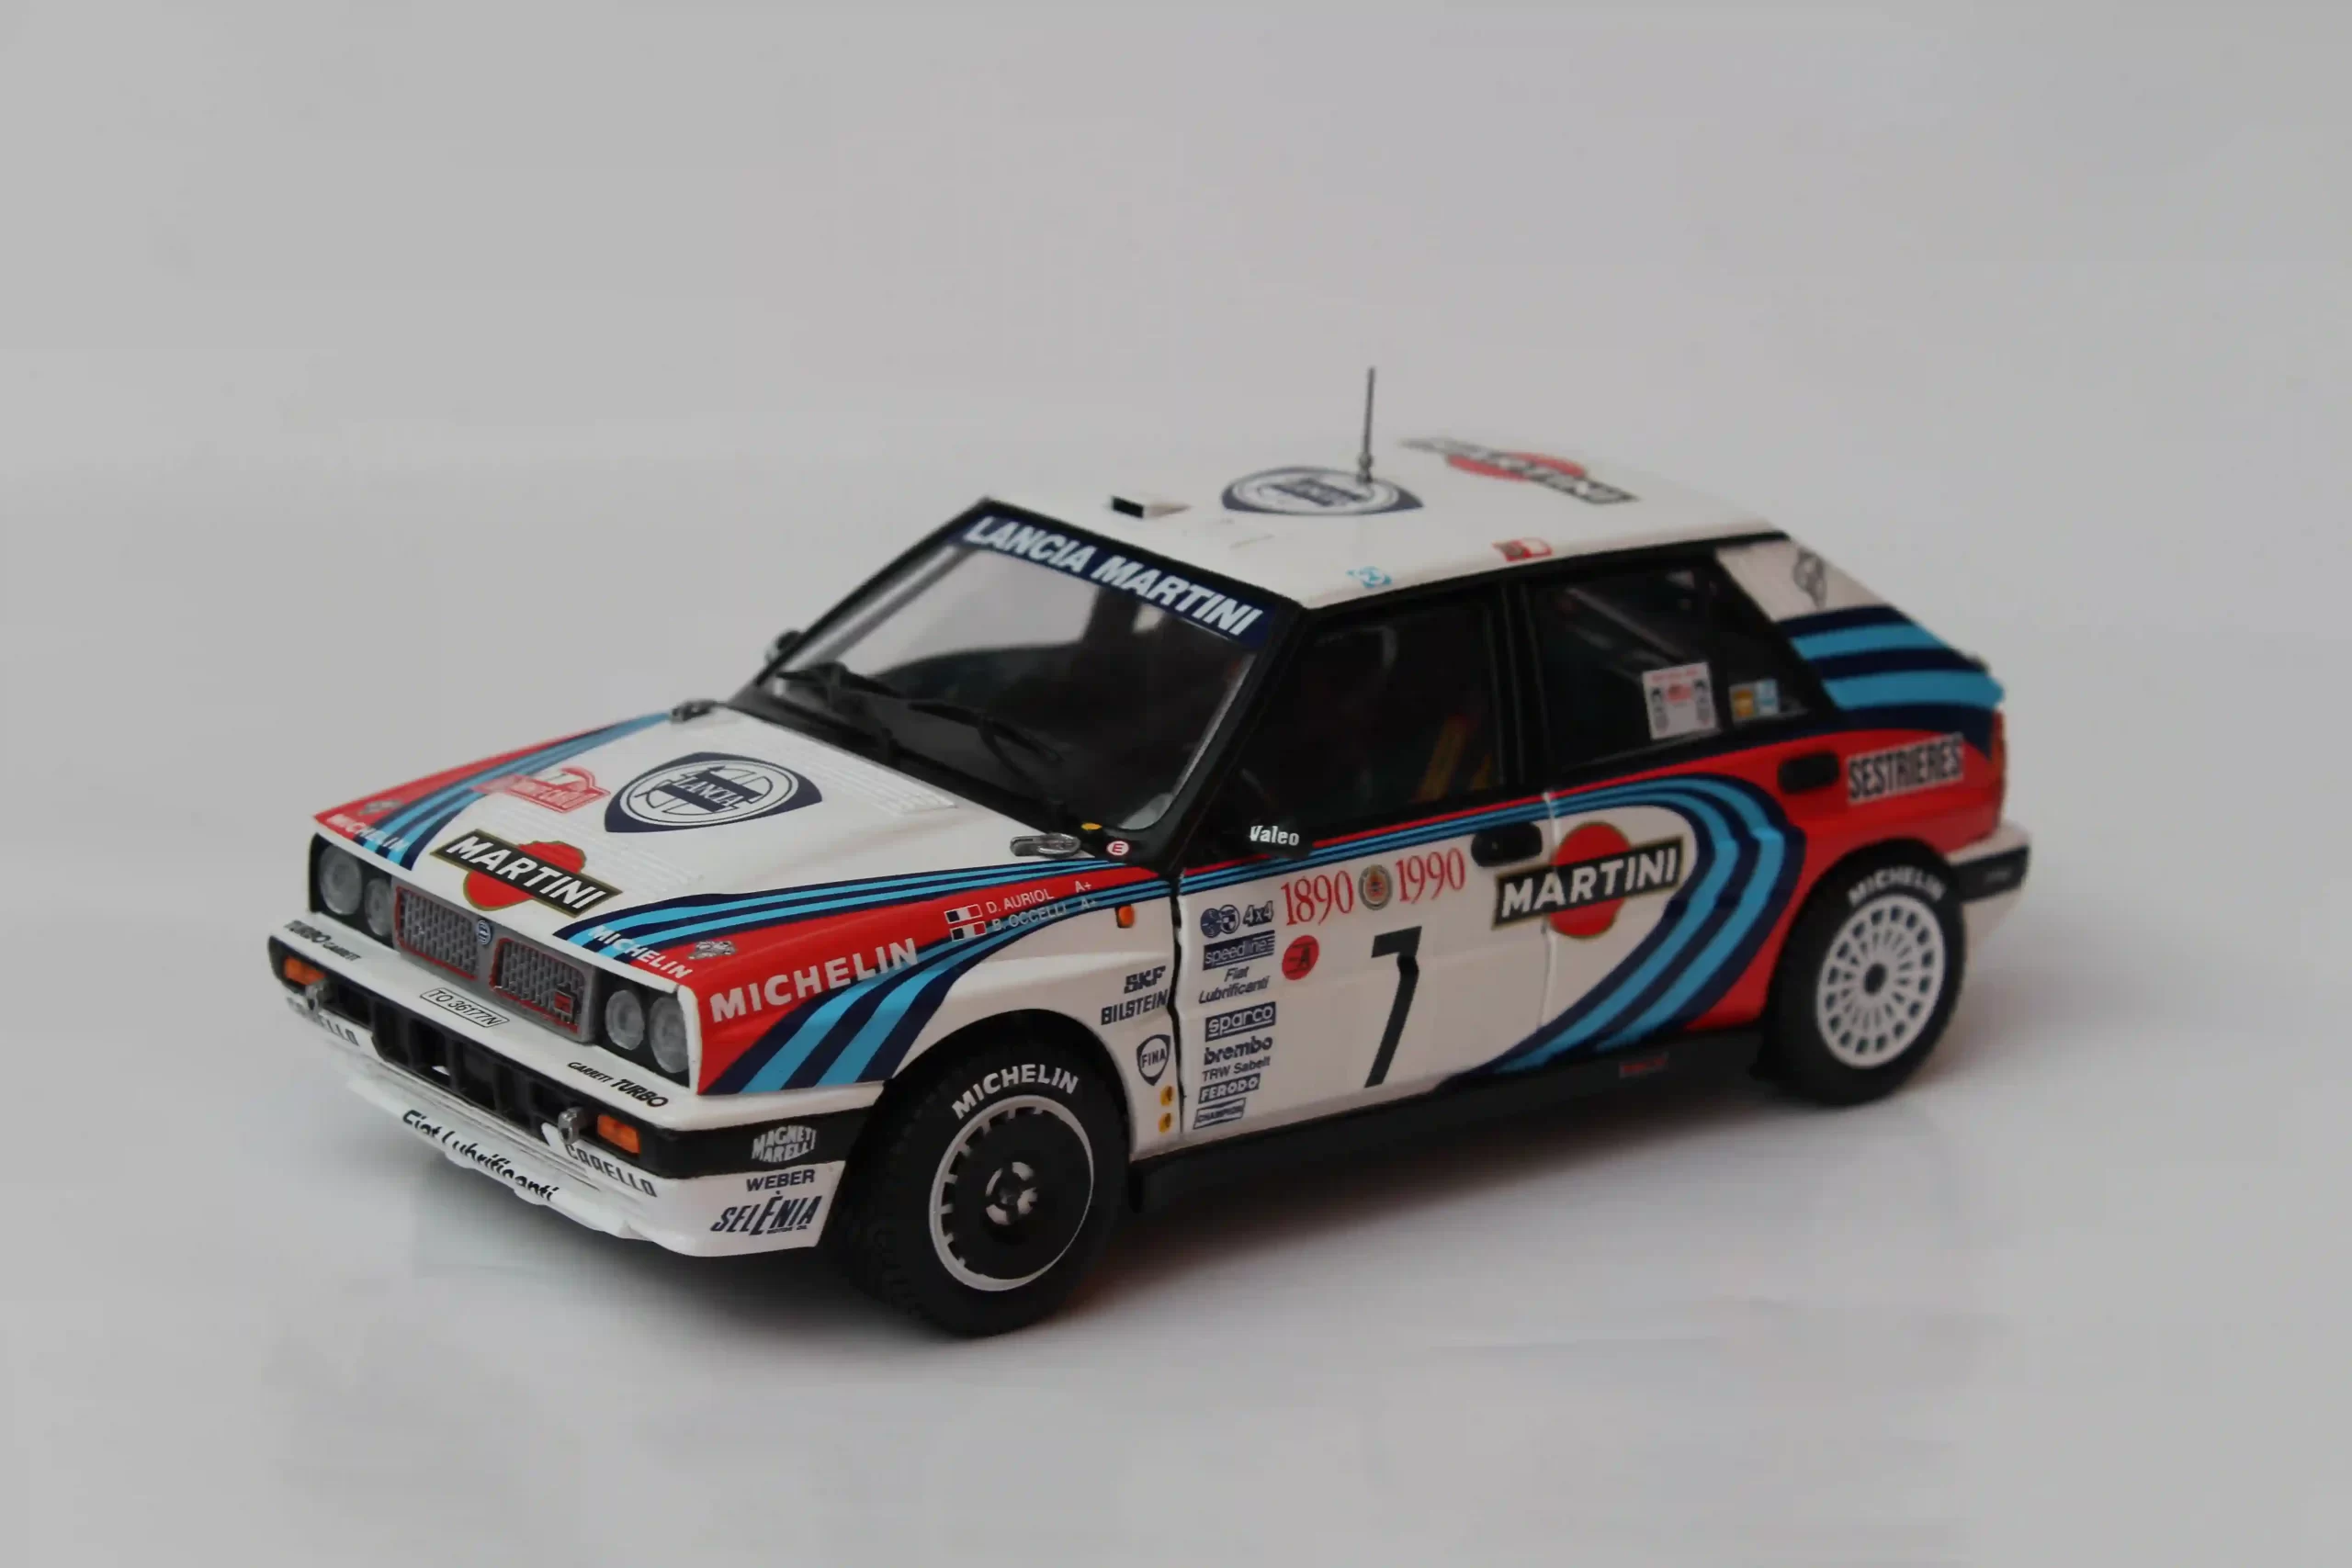
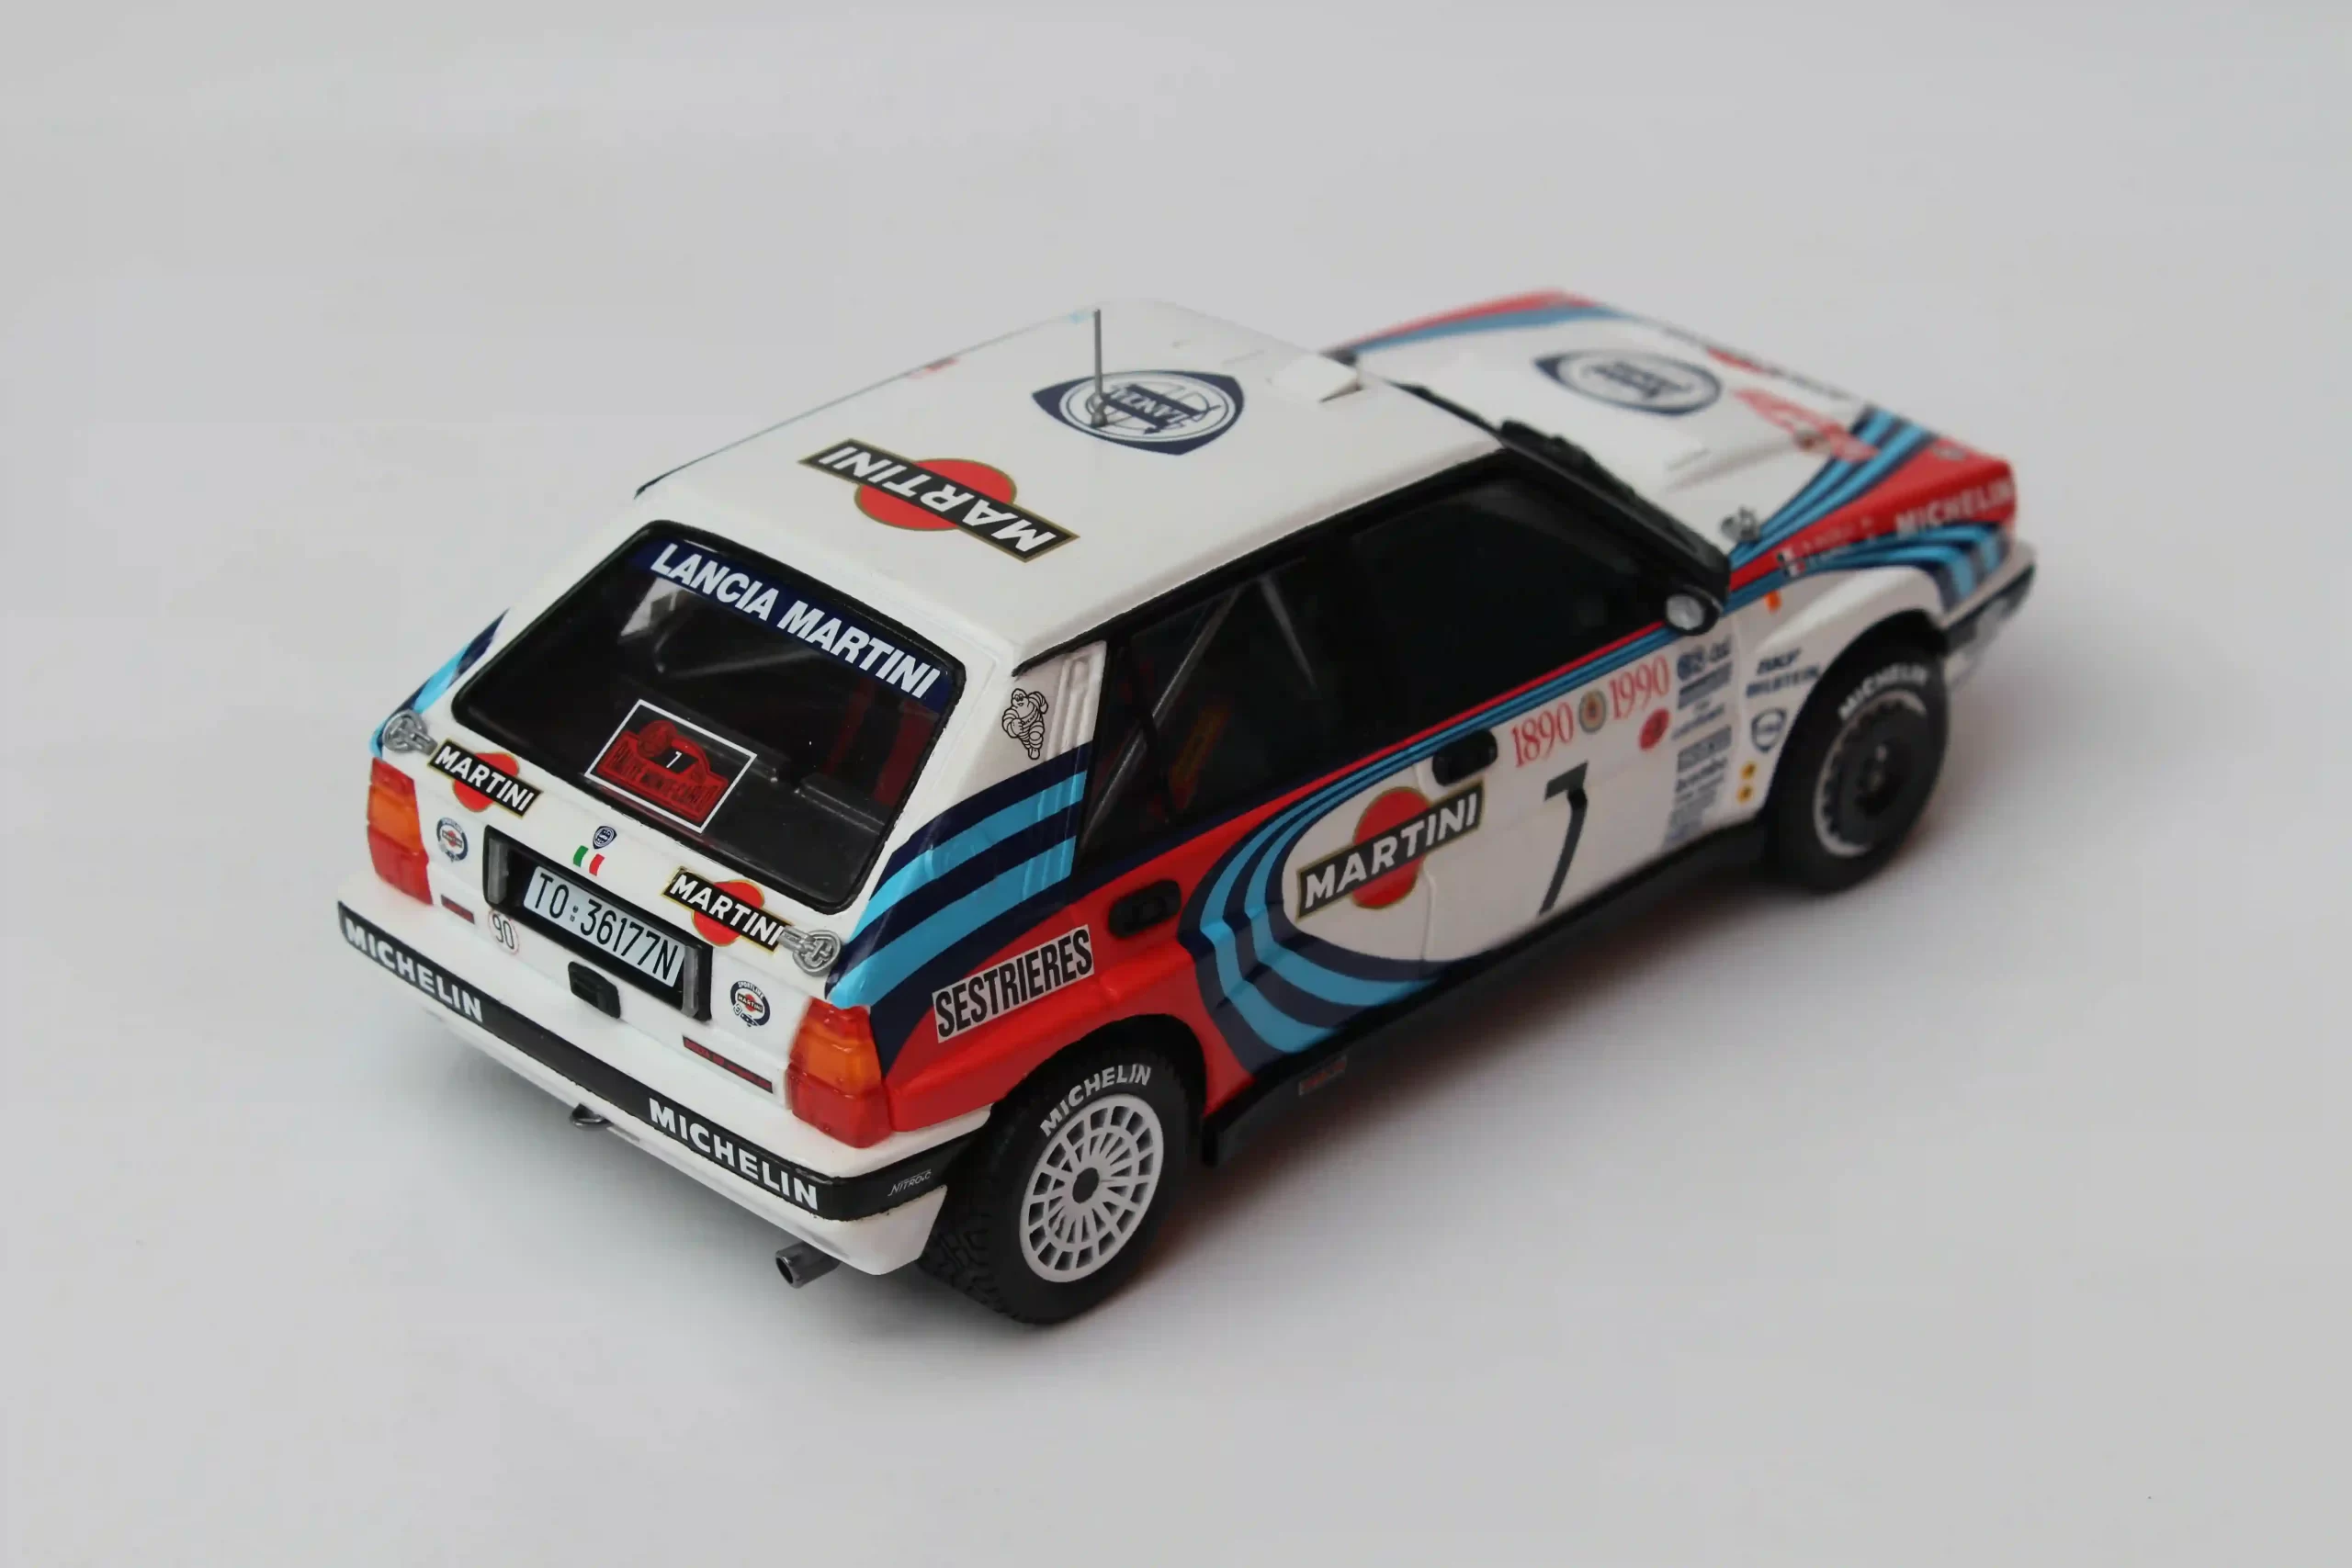
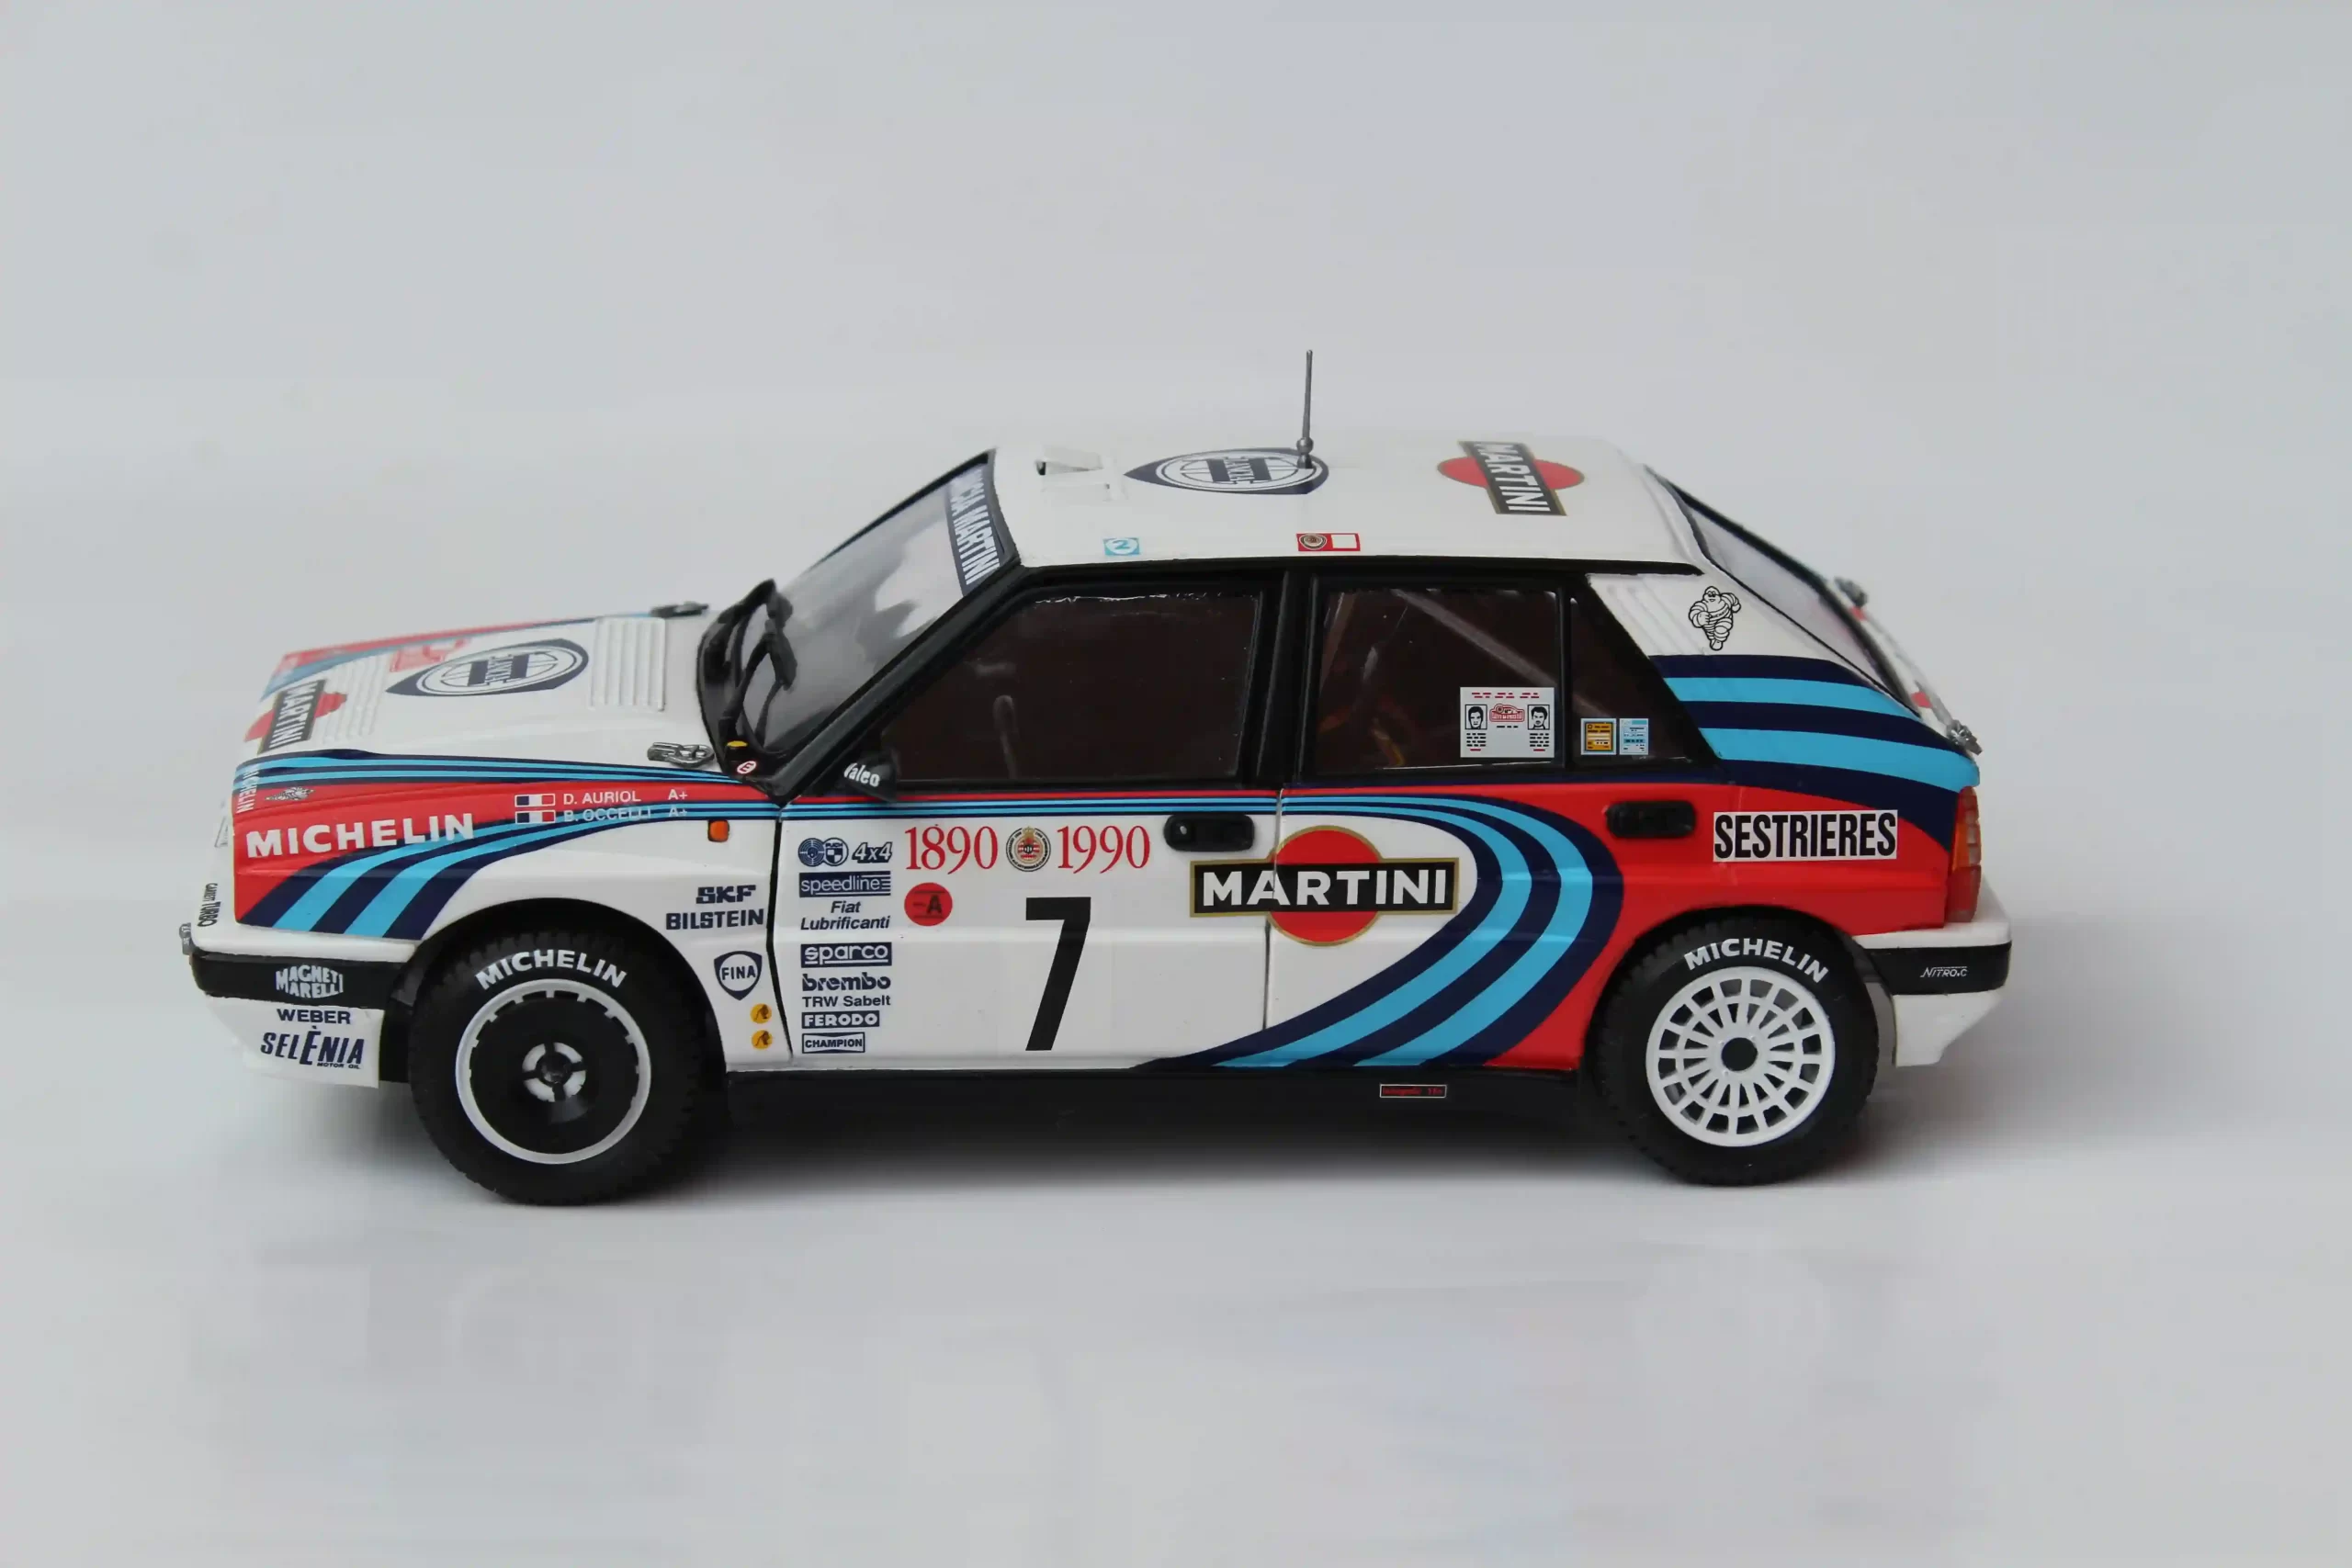
The livery options are both from the 1990 Monte Carlo Rally. I chose to build Didier Auriol’s car, which won the rally. Auriol and co-driver Bernard Occelli would finish runner-up in the 1990 World Rally Championship. The other option in the kit is Auriol’s teammate Miki Biasion who finished third in Monte Carlo.
So, how did the kit turn out?
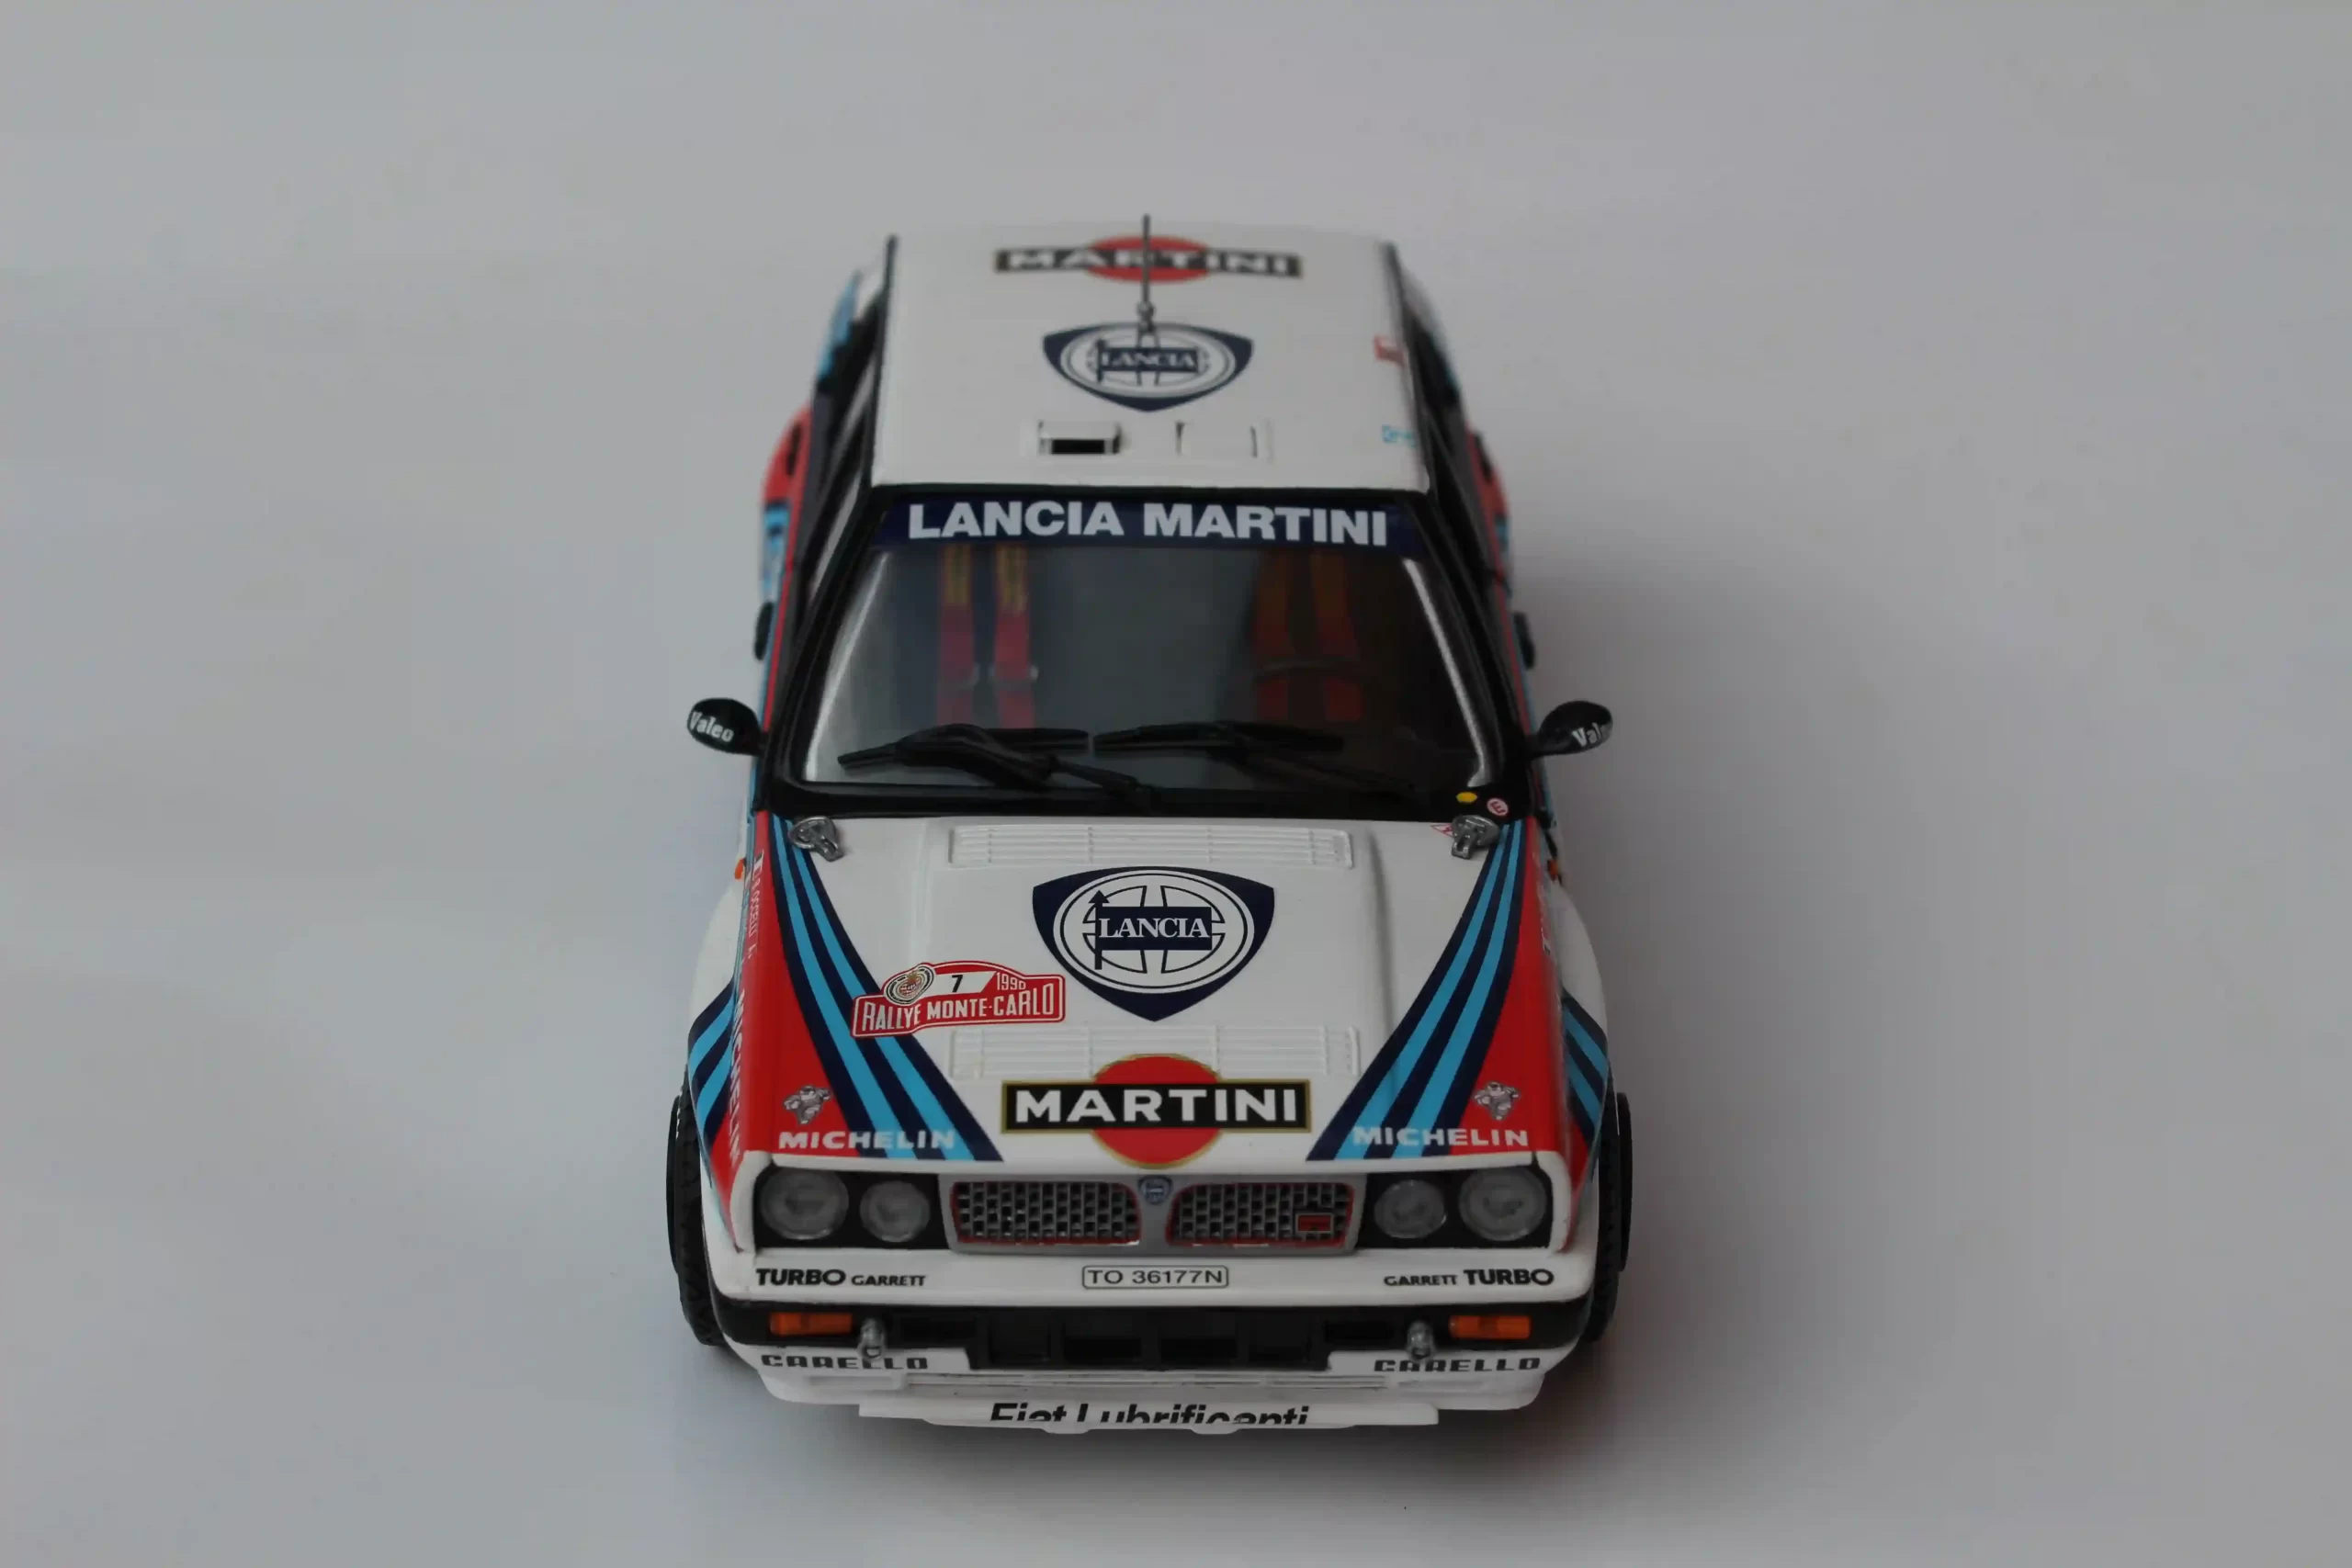
The Italeri Lancia Delta HF Integrale was actually a fun kit to build. Unlike my last build, the LC2, this kit was enjoyable thanks to its detail and higher quality. If you’re looking at both Italeri kits and wondering which to choose, I’d recommend the Integrale every time.
There were definitely some difficulties. The fitment problems were frustrating, and the masking of the black parts of the body was a laborious process whose results weren’t as good as I’d hoped for. But looking past these, the car is great, and the livery is fantastic. Overall, I’m very happy with how it turned out.
My advice for building the Integrale
This isn’t a kit that can be thrown together quickly. It requires a bit of patience and careful assembly. You will need to modify the floor if you copy my tactic of assembling as much of the body in one go, and pay close attention to the assembly of the roll cage and the rest of the interior to ensure the body shell fits over everything correctly. I know I could’ve done this better. Be prepared for those fitment issues and have a solution in place for that pesky fuel pipe.
As always, I’d recommend taking plenty of time with the decals, and for the interior, fit a seatbelt set, as those seats are very obvious through the large windows. And if you like the idea, definitely display the car with the driver’s door open. Not all 1:24 plastic kits offer this, and while I chose not to, it certainly would’ve given the Lancia an added bit of interest and differentiated it from my other finished kits.

Leave a Reply