
Think white and red Formula 1 cars, and you’ll almost certainly think of Marlboro McLaren, maybe you’ll think of BAR Honda in the Lucky Strike livery, or the current Sauber/Alfa Romeo cars. You probably won’t think of Footwork, which hovered around the lower midfield in the early 1990s. So, to rectify that, here’s my build diary of the Fujimi Footwork FA13 from 1992.
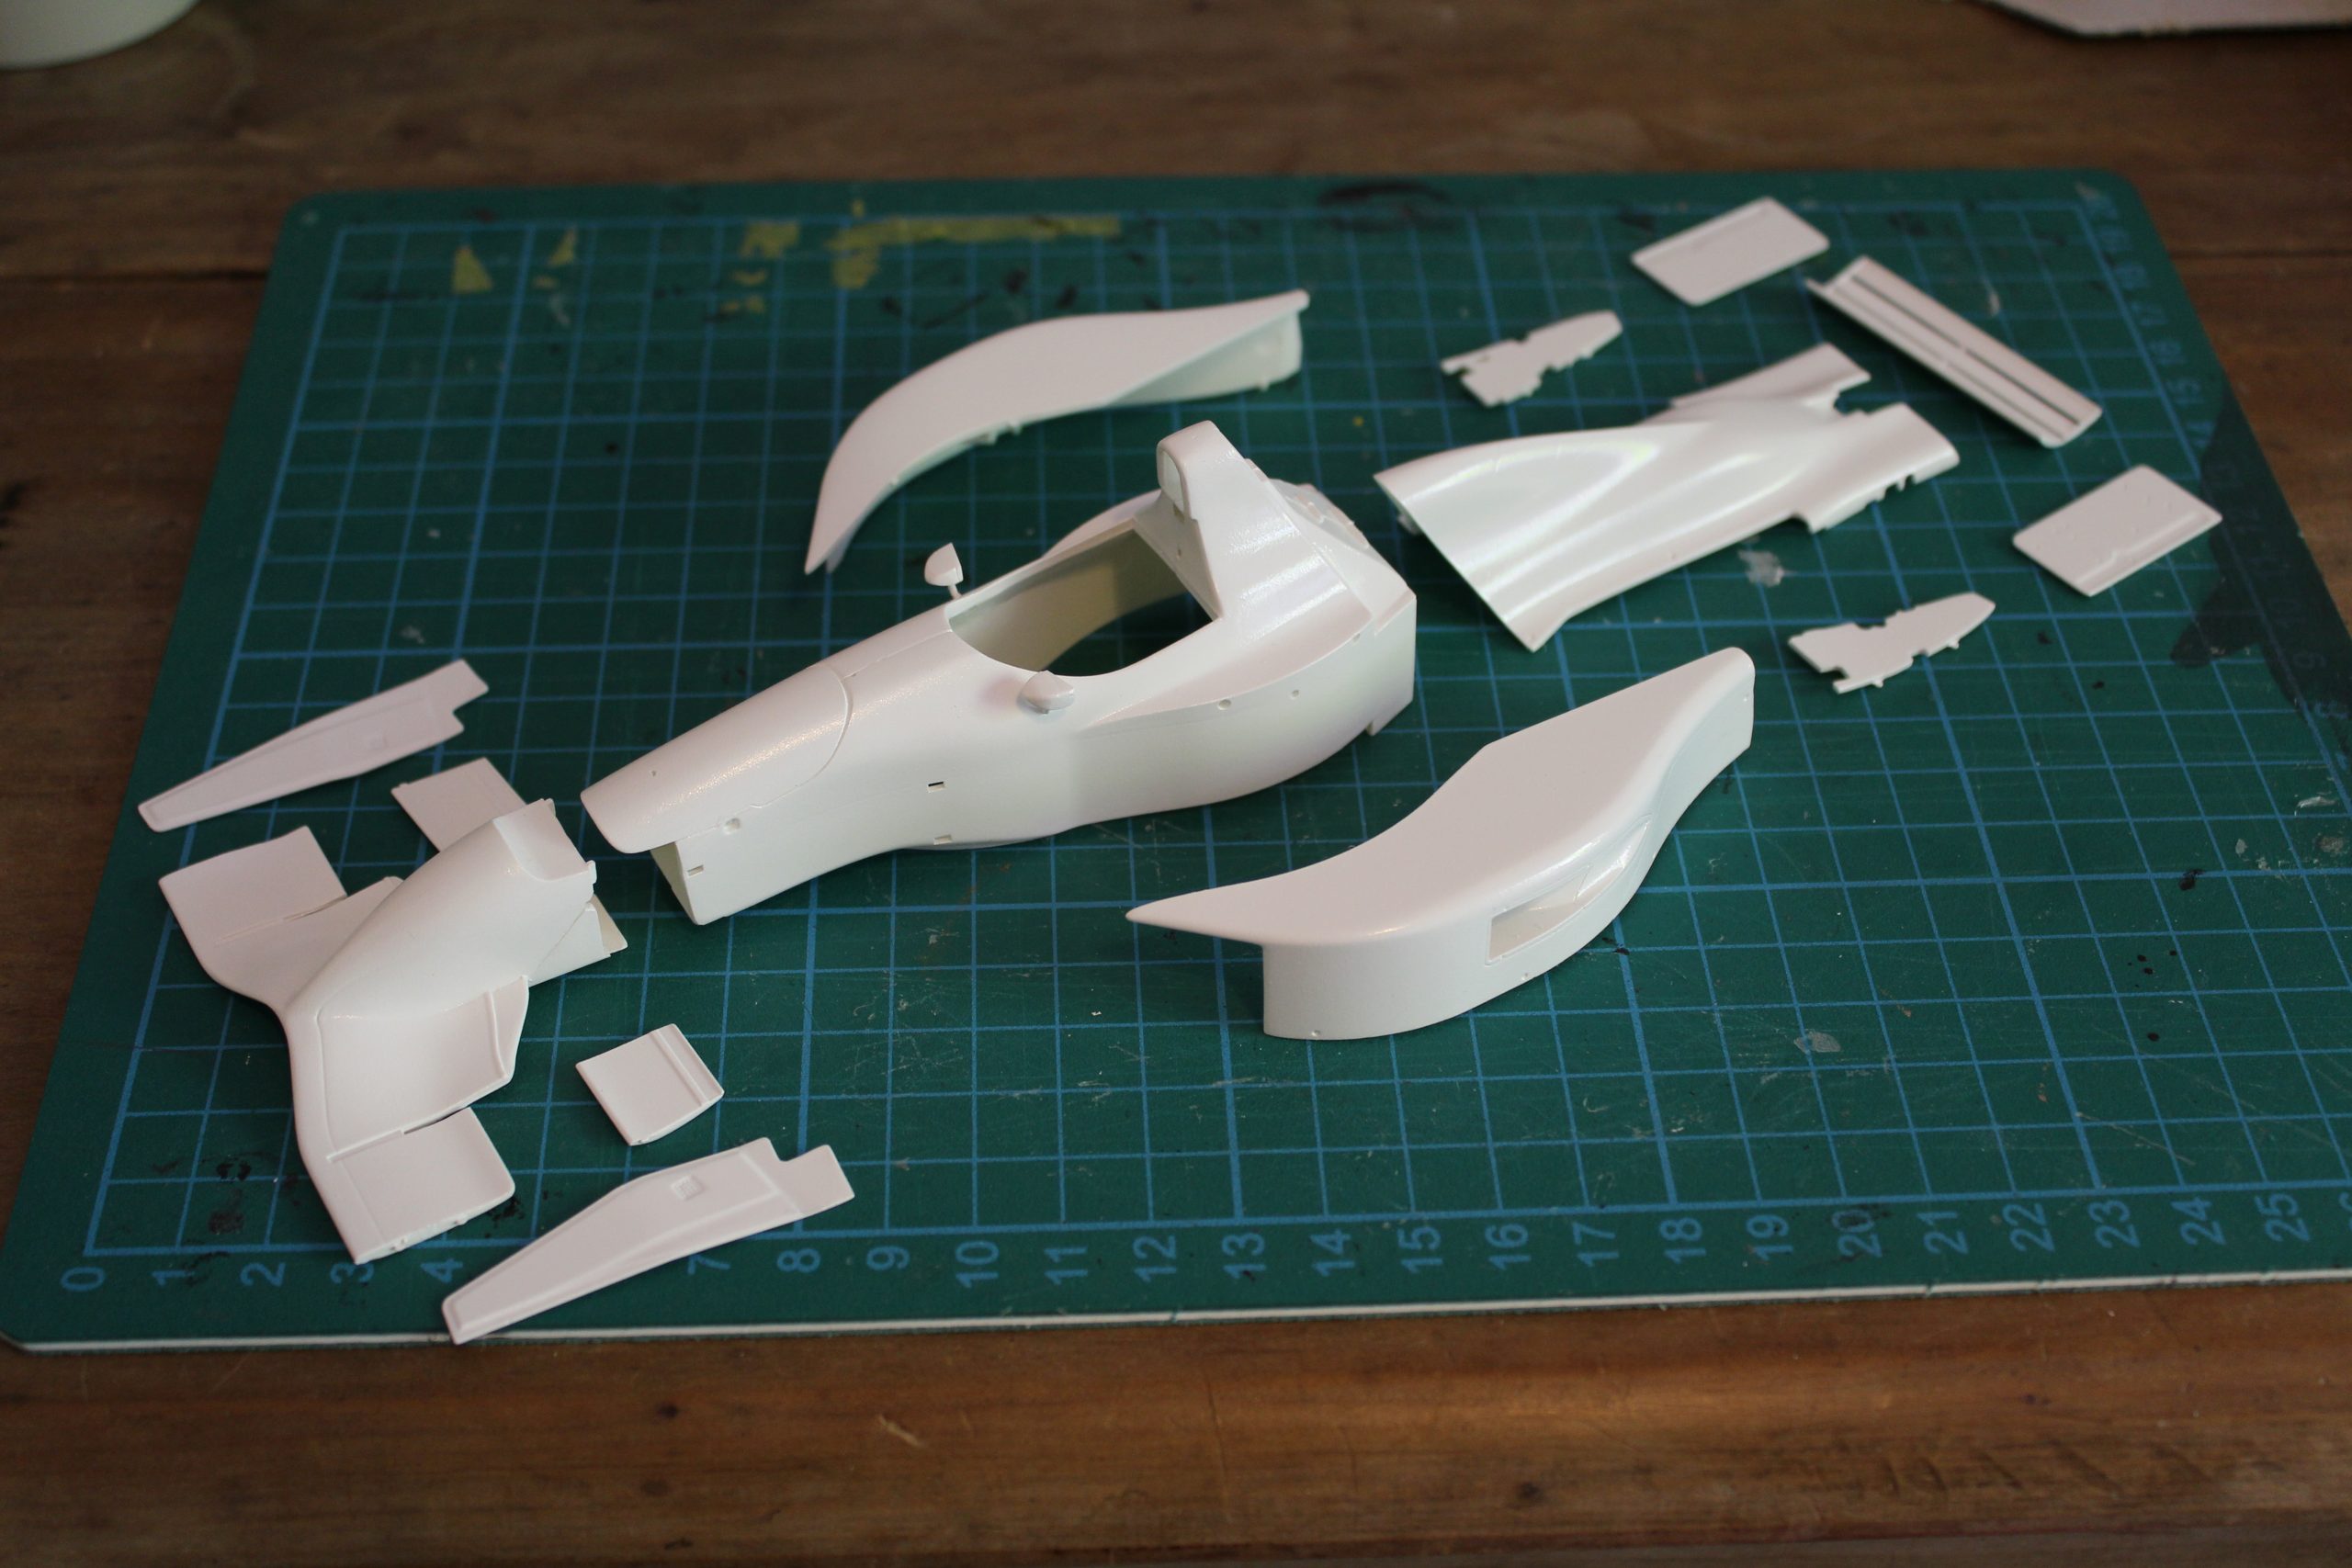
The Footwork was originally released by Modeler’s in 1994 and was re-released by Fujimi in 2010. Like the Tamiya kits of the time, it’s a decent plastic kit with good detail and fitment. It’s also a great example of some of the aerodynamic trends of the period. The heavily sculpted nose and front wing, with the endplates extending right back inside the front wheels, for instance.
This was the second car I’ve built from the 1992 season, the first being the Tamiya Benetton B192. It seems that with F1 model kits, some seasons are covered better than others, and 1992 is certainly one of those. As well as the Benetton and Footwork, the McLaren and Lotus were done by Tamiya while Fujimi also did the Williams and Ferrari. And if 1:24 scale is your thing, Hasegawa did the Jordan and Wave did the Tyrrell!
But back to the Footwork. One of the reasons I decided to tackle it was the relatively straightforward livery. The initial plan was to use the kit-supplied decals for the red areas, but it soon became apparent that would be a bad idea.
Painting the Fujimi Footwork FA13
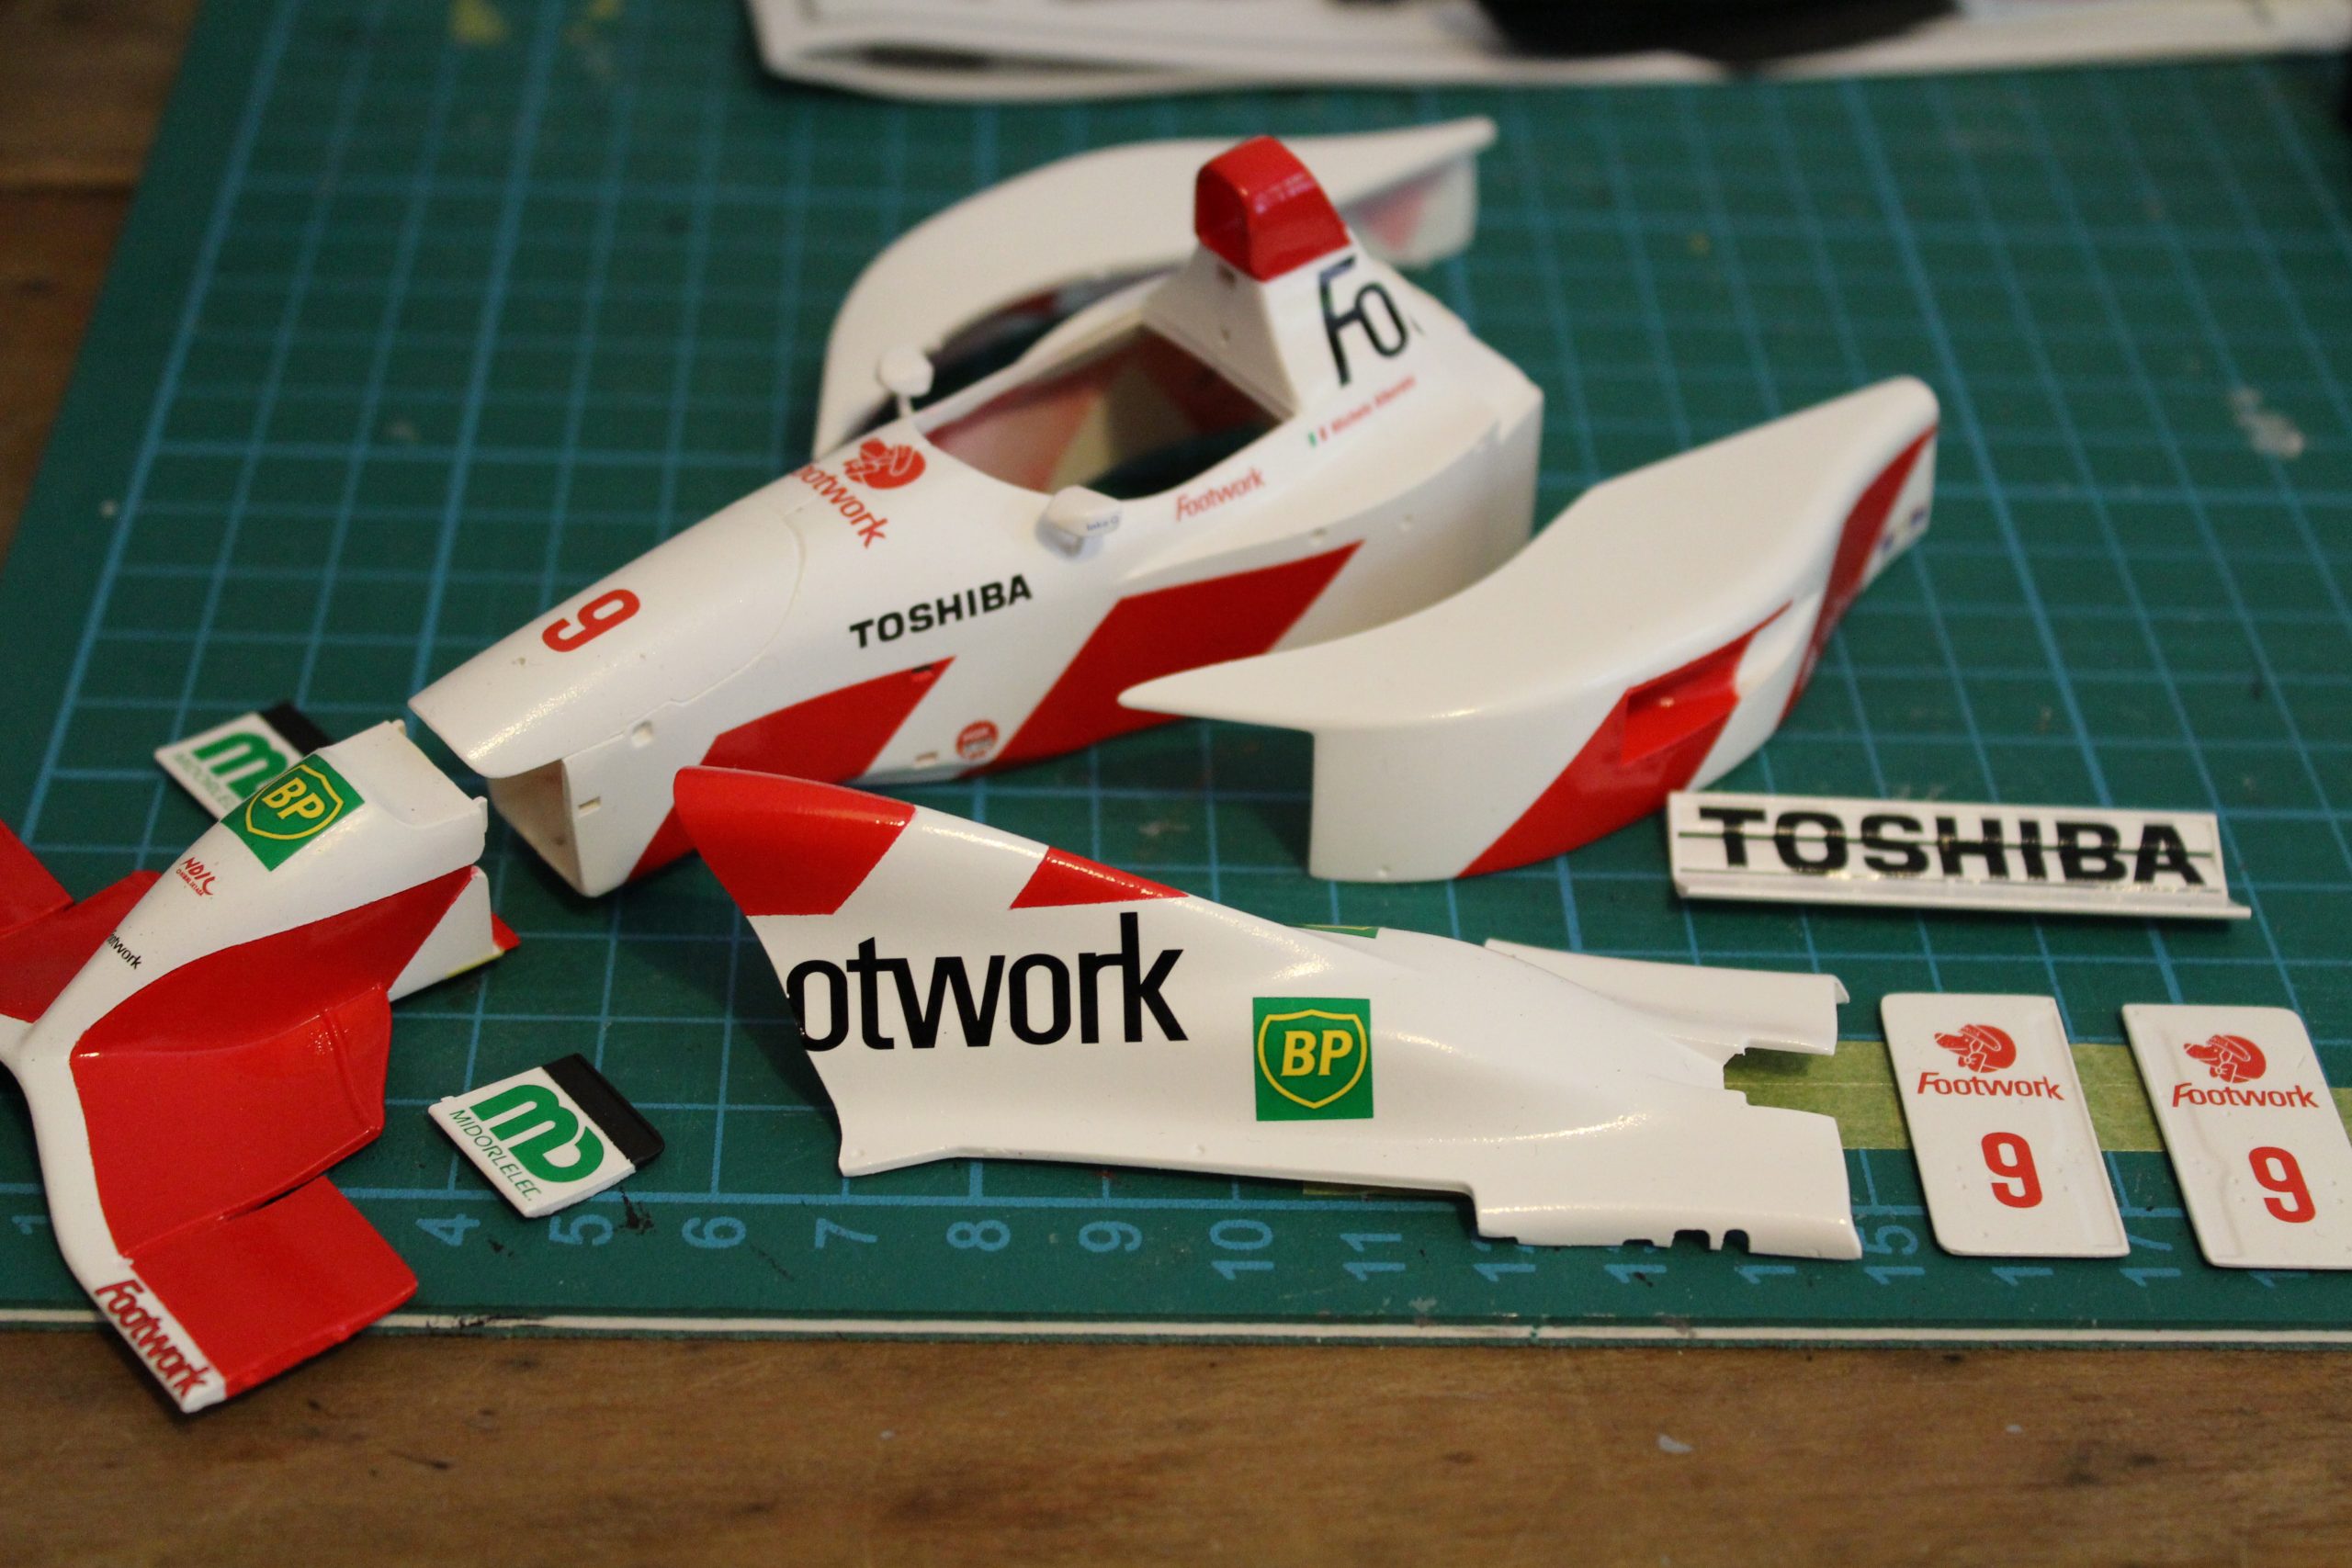
Painting the Footwork involves a few coats of Tamiya TS26 Pure White and then battling with yourself to decide whether to use decals for the red sections, or to mask and paint them.
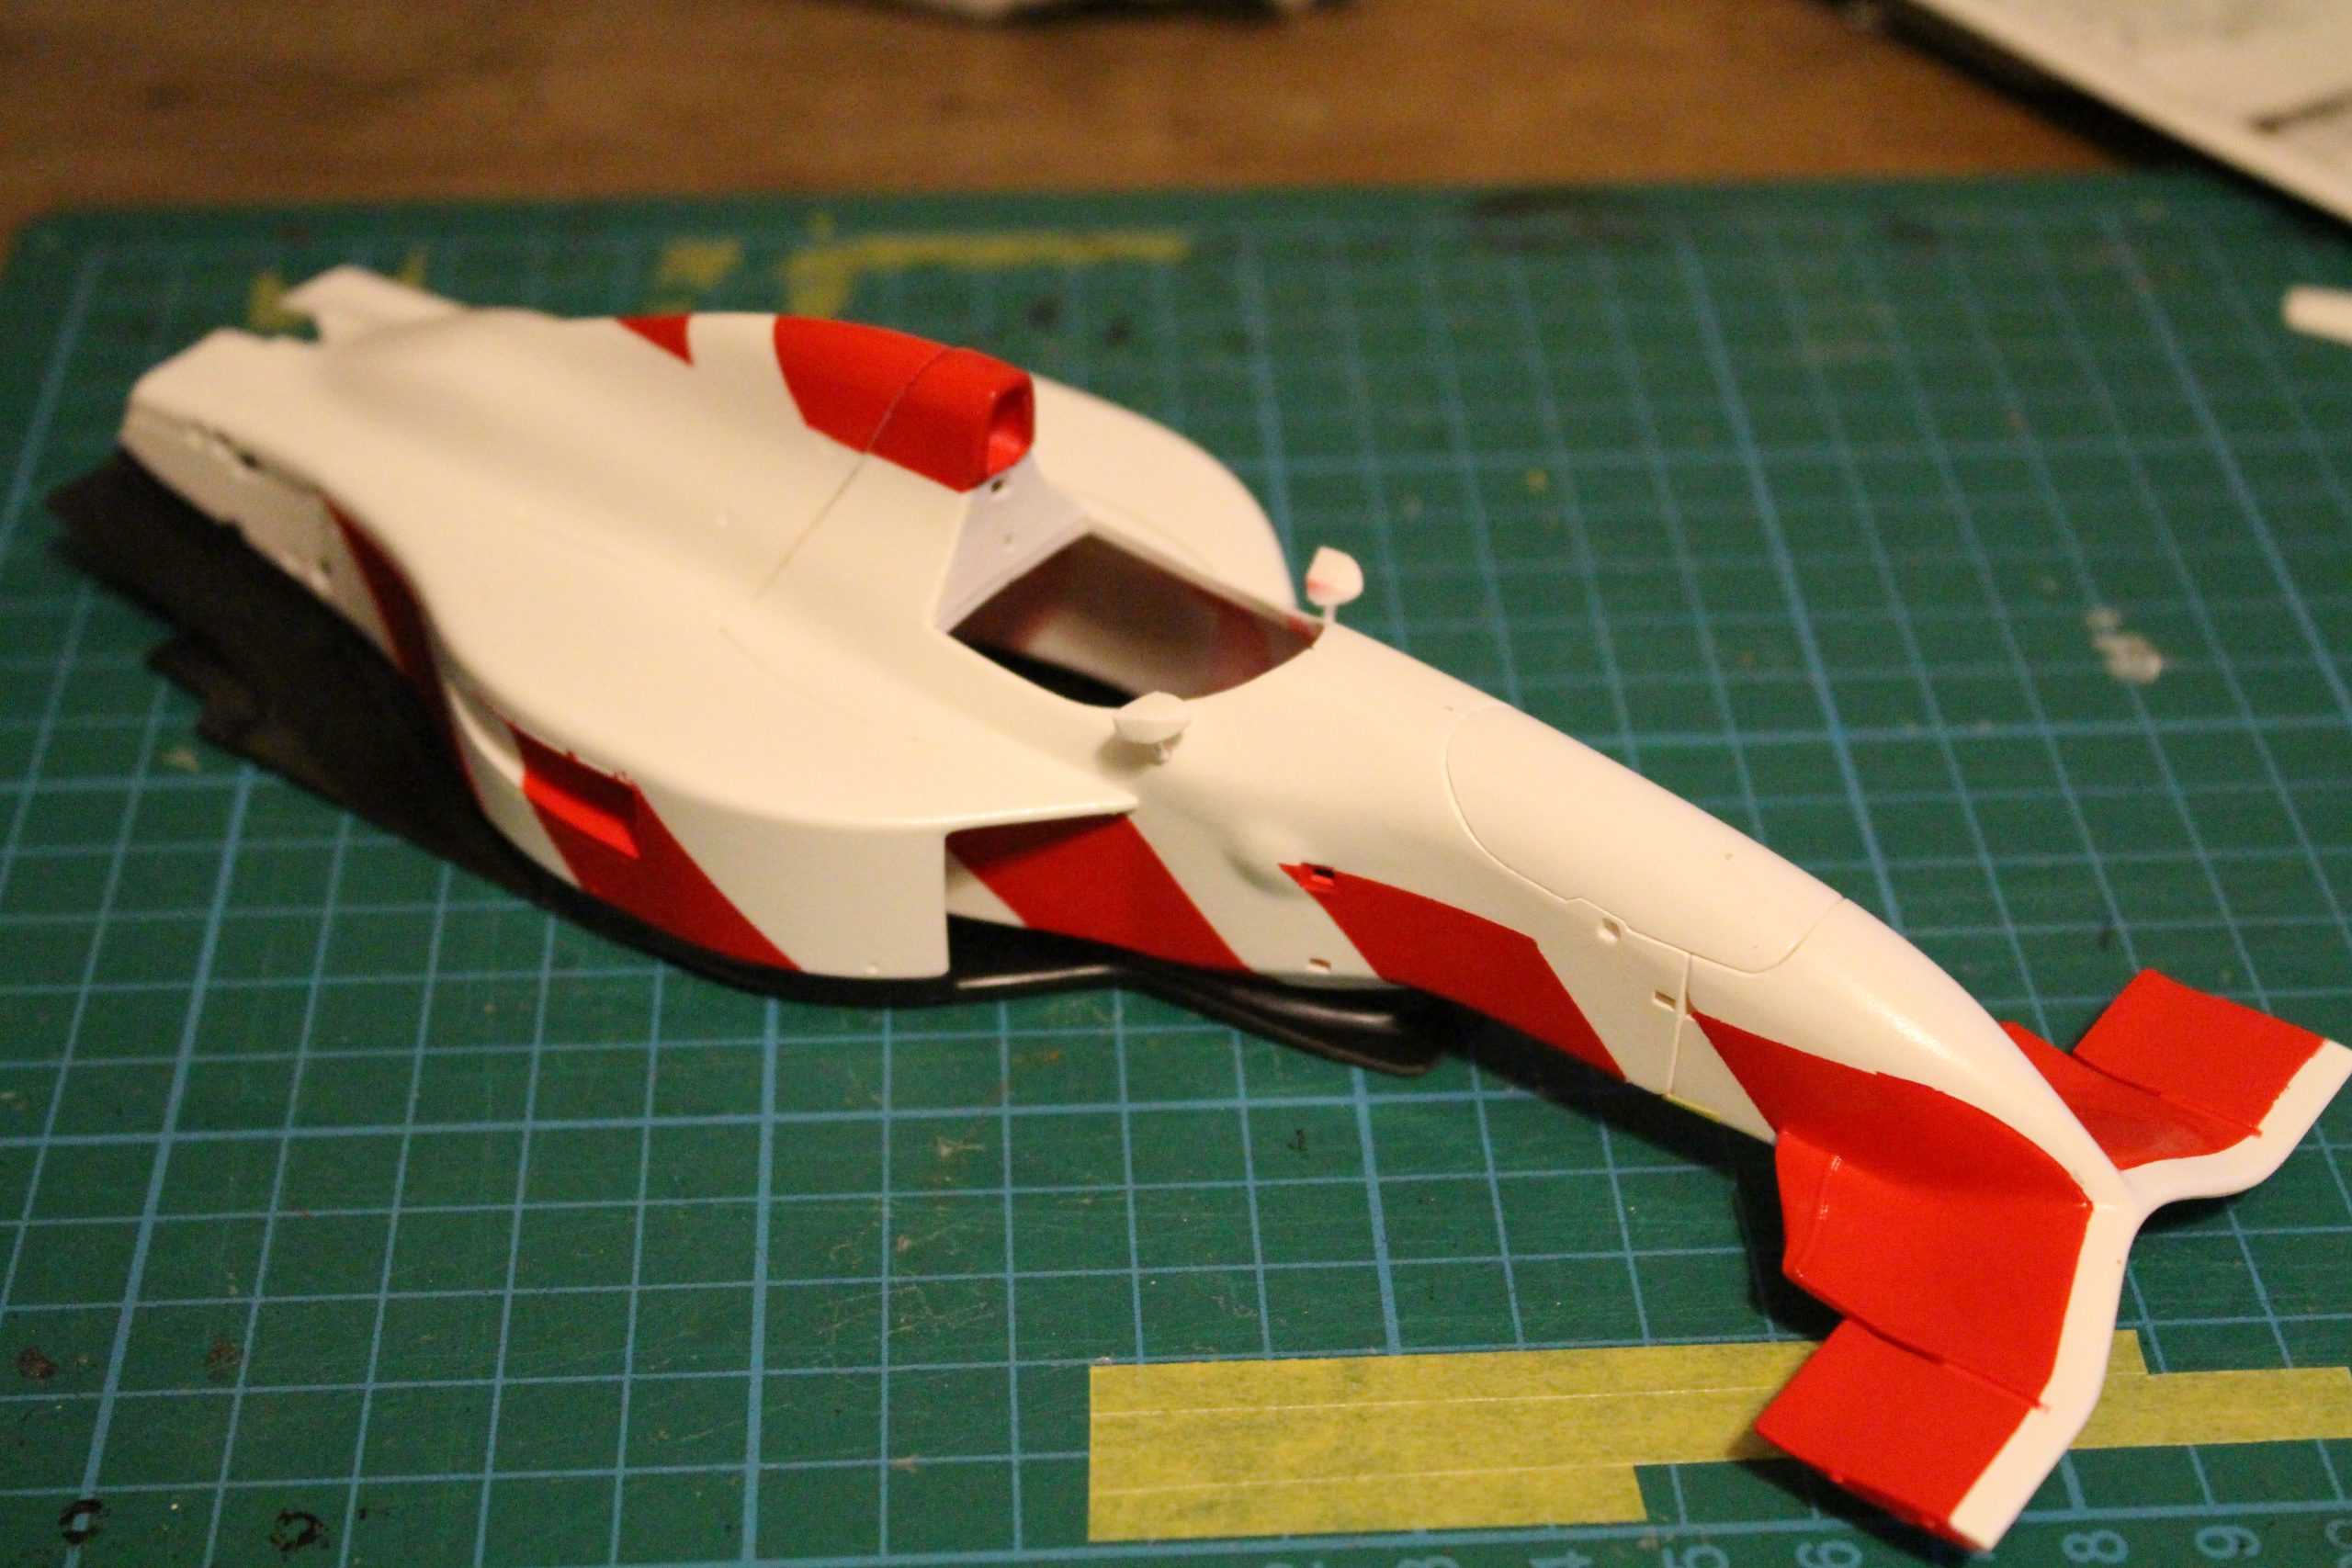
In the end, having looked at the complex surfaces around the airbox and radiator outlets, I decided to mask and spray the red areas. I used Tamiya TS8 Italian Red. The masking job for the Footwork is fairly easy – the chevrons are mostly straight lines. It’s really just a case of getting the placement correct and getting everything aligned nicely.

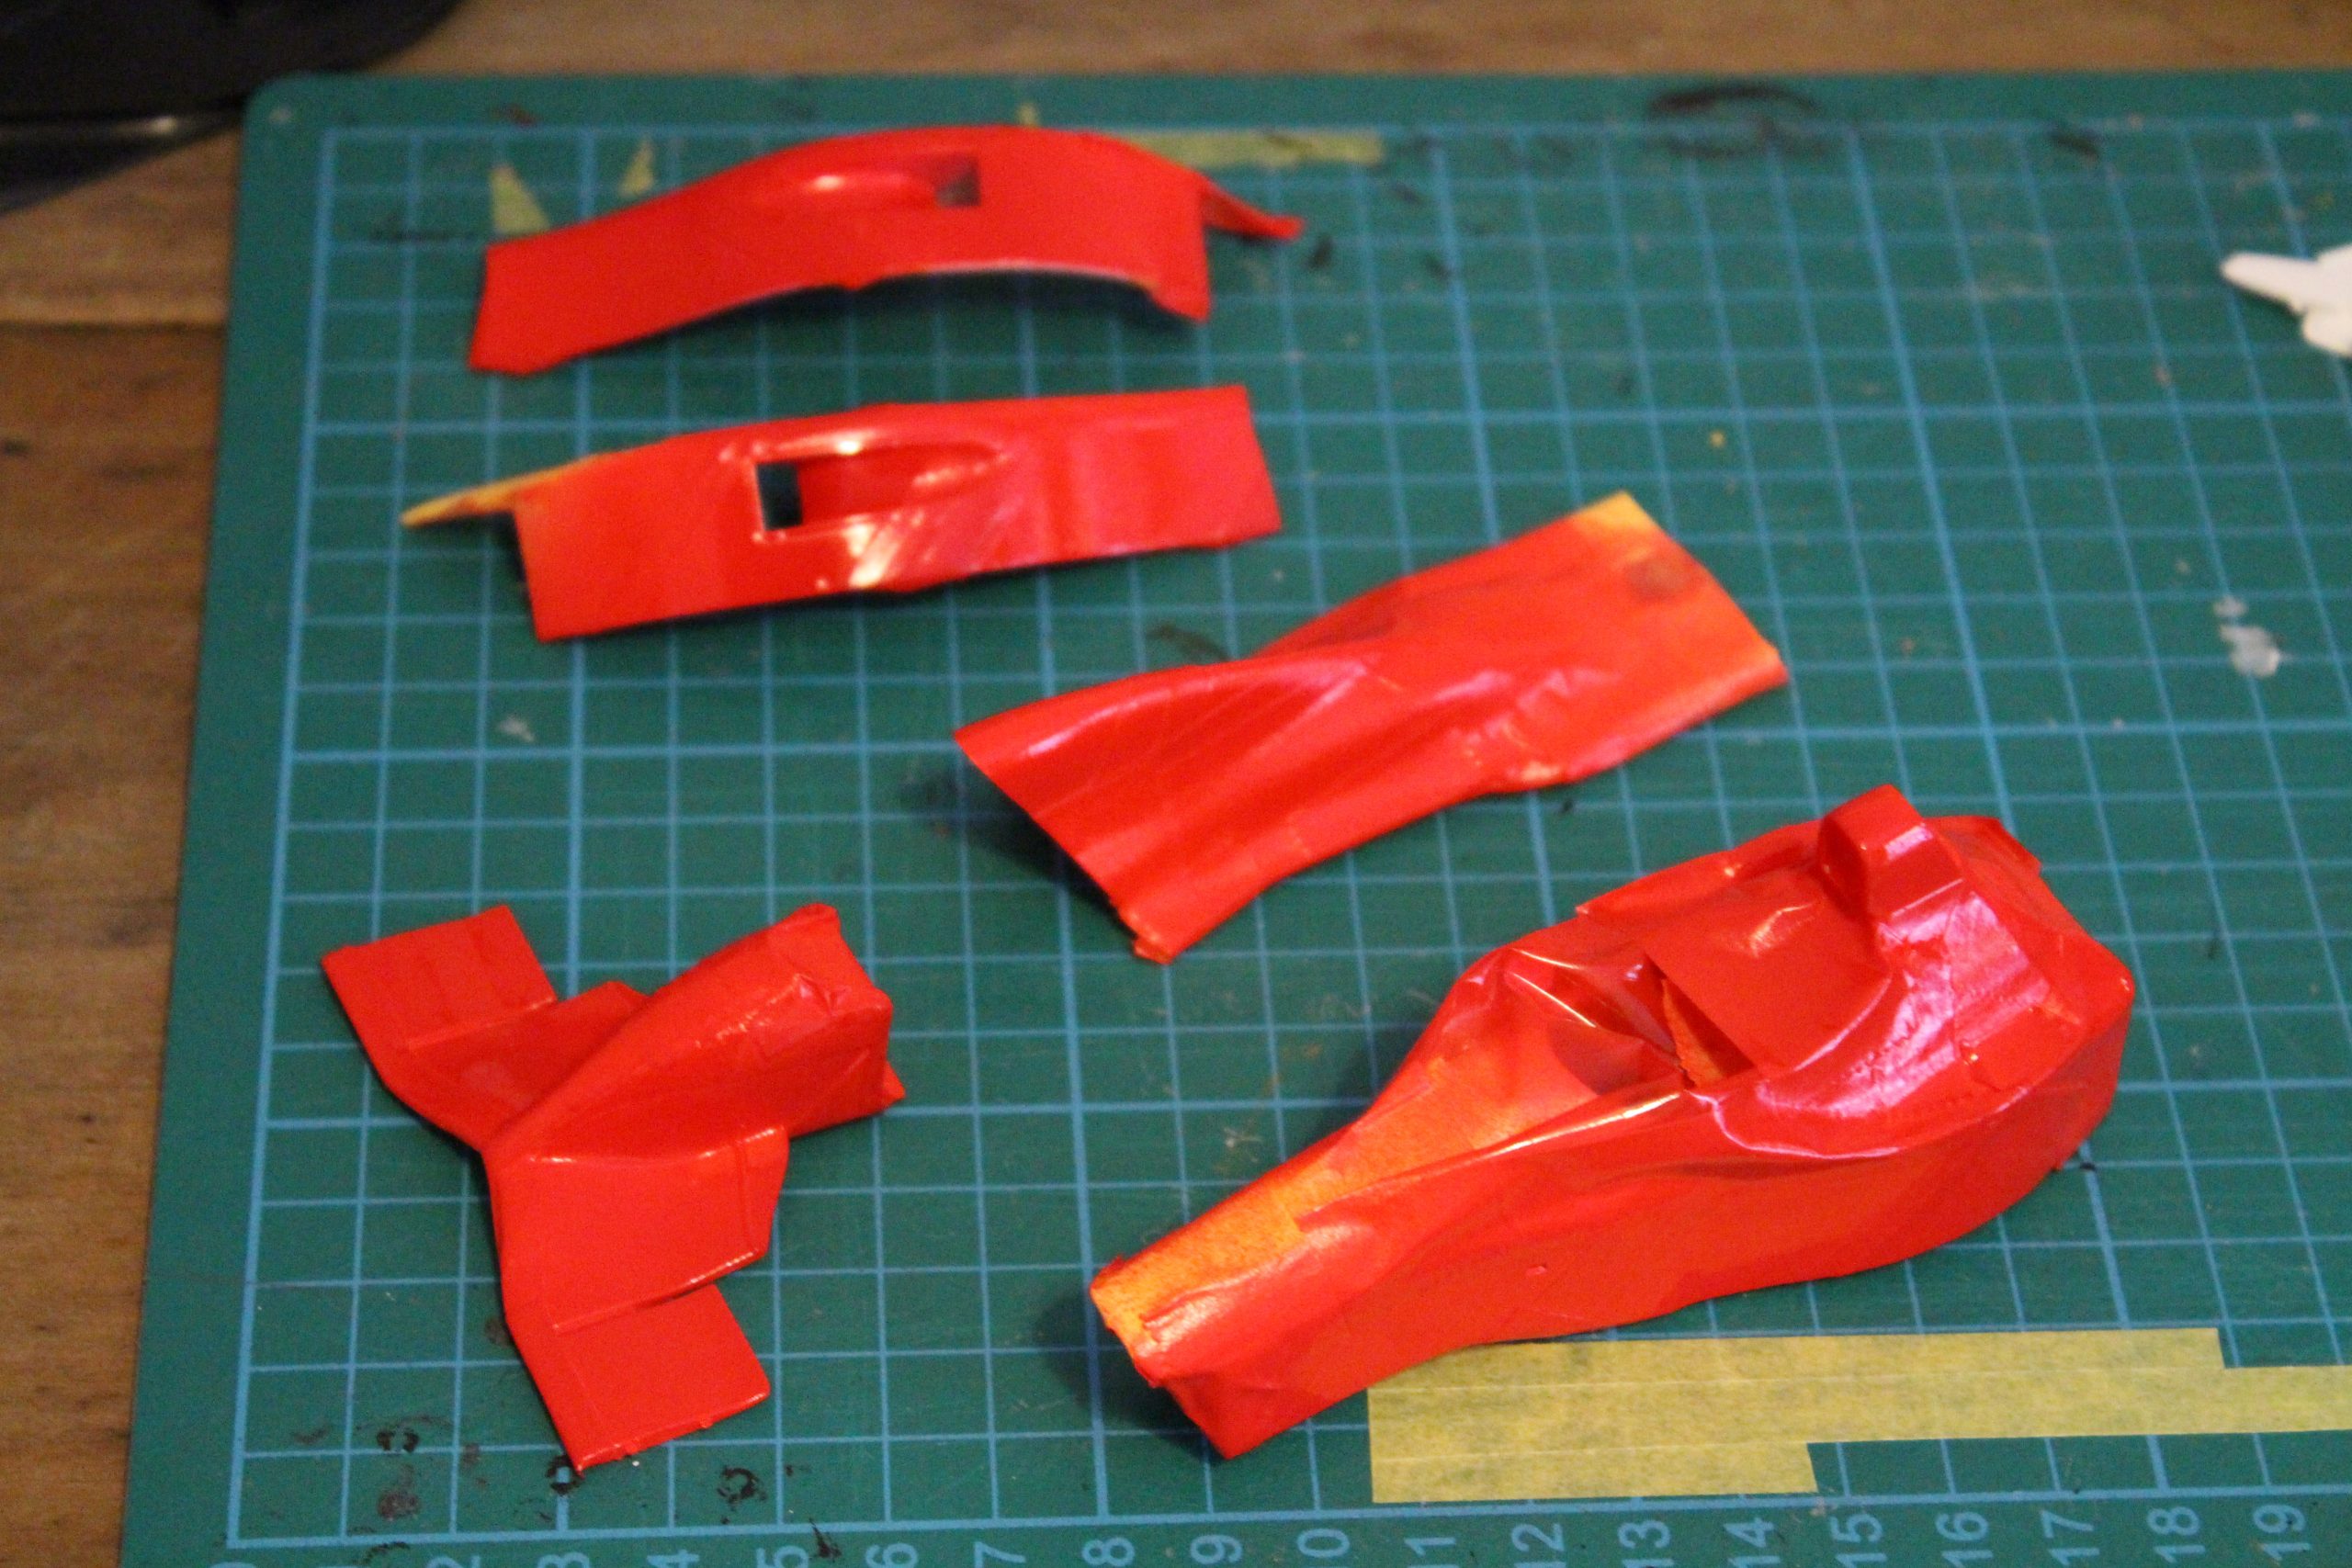
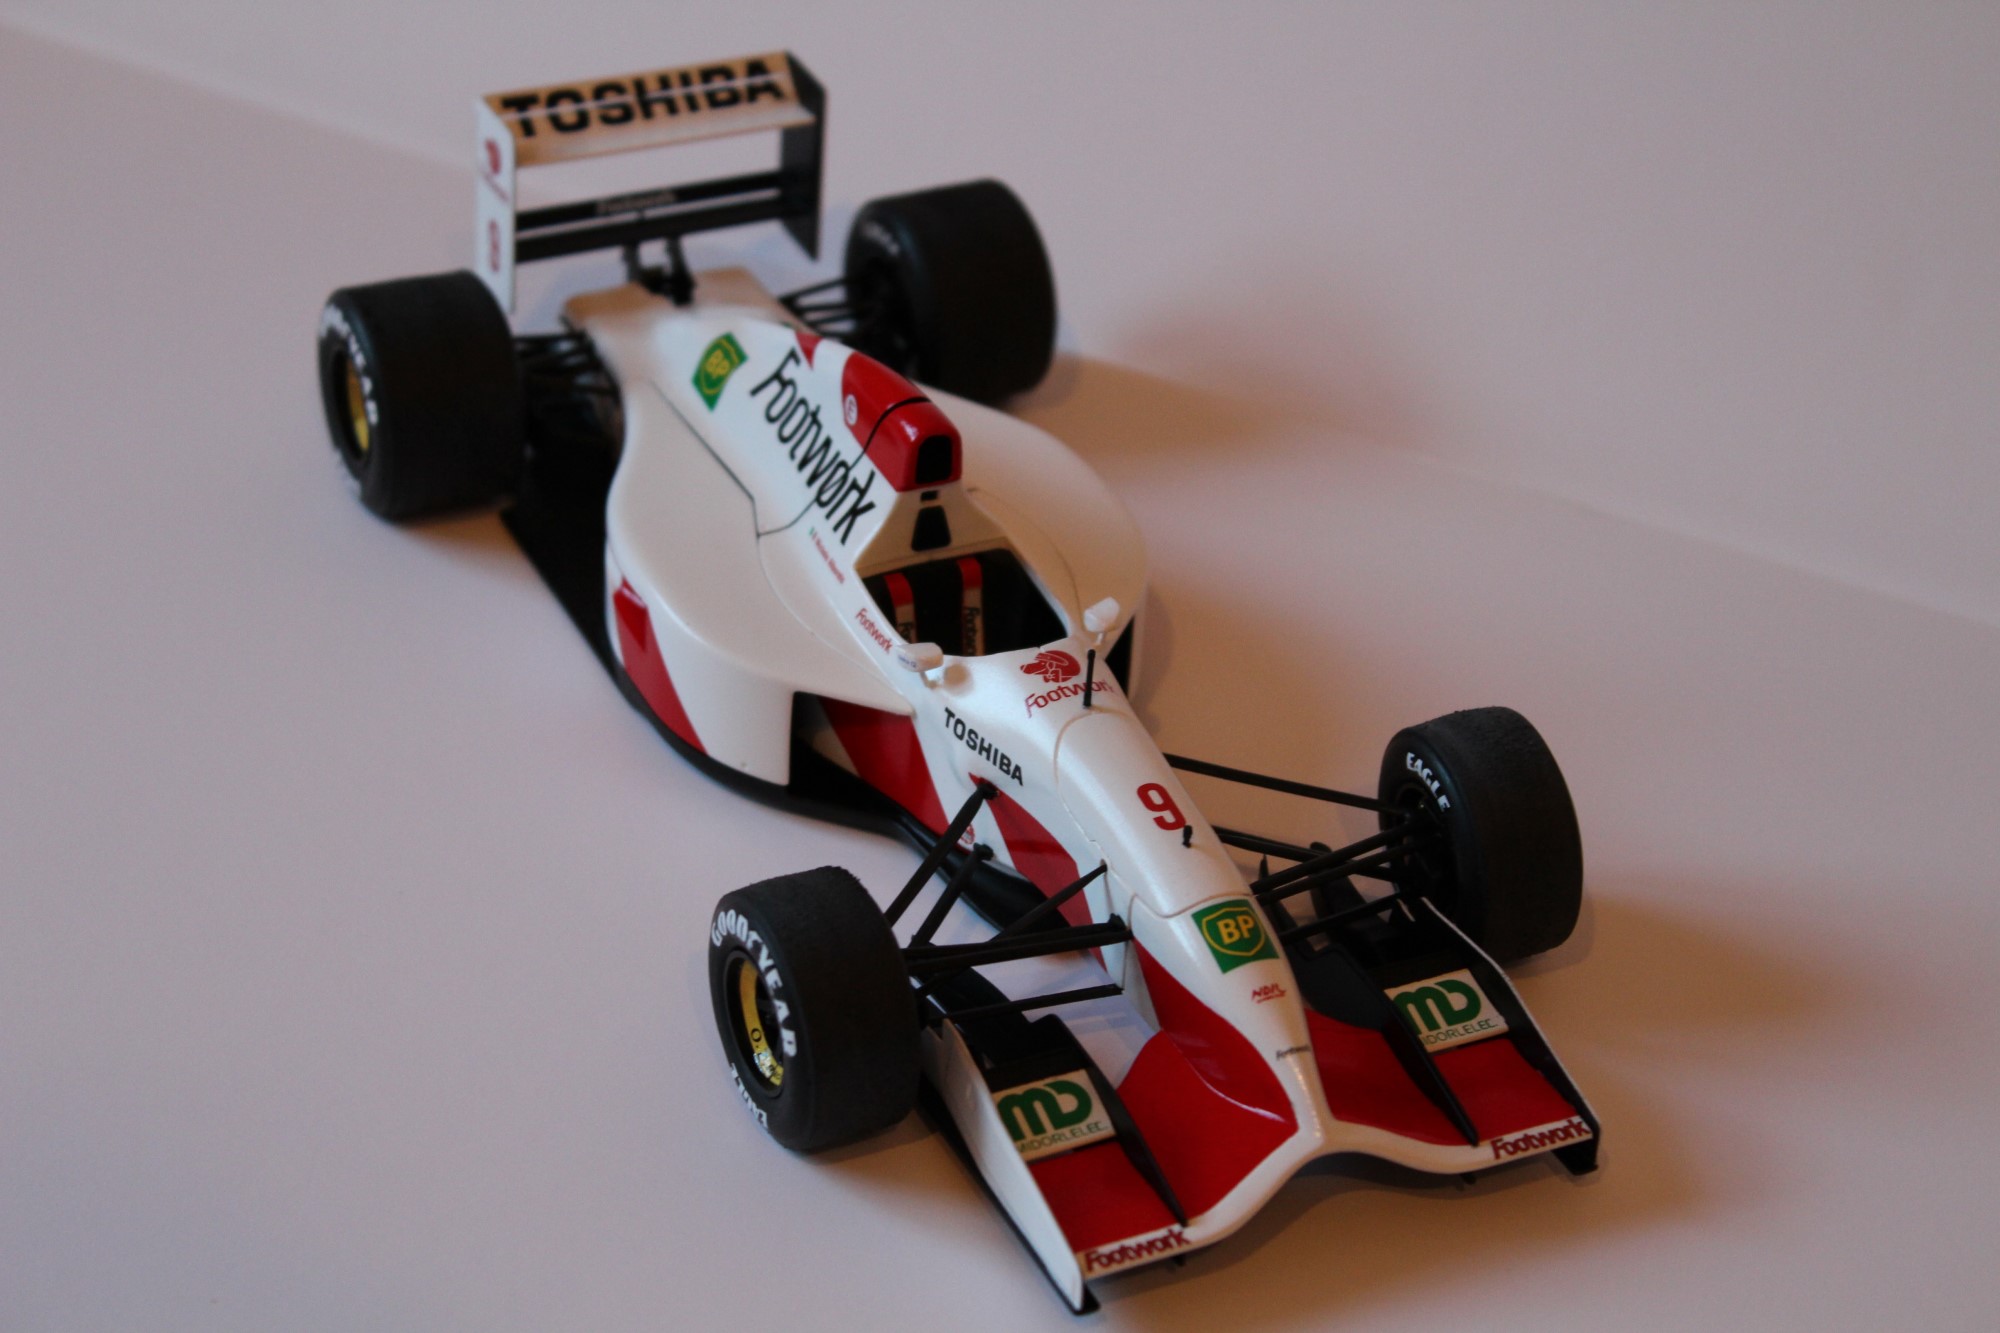
Removing the masking tape revealed a few bleeds and leaks which needed cleaning up, but overall the result was very good. The Footwork livery is great – simple but striking. They don’t do them like that any more!
Adding the decals
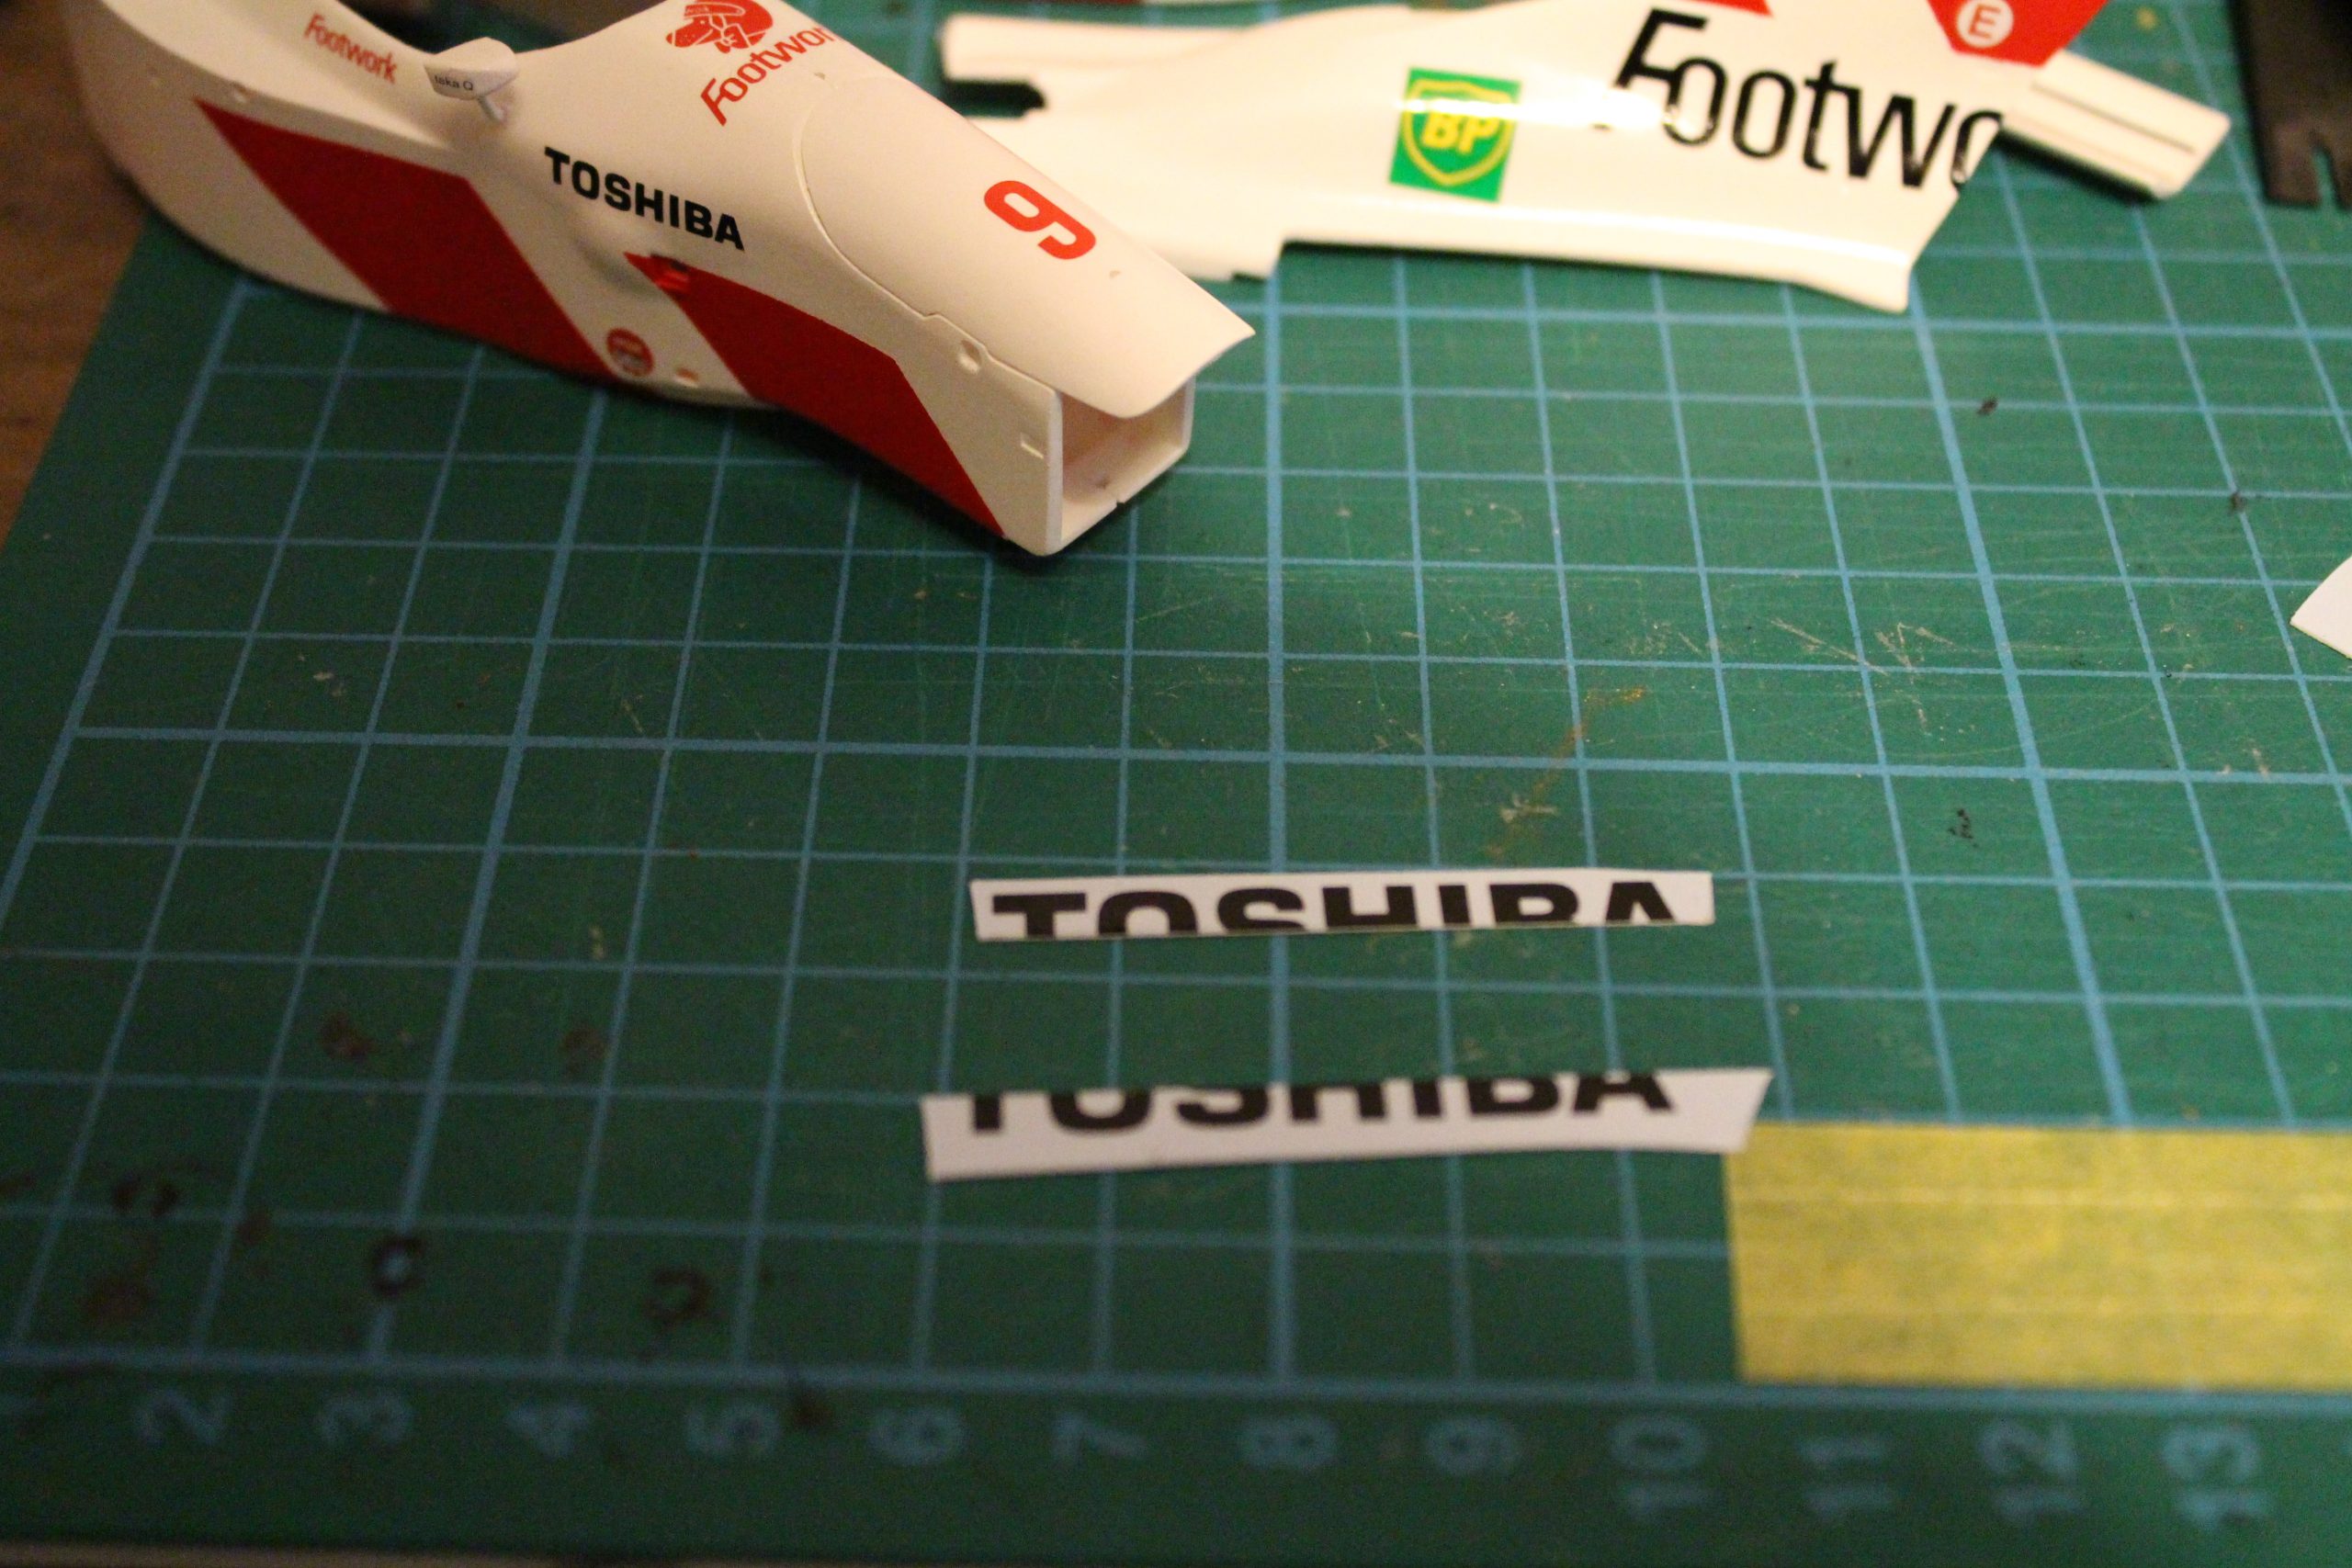
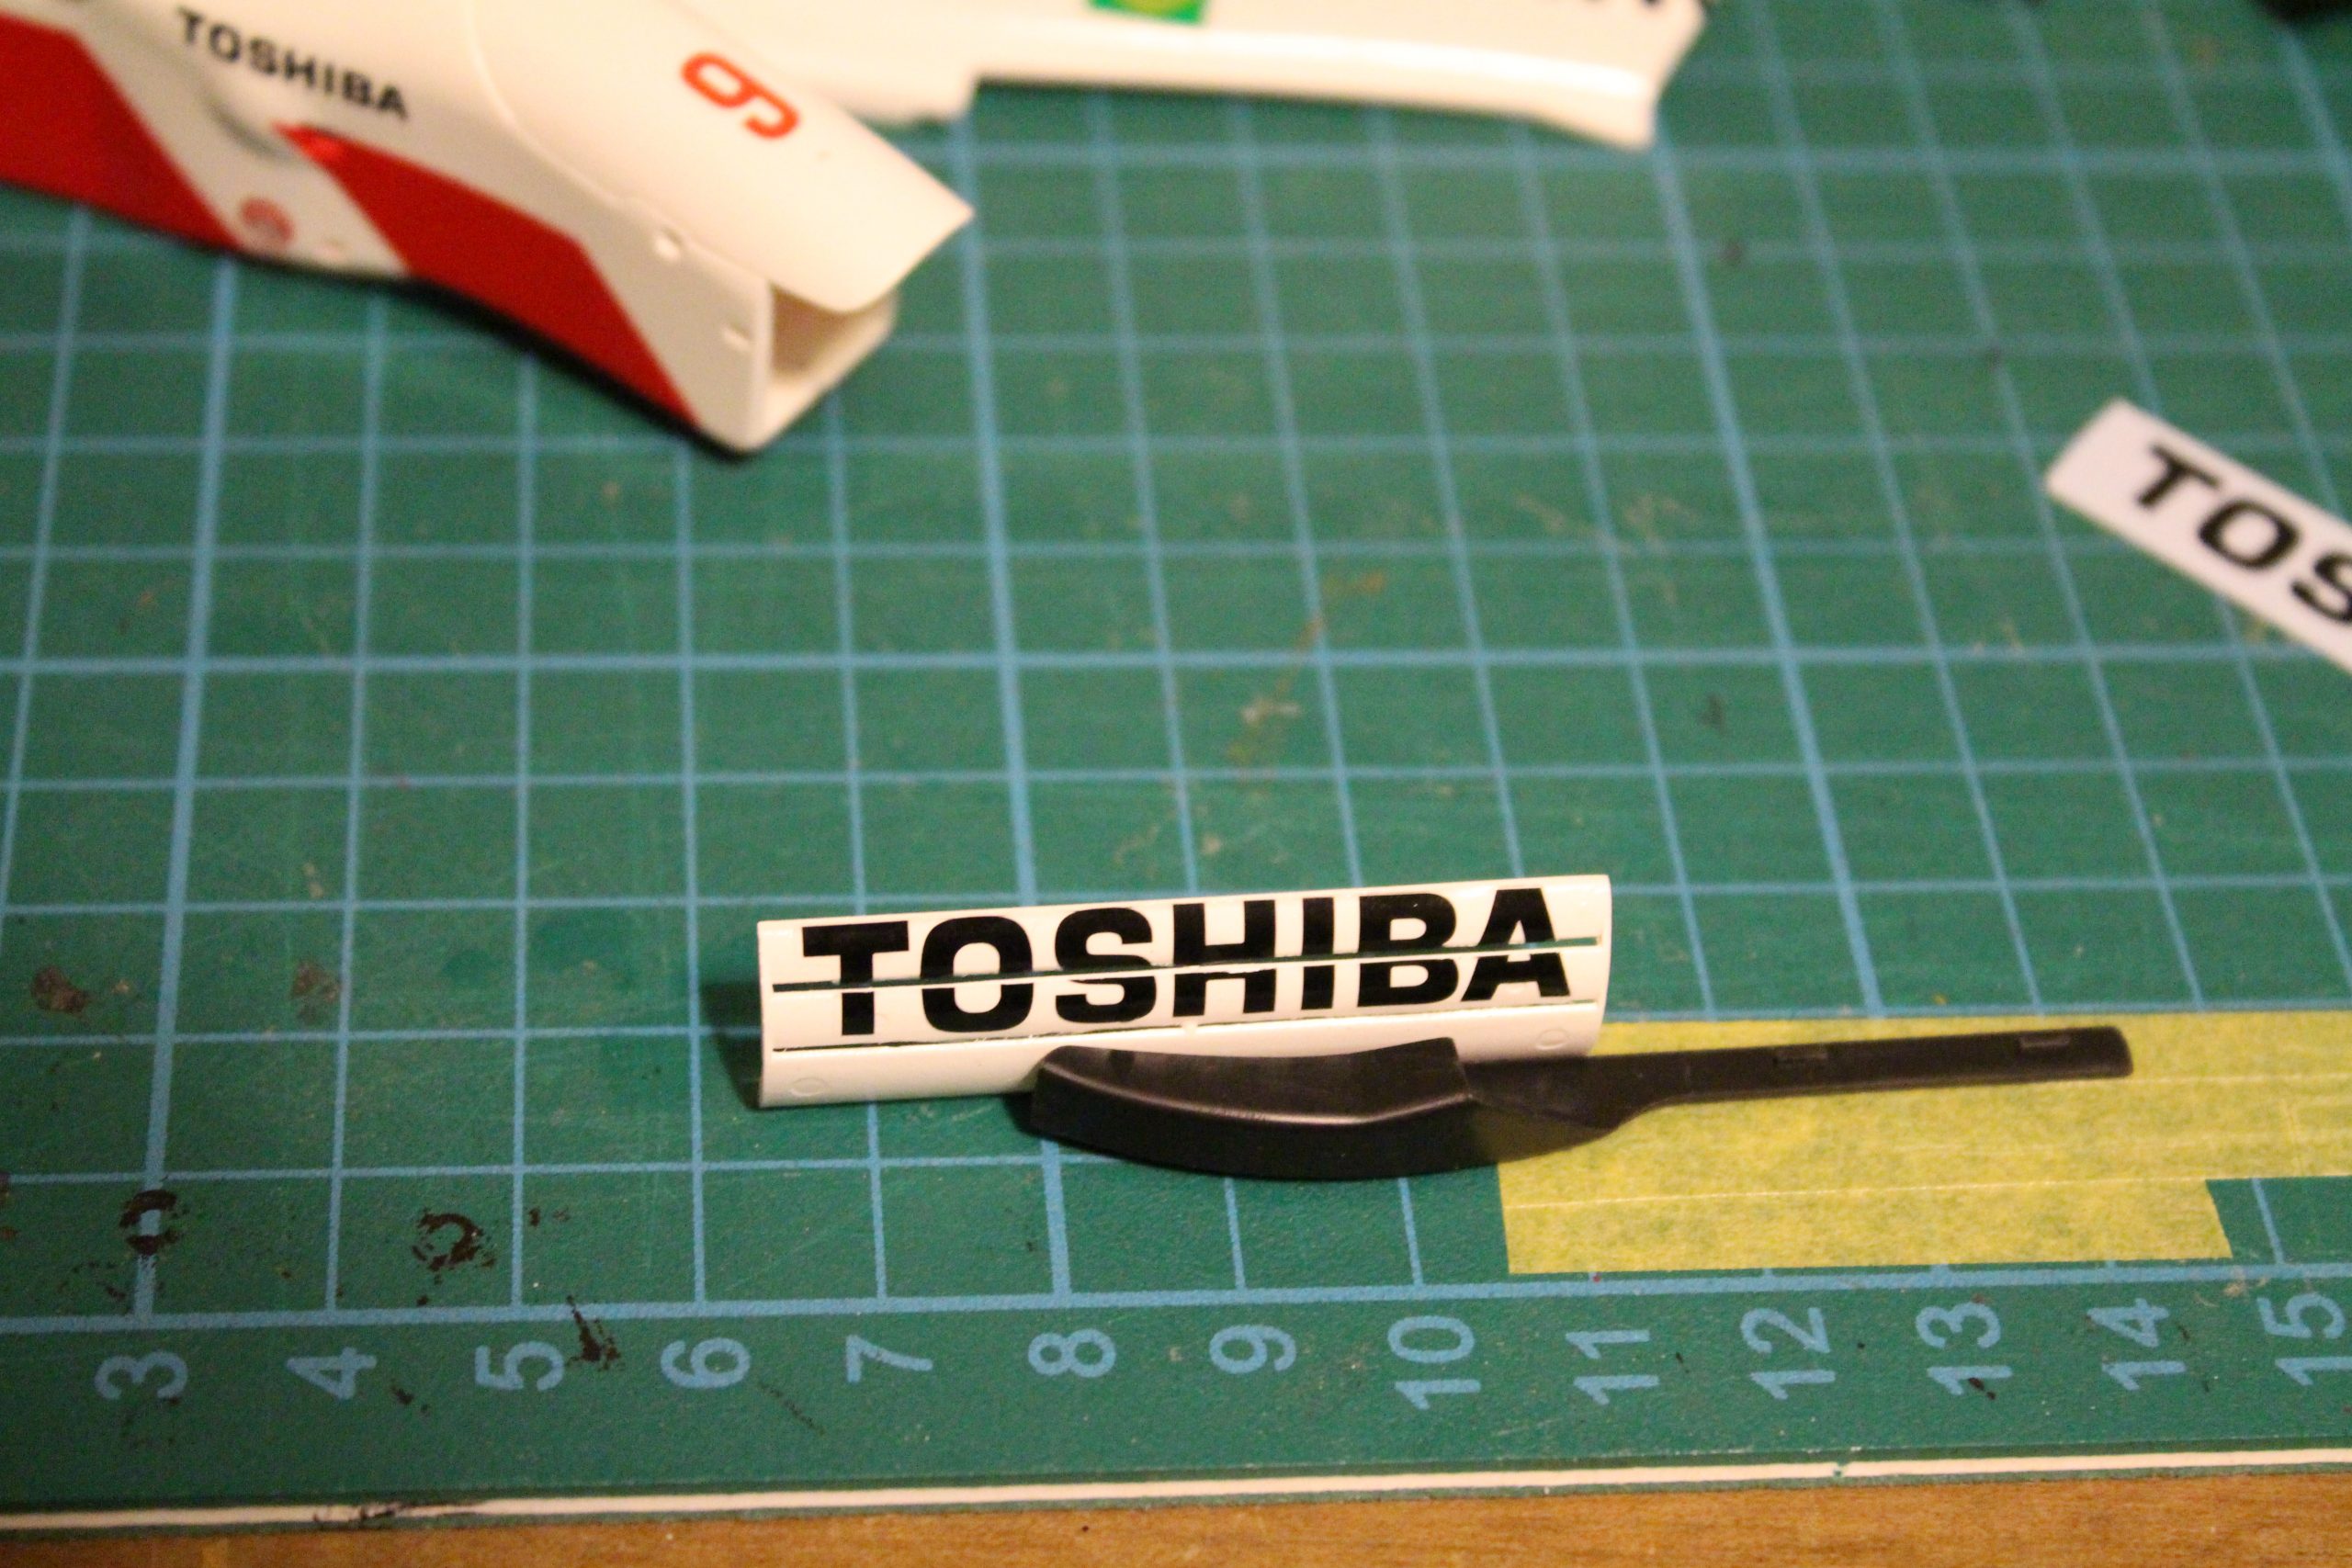
By painting the FA13’s red areas, the amount of decal work on the kit is significantly reduced. Aside from Footwork themselves, Aguri Suzuki’s Toshiba support, and BP, there weren’t many other logos on the car in 1992.
The decals for the rear wing do not come cut to size for each wing element. In the past I probably would have prepared the decal and placed it over both elements and cut it down the middle once it had dried. Fortunately I’ve learned a better way – cutting before applying!
Once all the decals were applied and had time to dry out fully, I sprayed the bodywork with TS13 Clear.
The Footwork’s finer details
Unlike many F1 model kits, the Fujimi Footwork FA13 doesn’t have a full removable rear cowl. Instead, it is split into three sections – one for each sidepod, with a top section covering the airbox and engine. This makes it much easier to remove, so I decided to put a little extra effort in painting the engine, gearbox and rear suspension. This would give me the option of displaying it removed, if I desired.
I could’ve spent more time adding extra details such as wiring, pipes and photo etch, but decided against to avoid getting bogged down. It would certainly make a good candidate for engine detailing if desired though. Studio 27 have made a Footwork FA13 upgrade set.
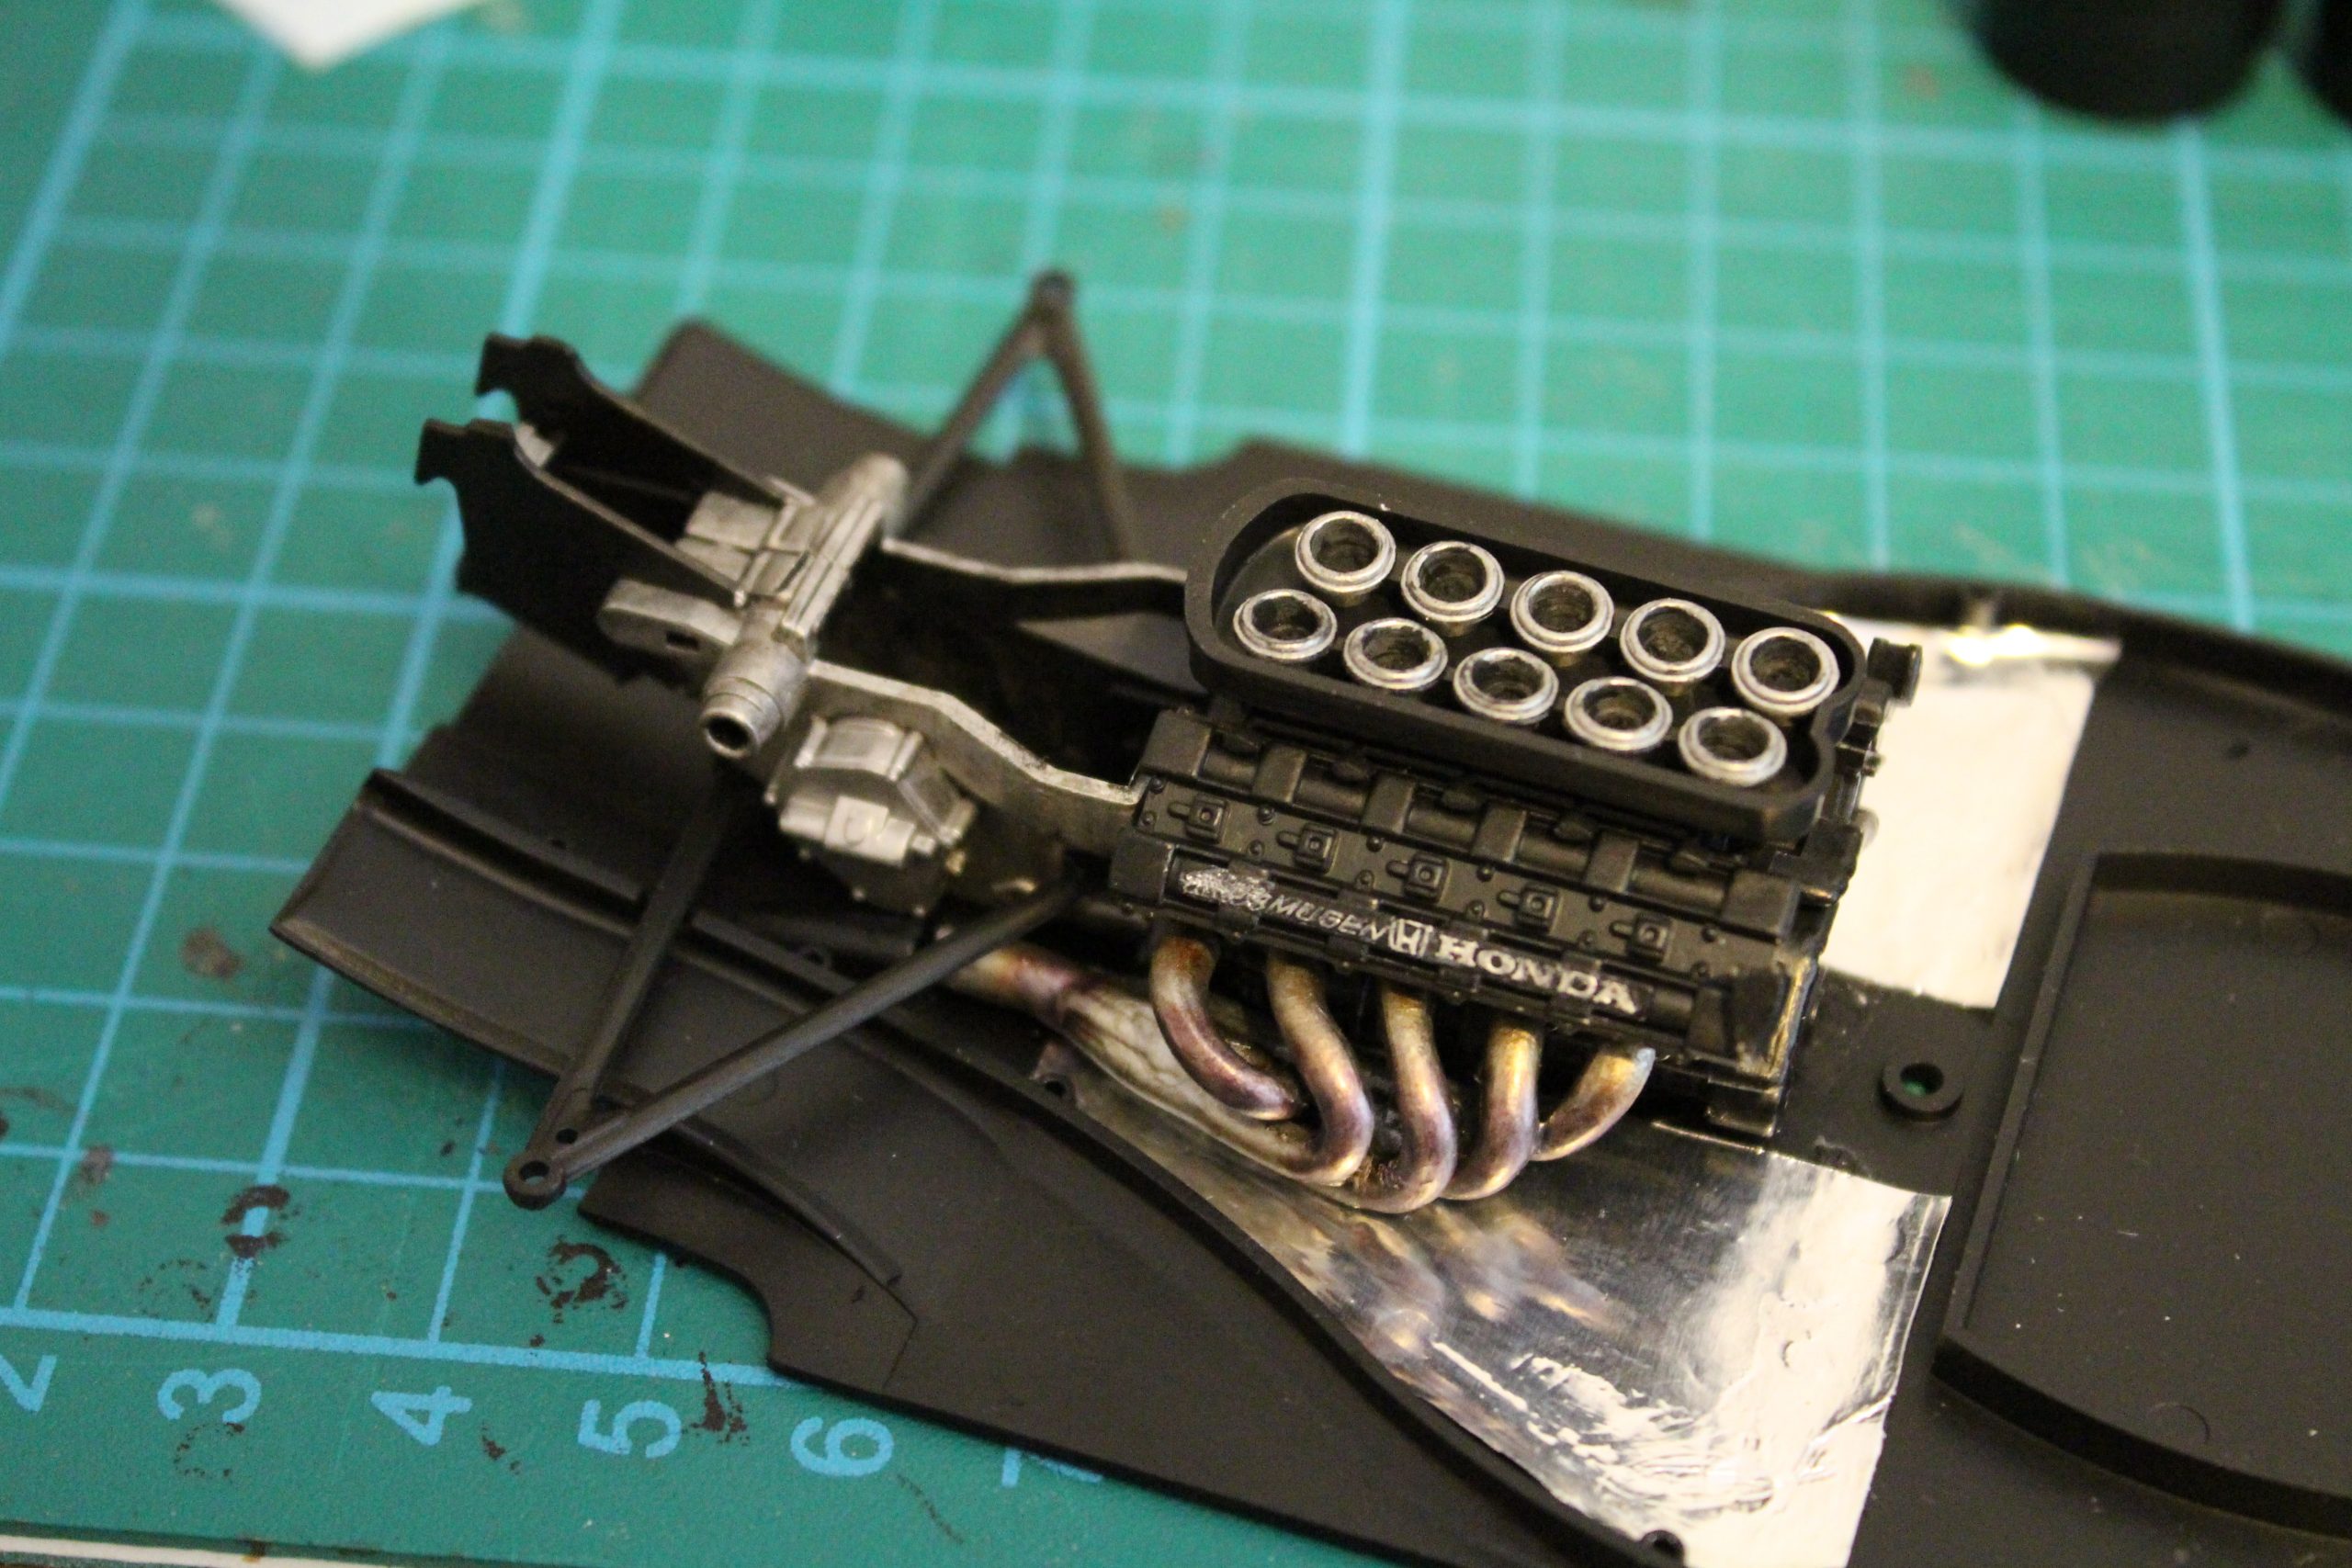
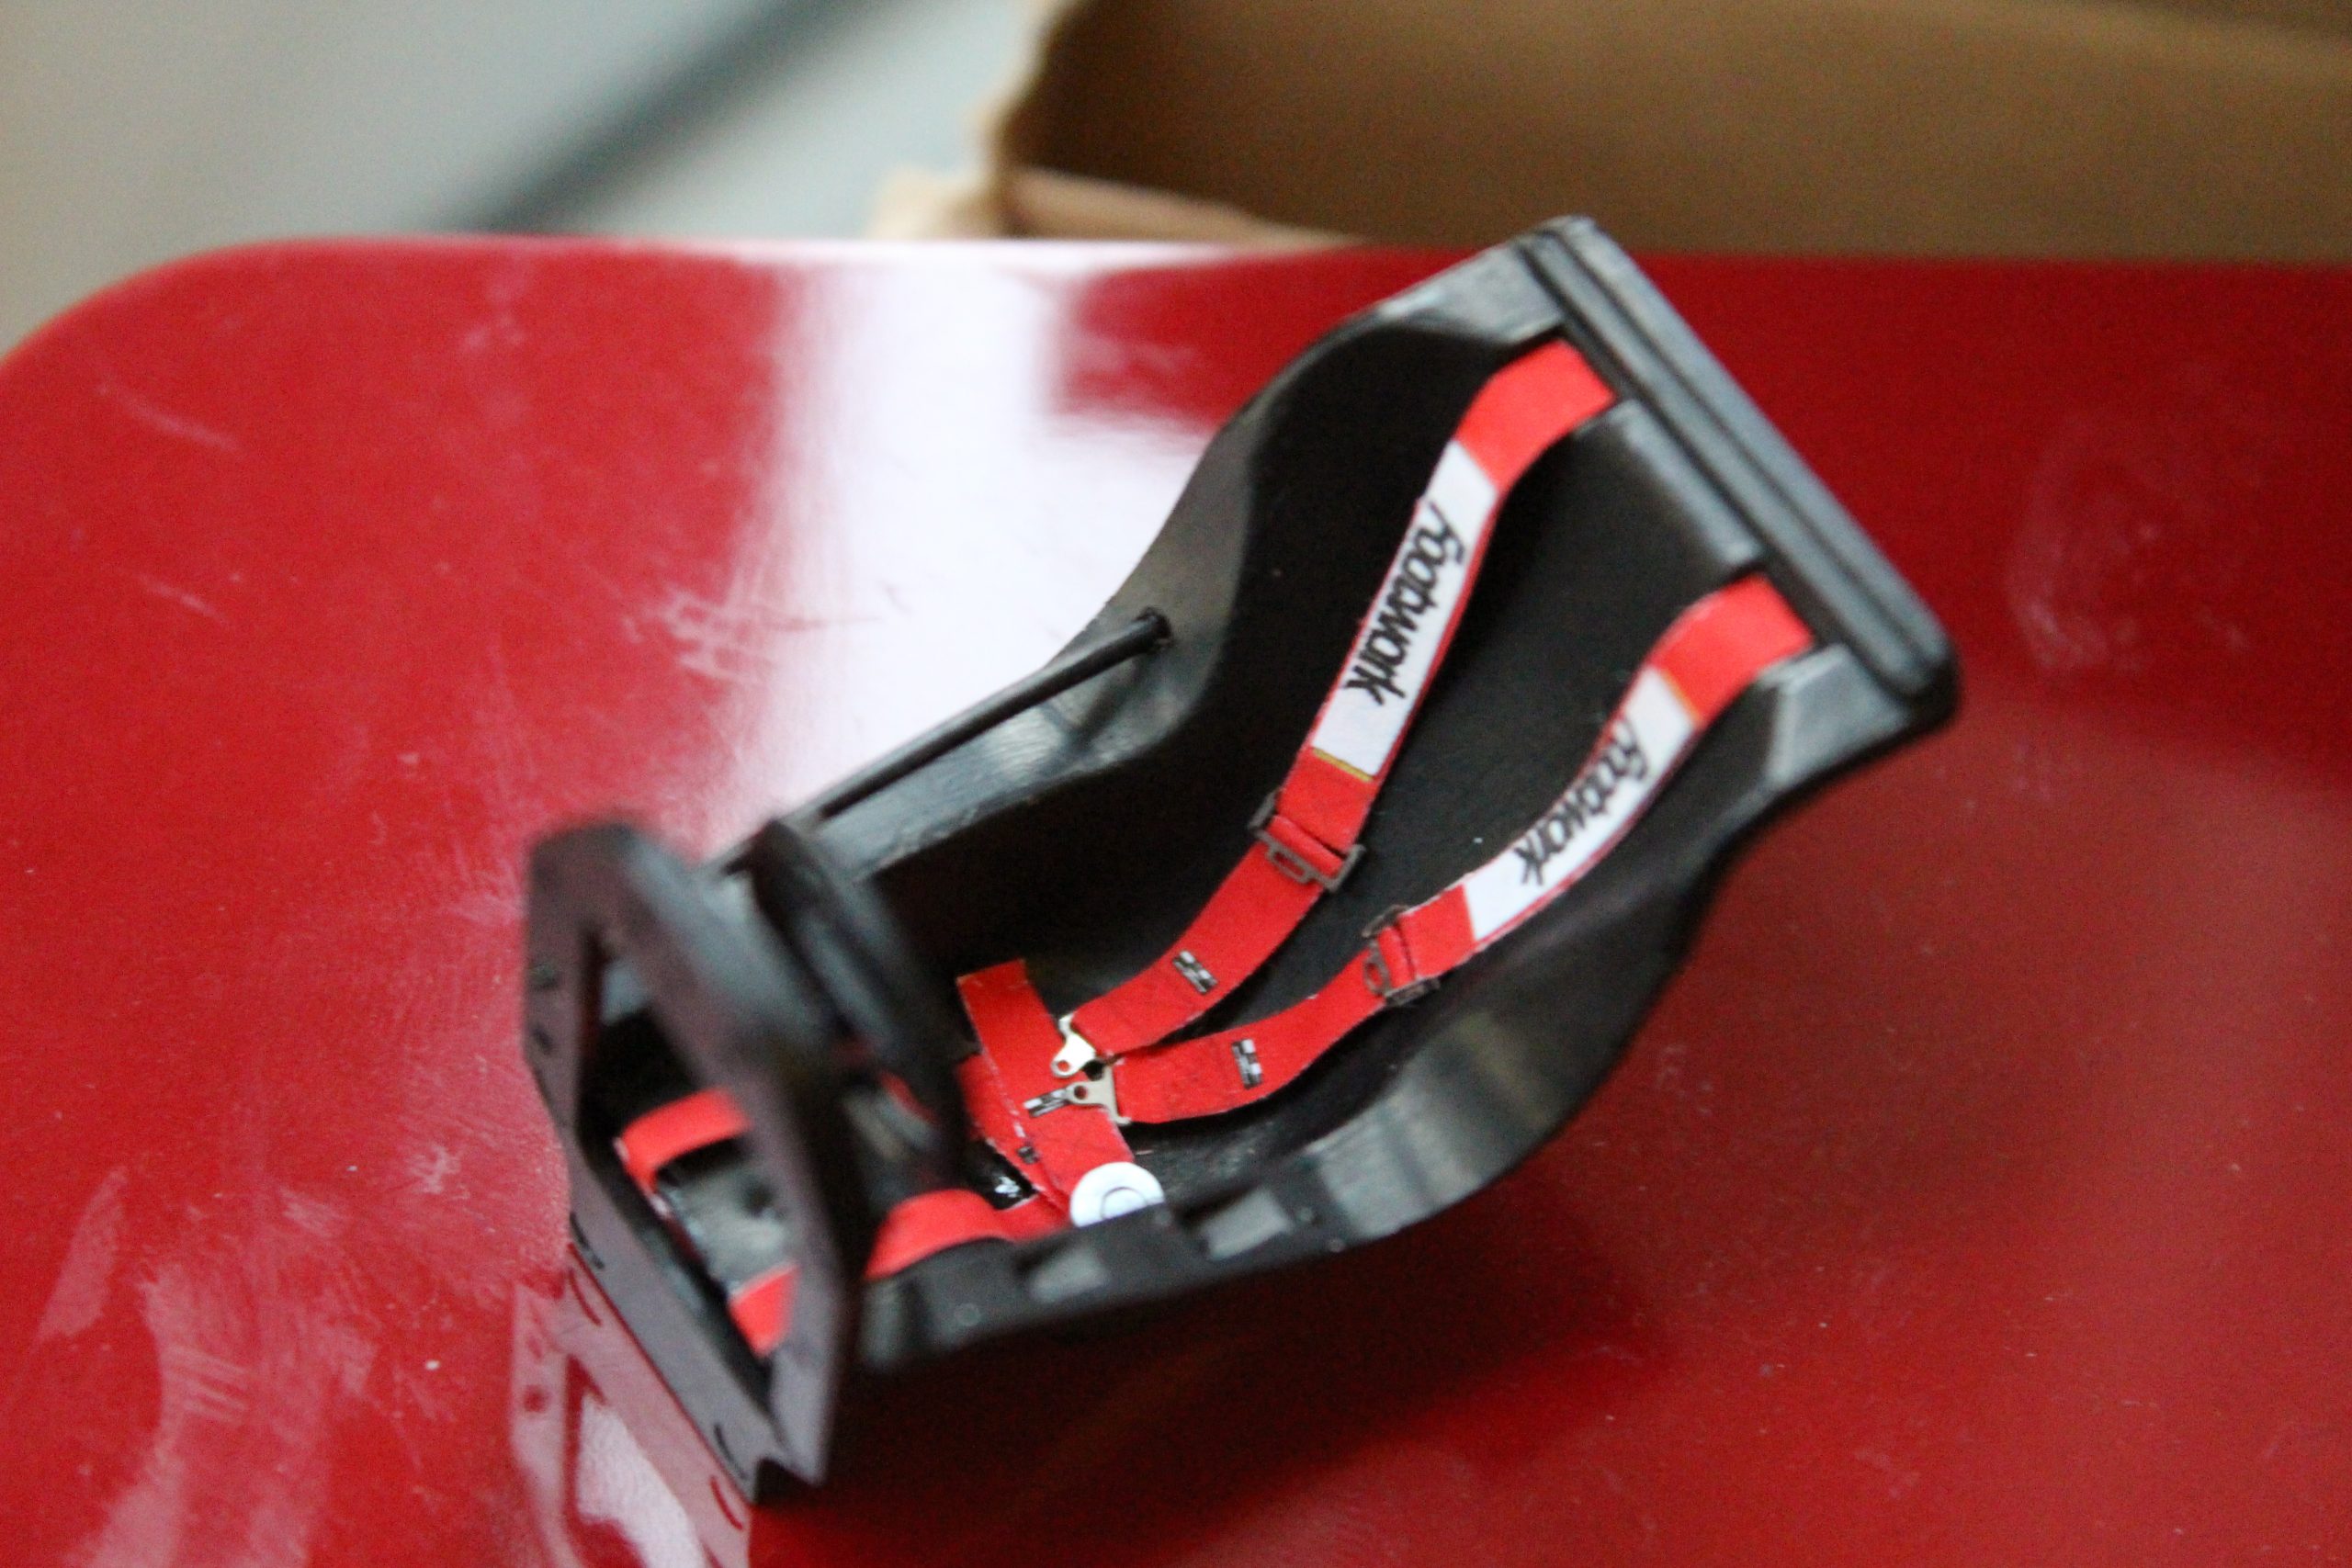
The image above shows how I added foil to the car’s floor to represent the reflective heat protection used around the engine and exhausts. This and the FA13’s seatbelts were the only additional components I added that were not included in the kit. The seatbelts were a standard 1:20 scale set in red, with the Footwork logos created by using MS Word to scale down a logo found online and printing them out onto normal paper.
A small snag at the finish
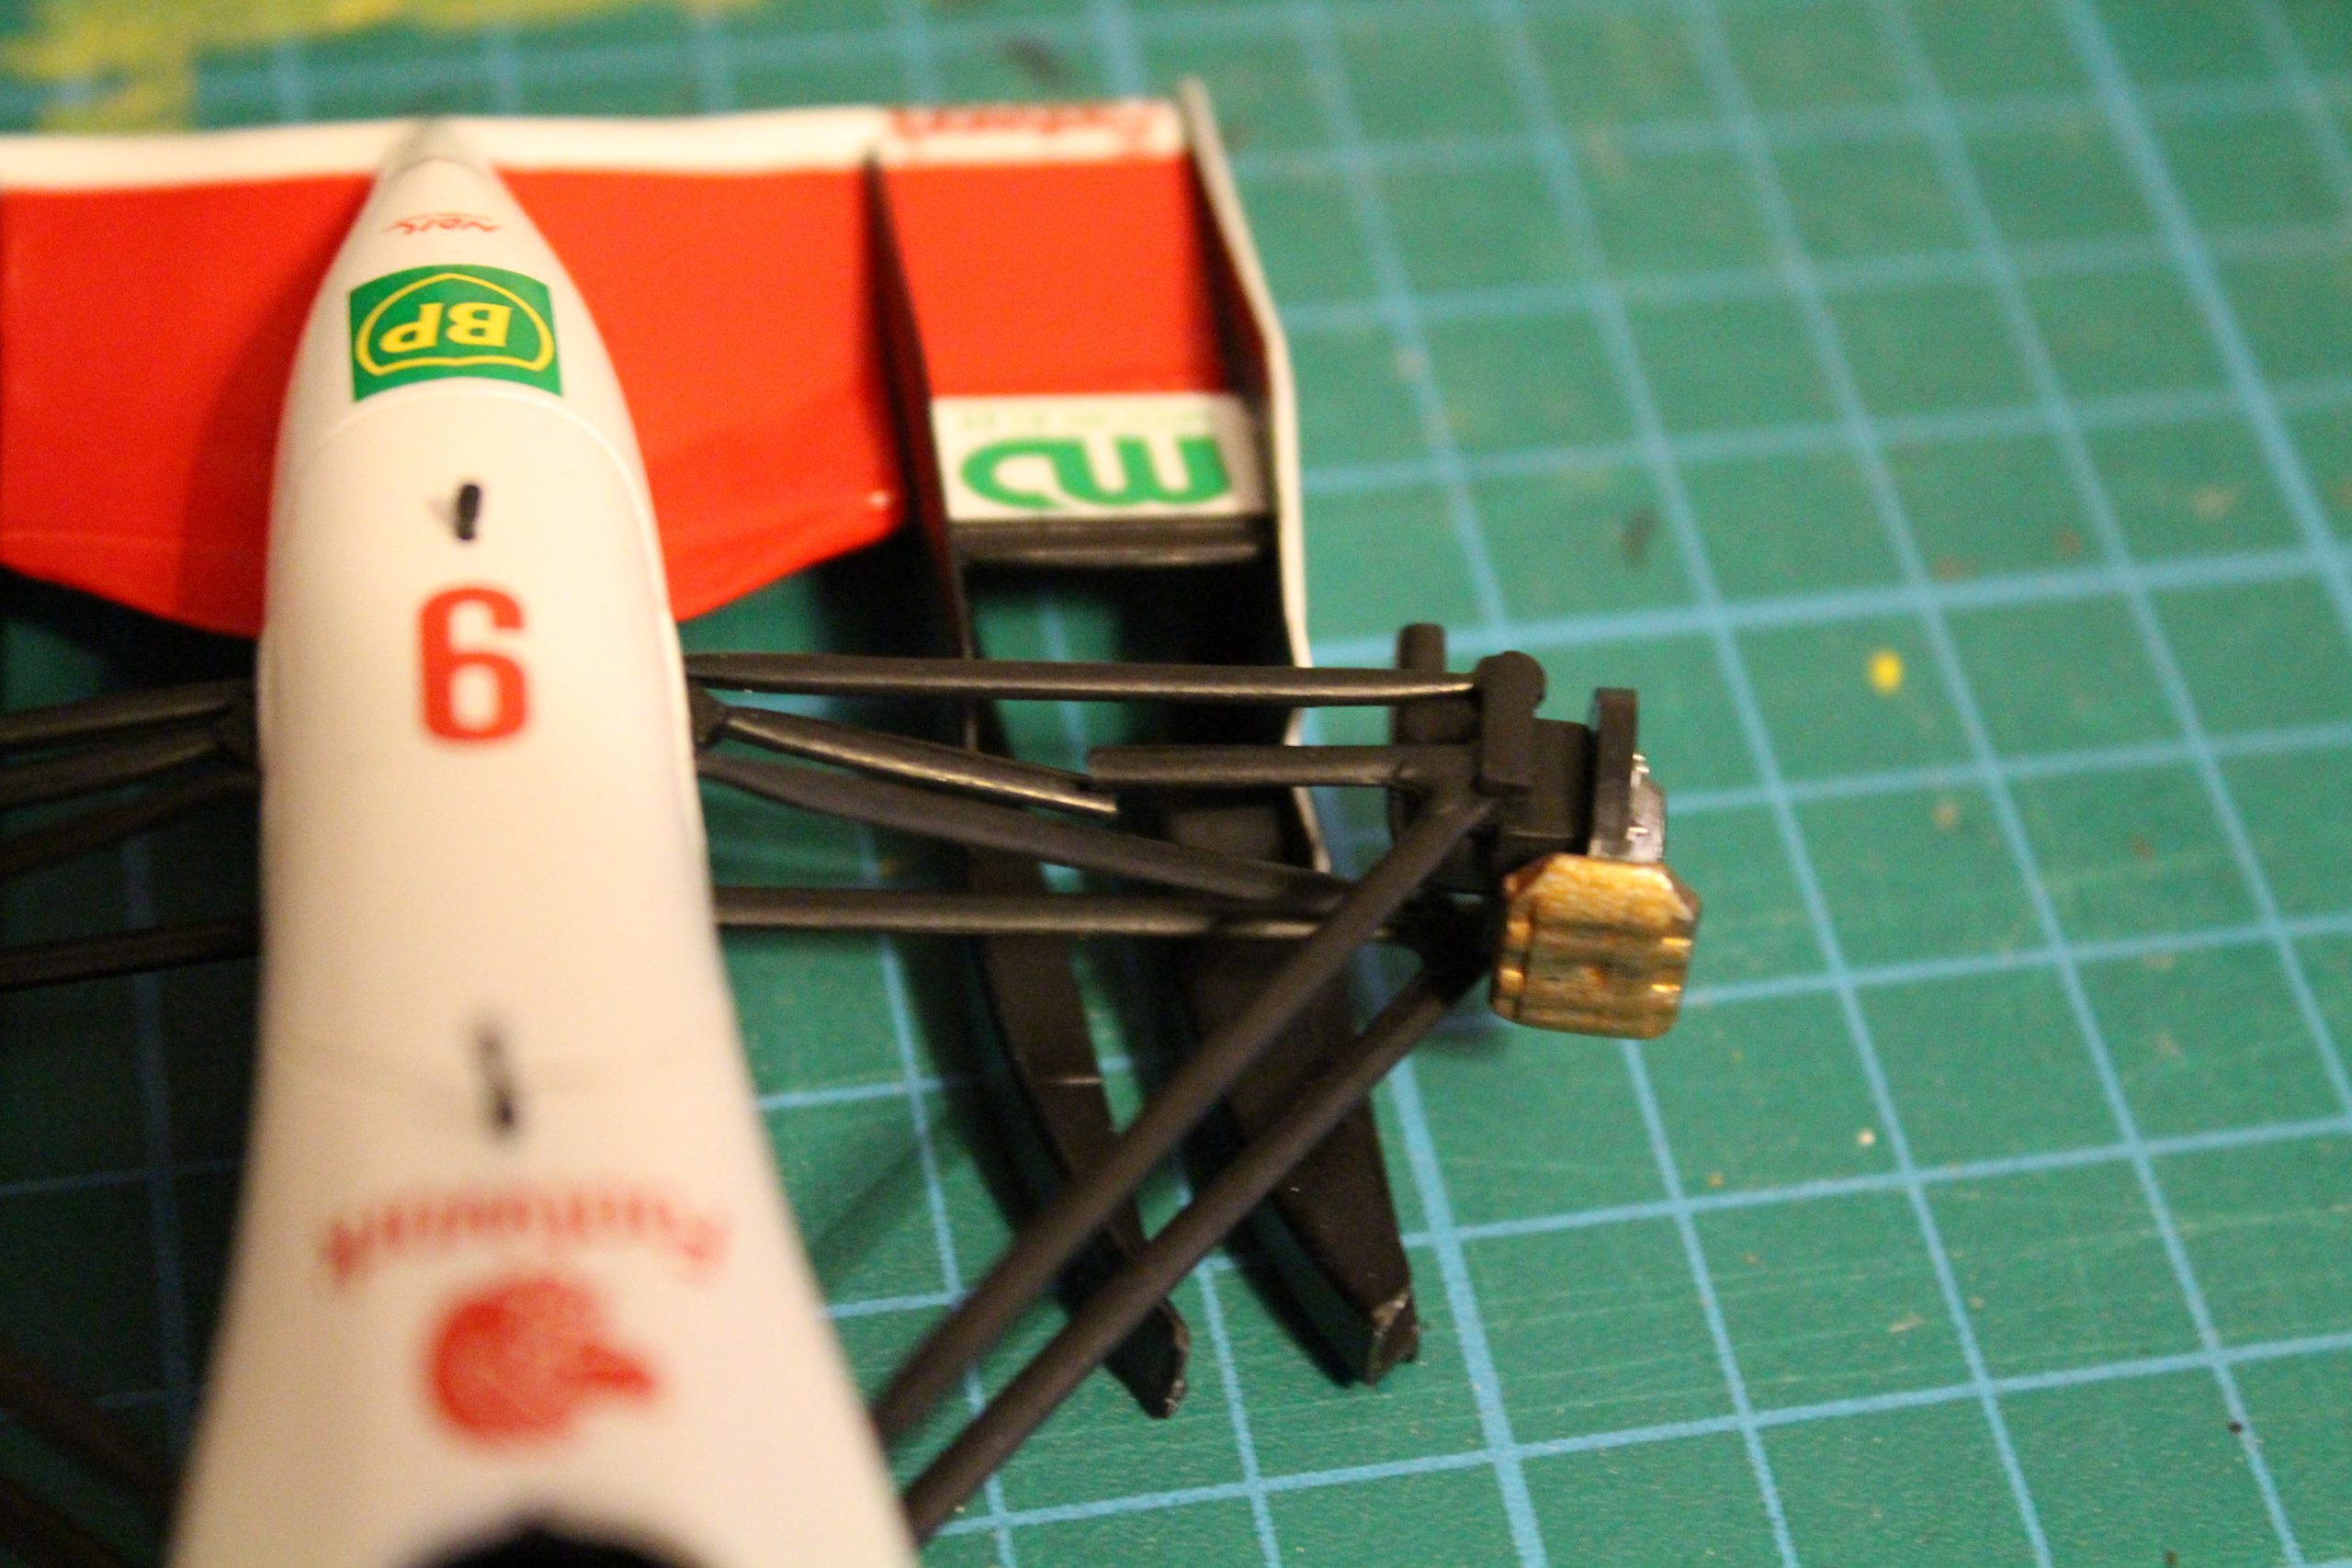
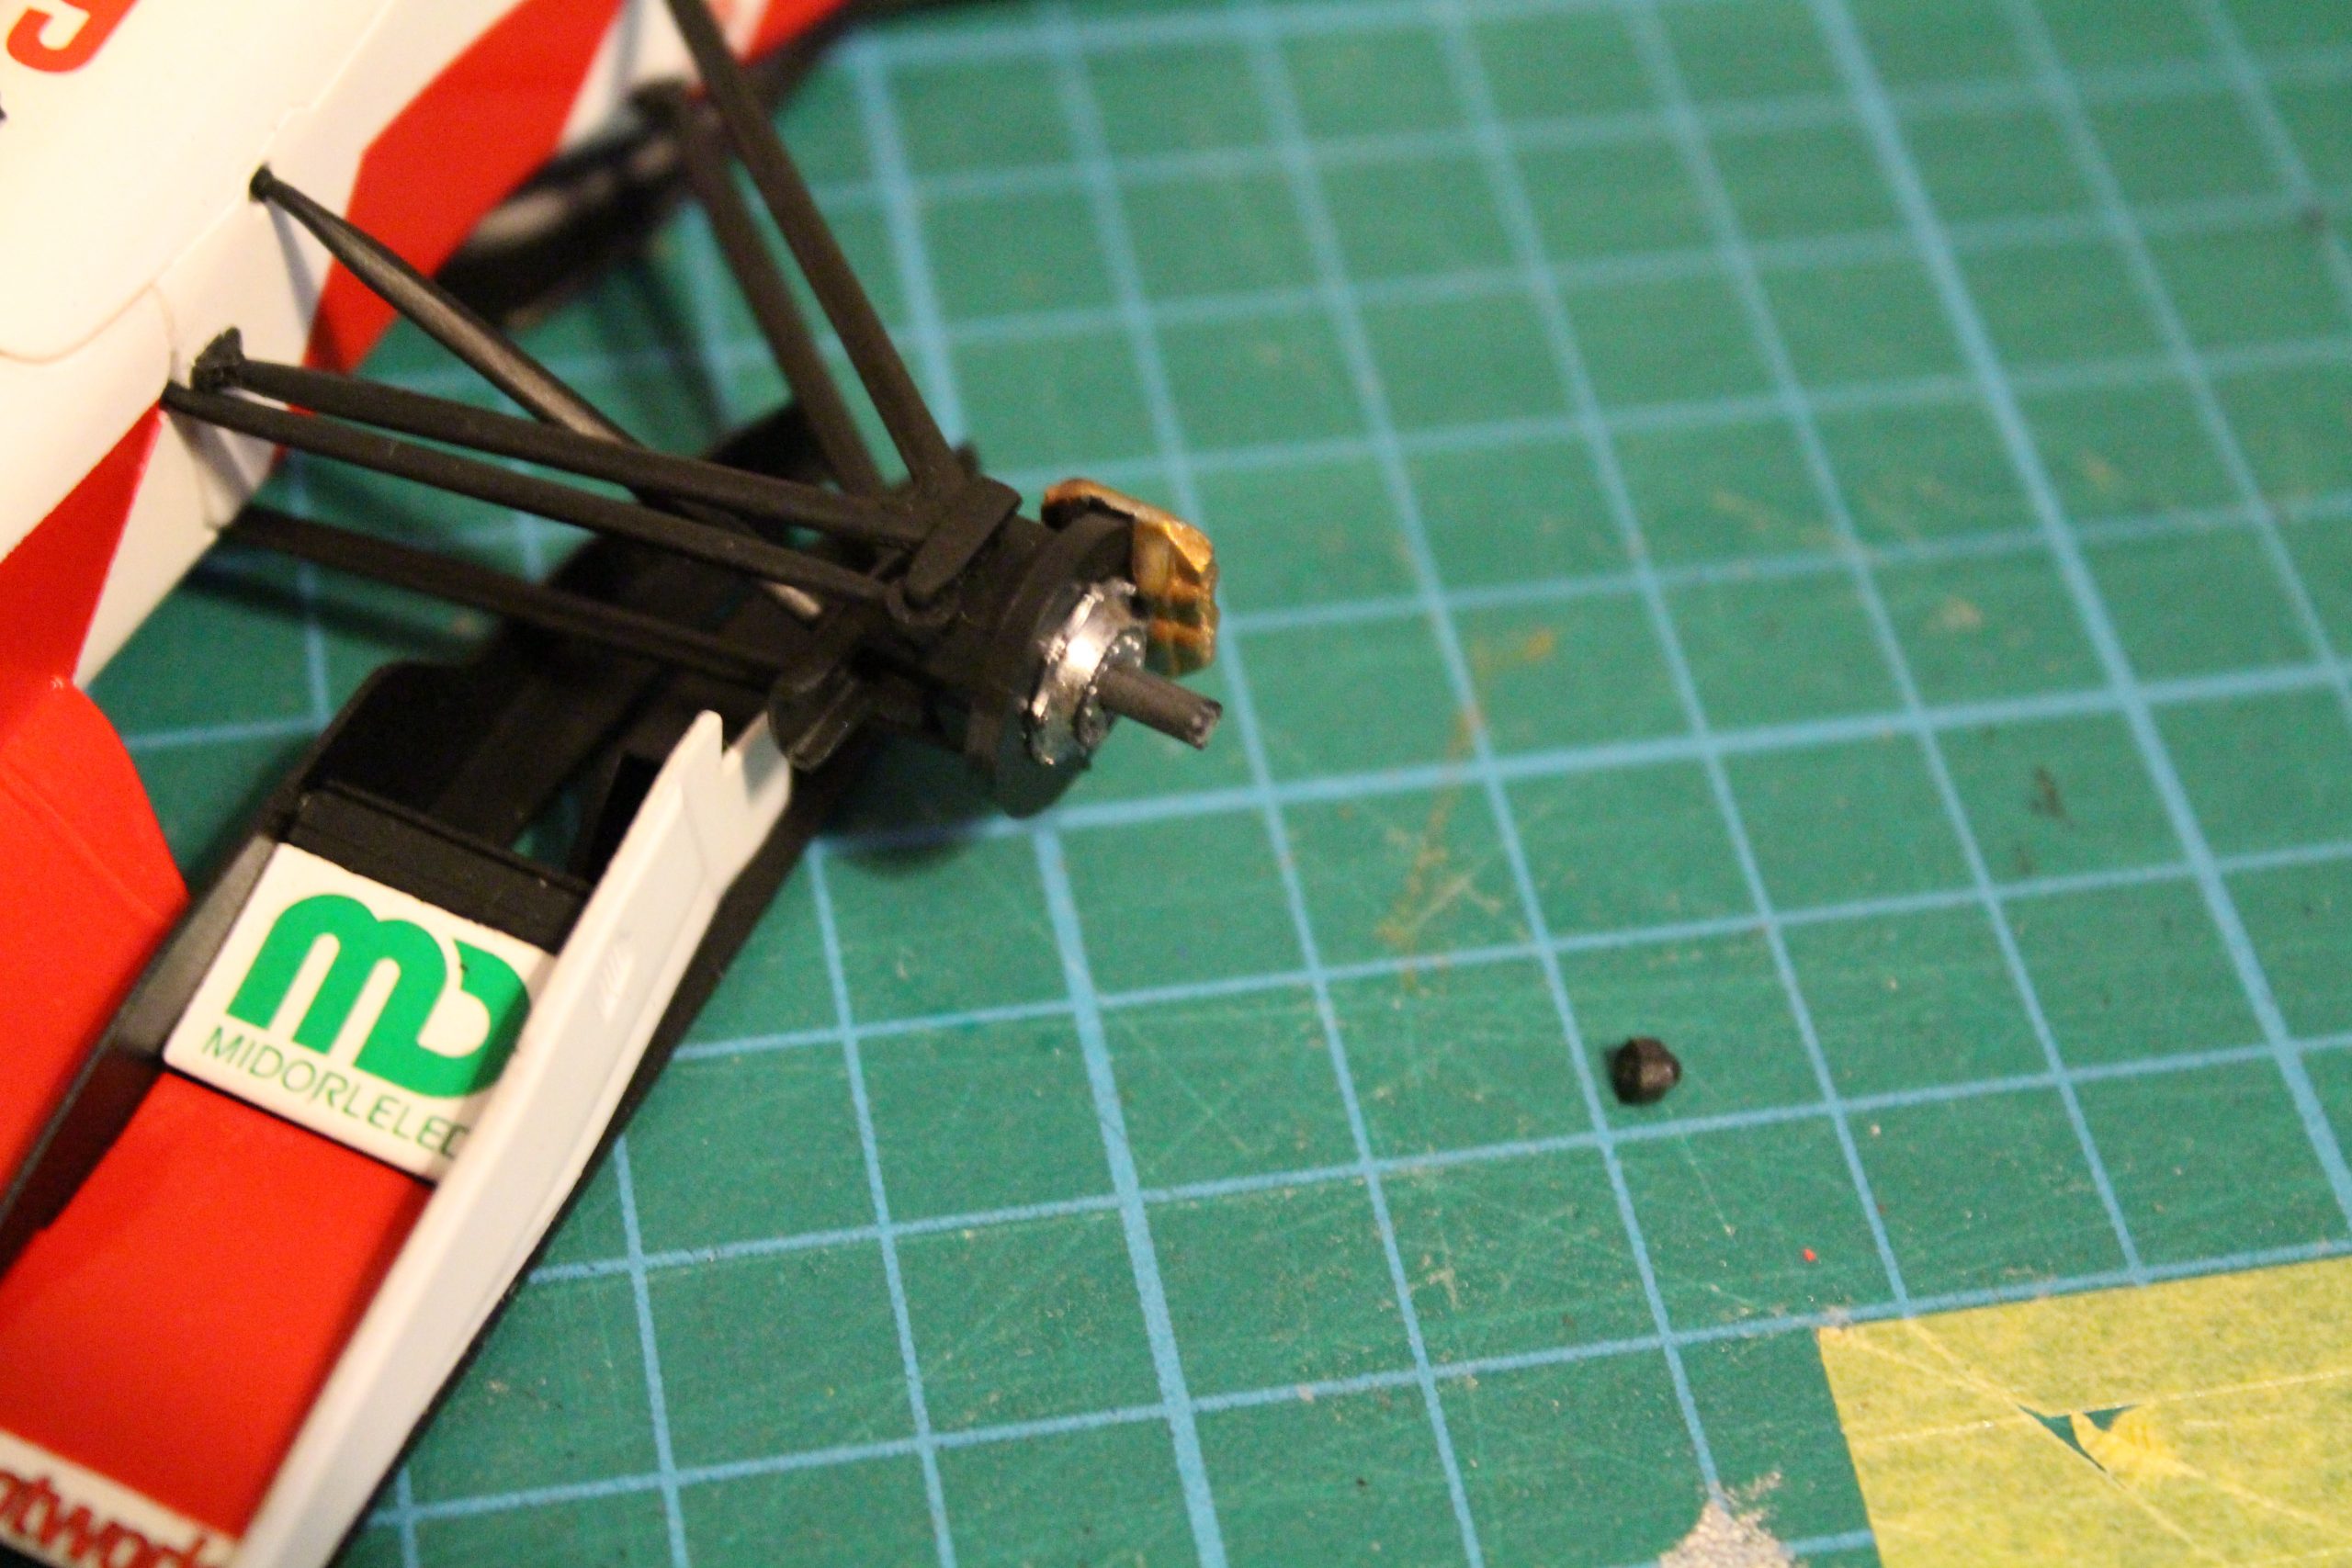
Overall there were very few issues as the Footwork FA13 came together. Bodywork fitment was good, although the rear wing was a bit tricky to assemble. There was one twist in the tale, however. The kit requires the wheels to be fixed using plastic pins that pass through the wheels into the brake disc and hub assembly. The holes for the pins were too short, resulting in me breaking a front suspension arm through applying too much force trying to get the pin all the way in.
At this point I decided to take the pins out, shorten them as necessary and then reattach them. The only problem was, one pin was stuck! My solution was to remove the front of the pin, take off the wheel, shorten the pin, reattach the wheel, then add the front of the pin back to the now-shortened pin. Due to the modifications all four pins and wheels were glued in place. No moving wheels, but four firmly secured ones instead!
Reviewing the kit and the build
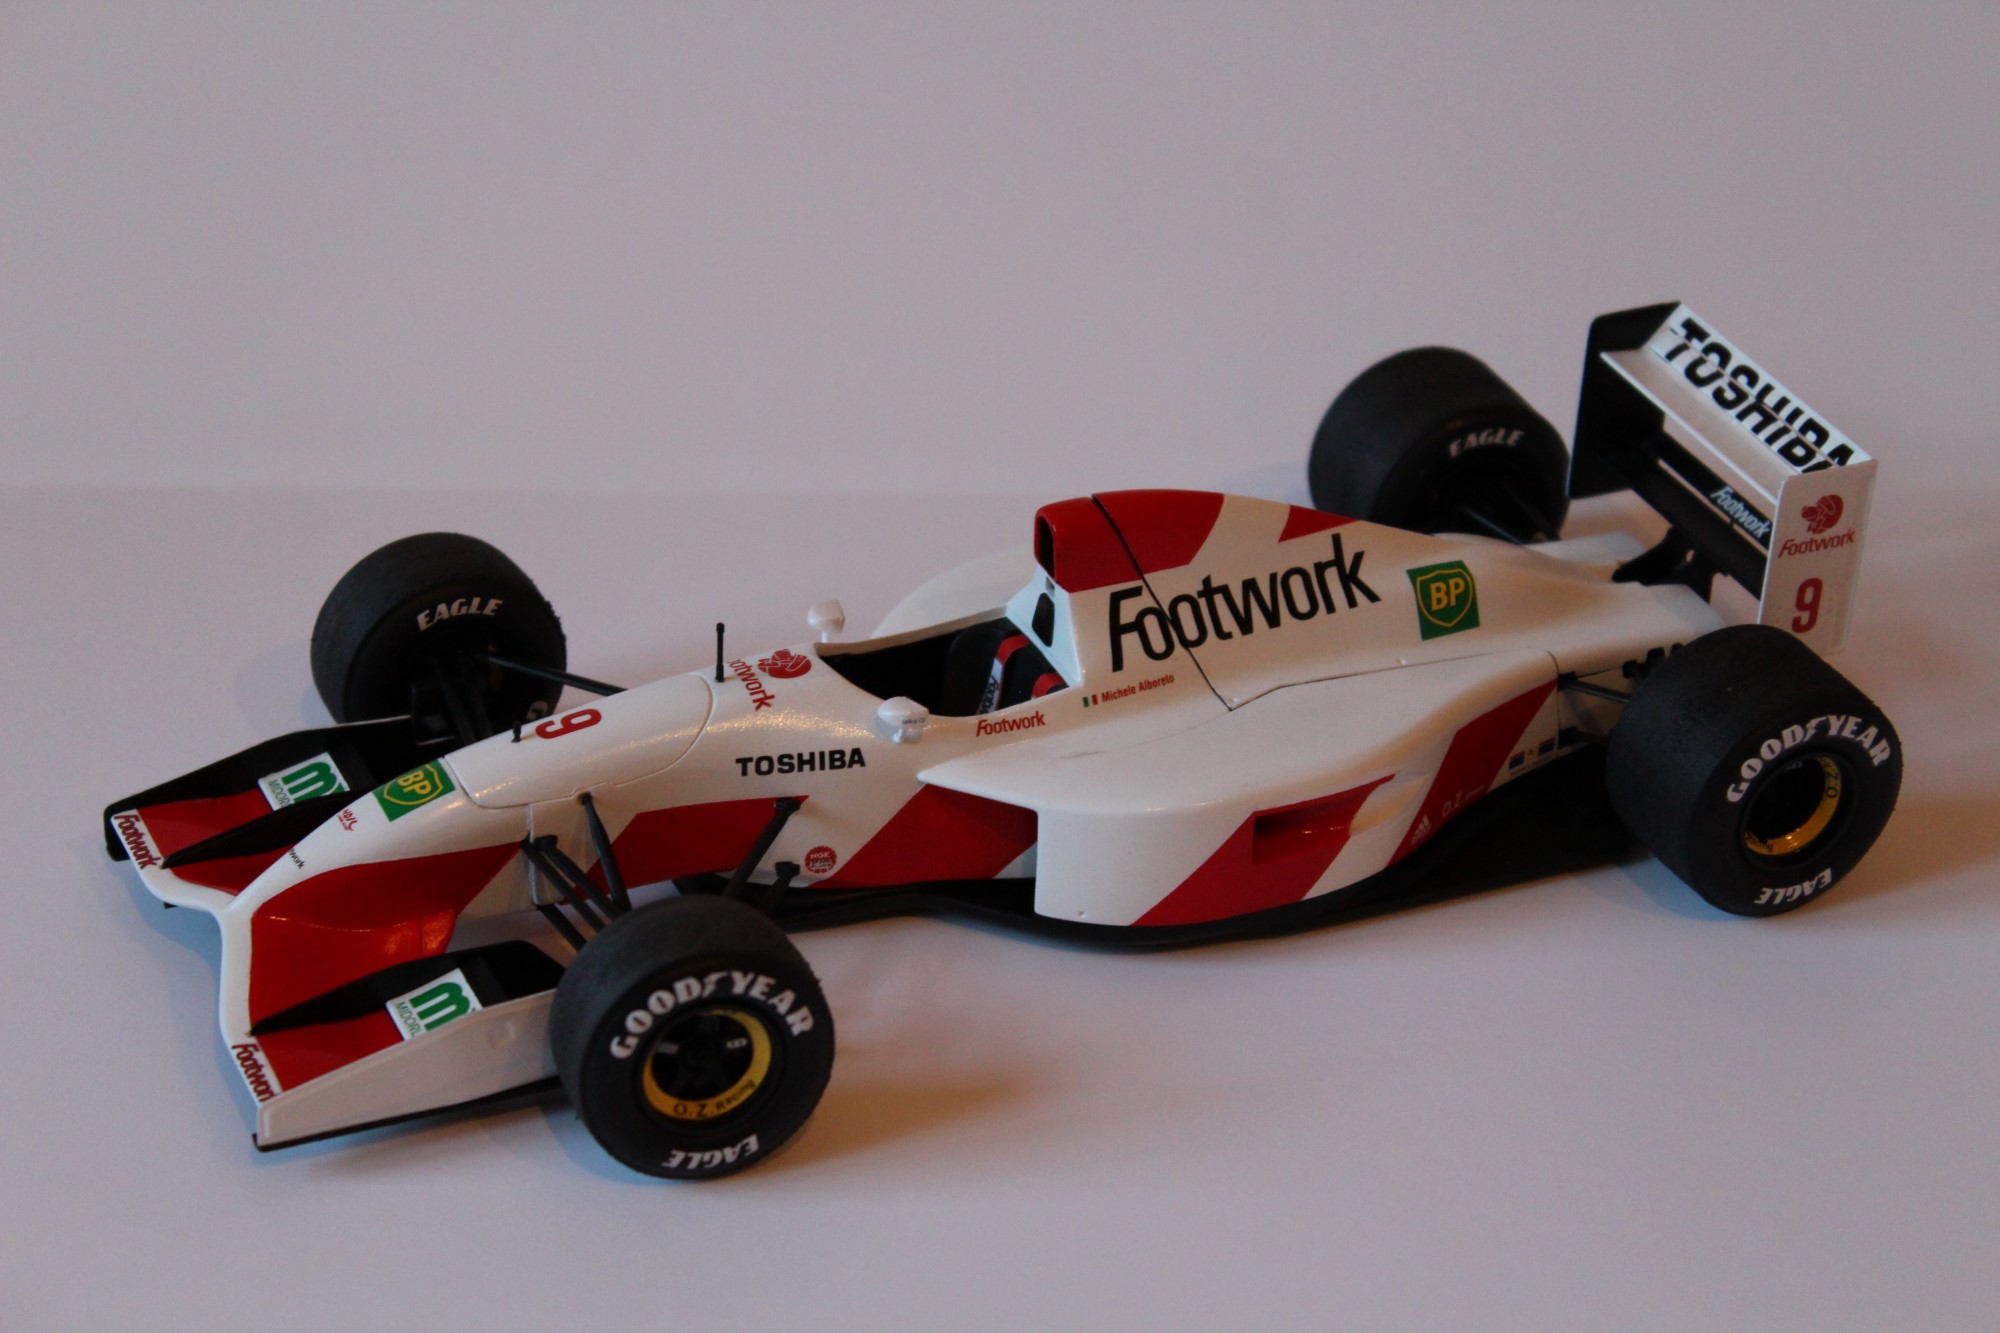
The Footwork FA13 kit from Fujimi proved to be a fun, yet fairly simple kit to build. I was able to complete the build in a quick time (for me!) of about 3 months thanks to the two colour livery, low number of decals and straightforward assembly.
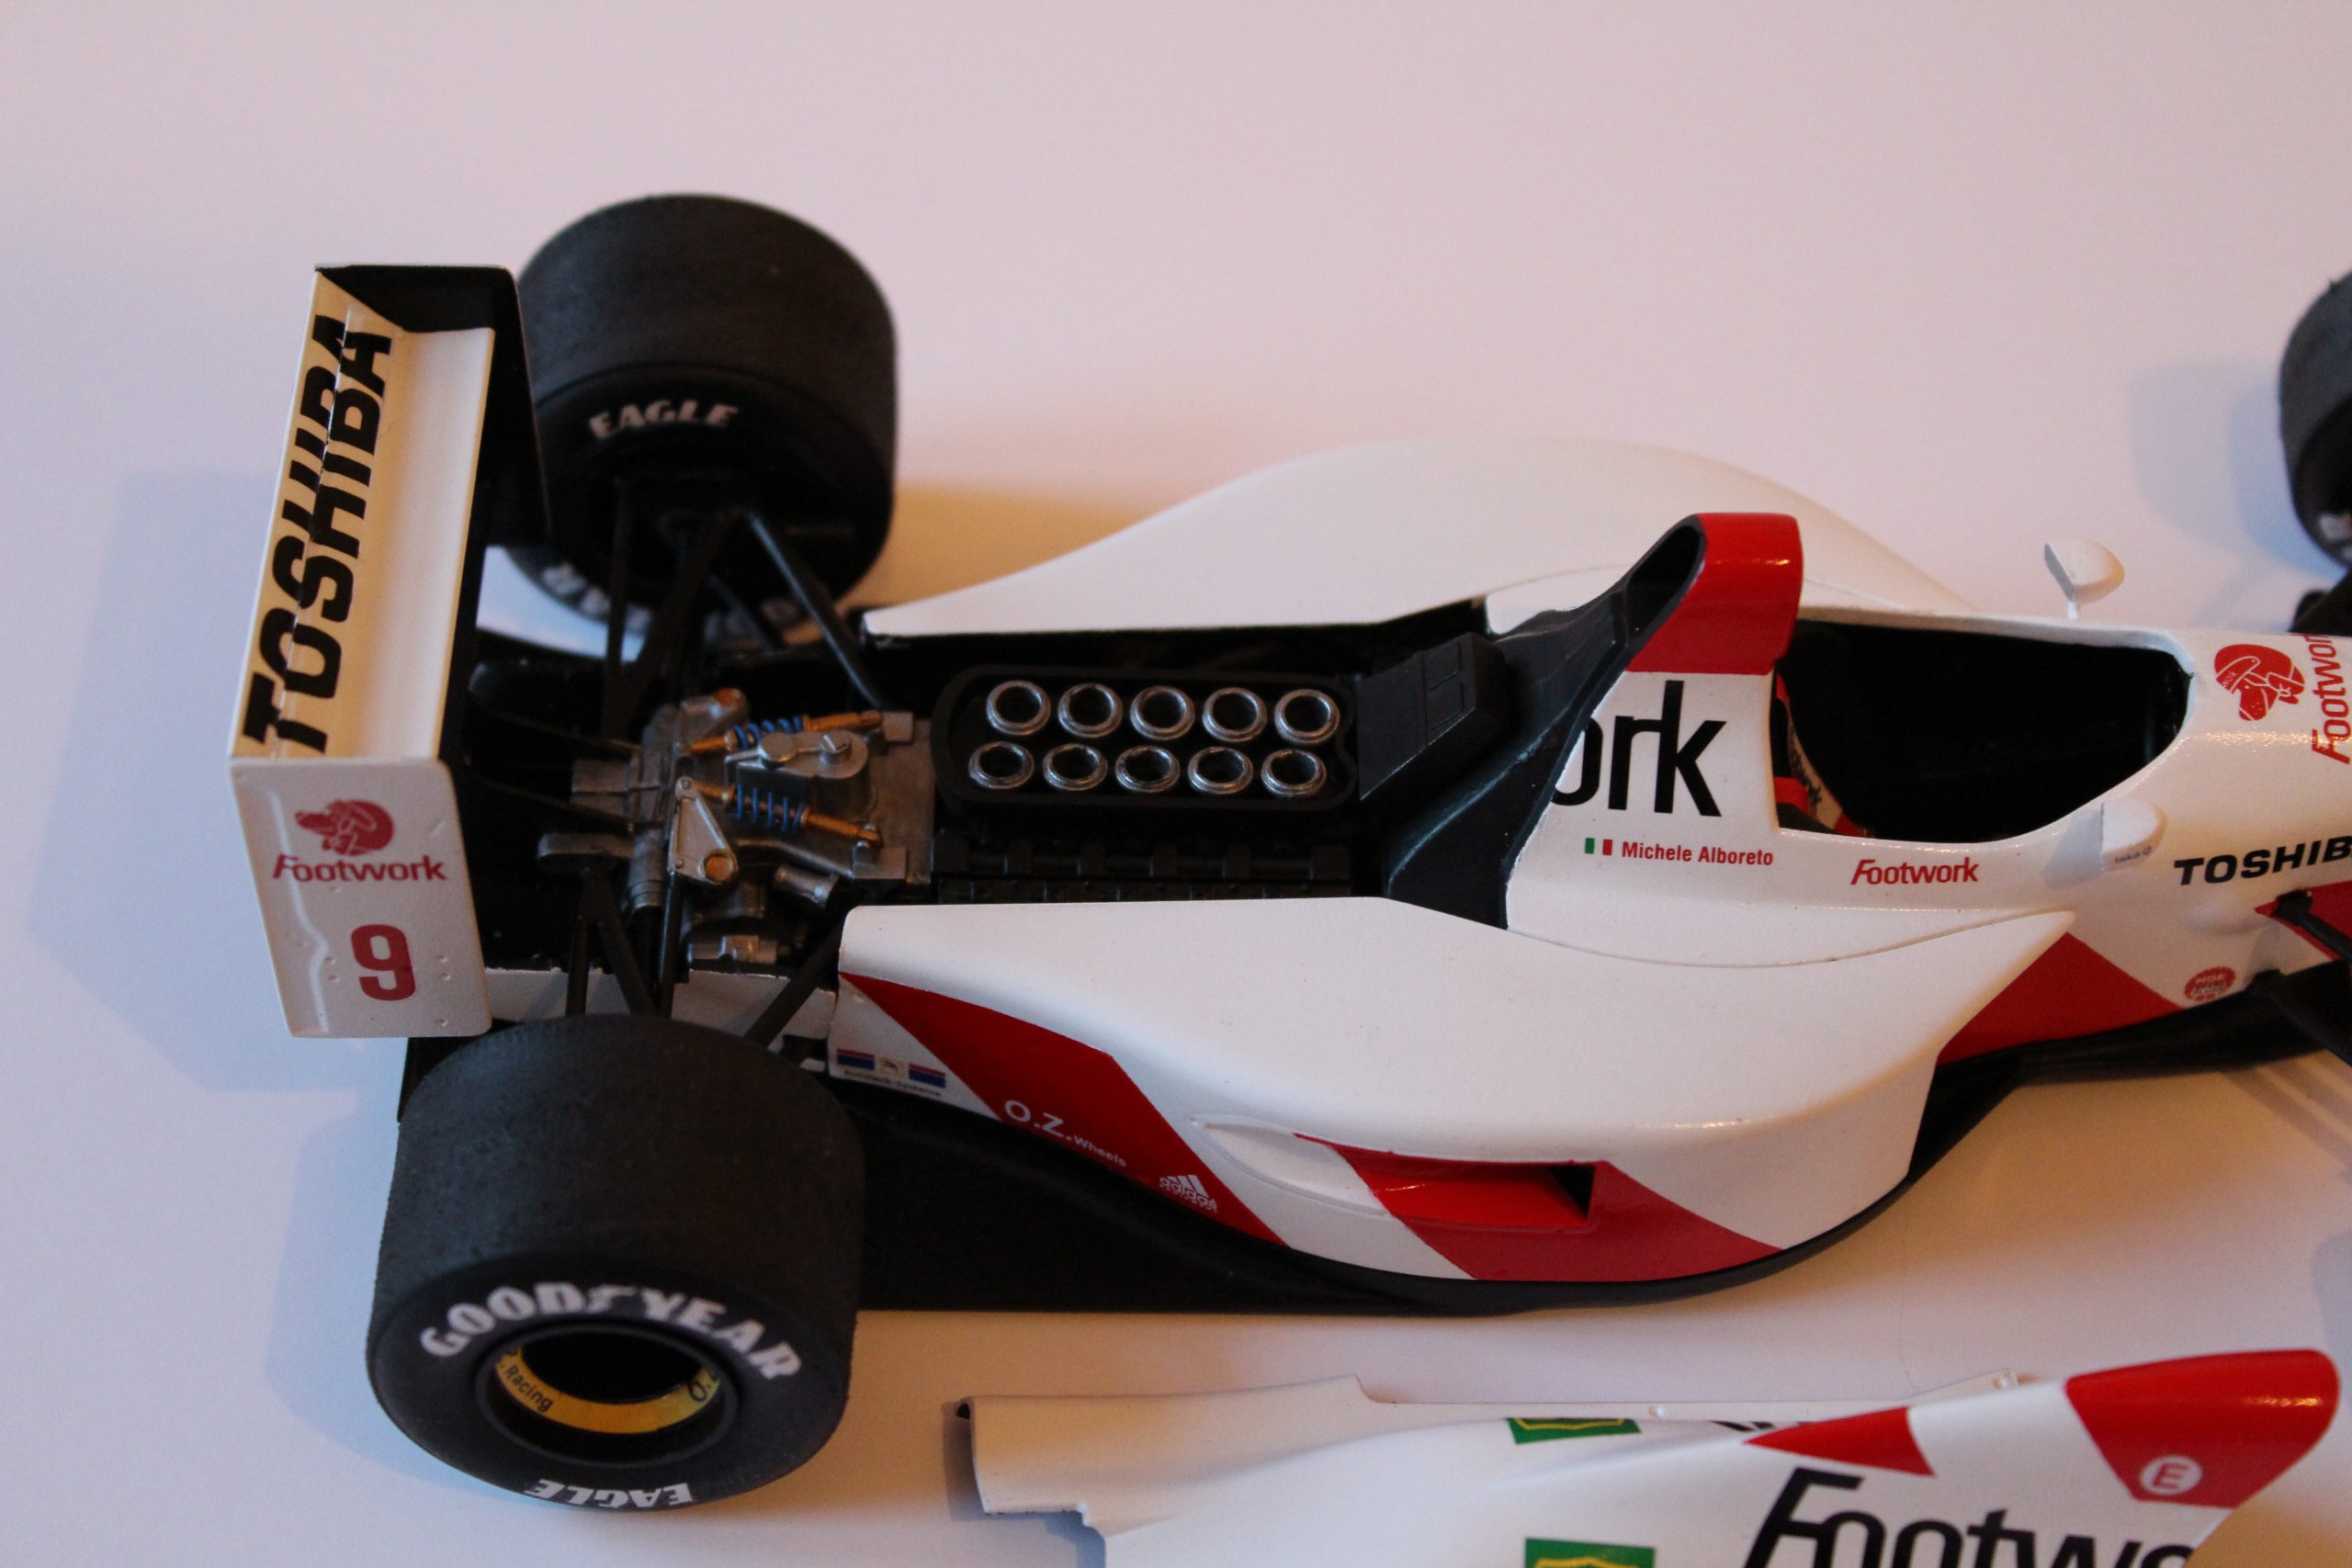
I decided to build the car as Michele Alboreto’s – he scored all the team’s six points during 1992, including a three race run of points finishes in Brazil, Spain and Imola. The alternative was to do the car as the #10 of Aguri Suzuki. However, my Larousse LC90 has been done as Suzuki’s and I have two Zakspeeds from 1989 waiting to be built, so I suspect one of those will be Aguri’s too.
Overall I’m happy with how the kit finished up. It could definitely use a little more detail, but for a quick fun build it ticked all the boxes and is yet another early ’90s 1:20 F1 car added to my collection!
This build diary was originally published in stages on f1m.com in 2015.
Leave a Reply