Tl;dr – take me to the pictures!
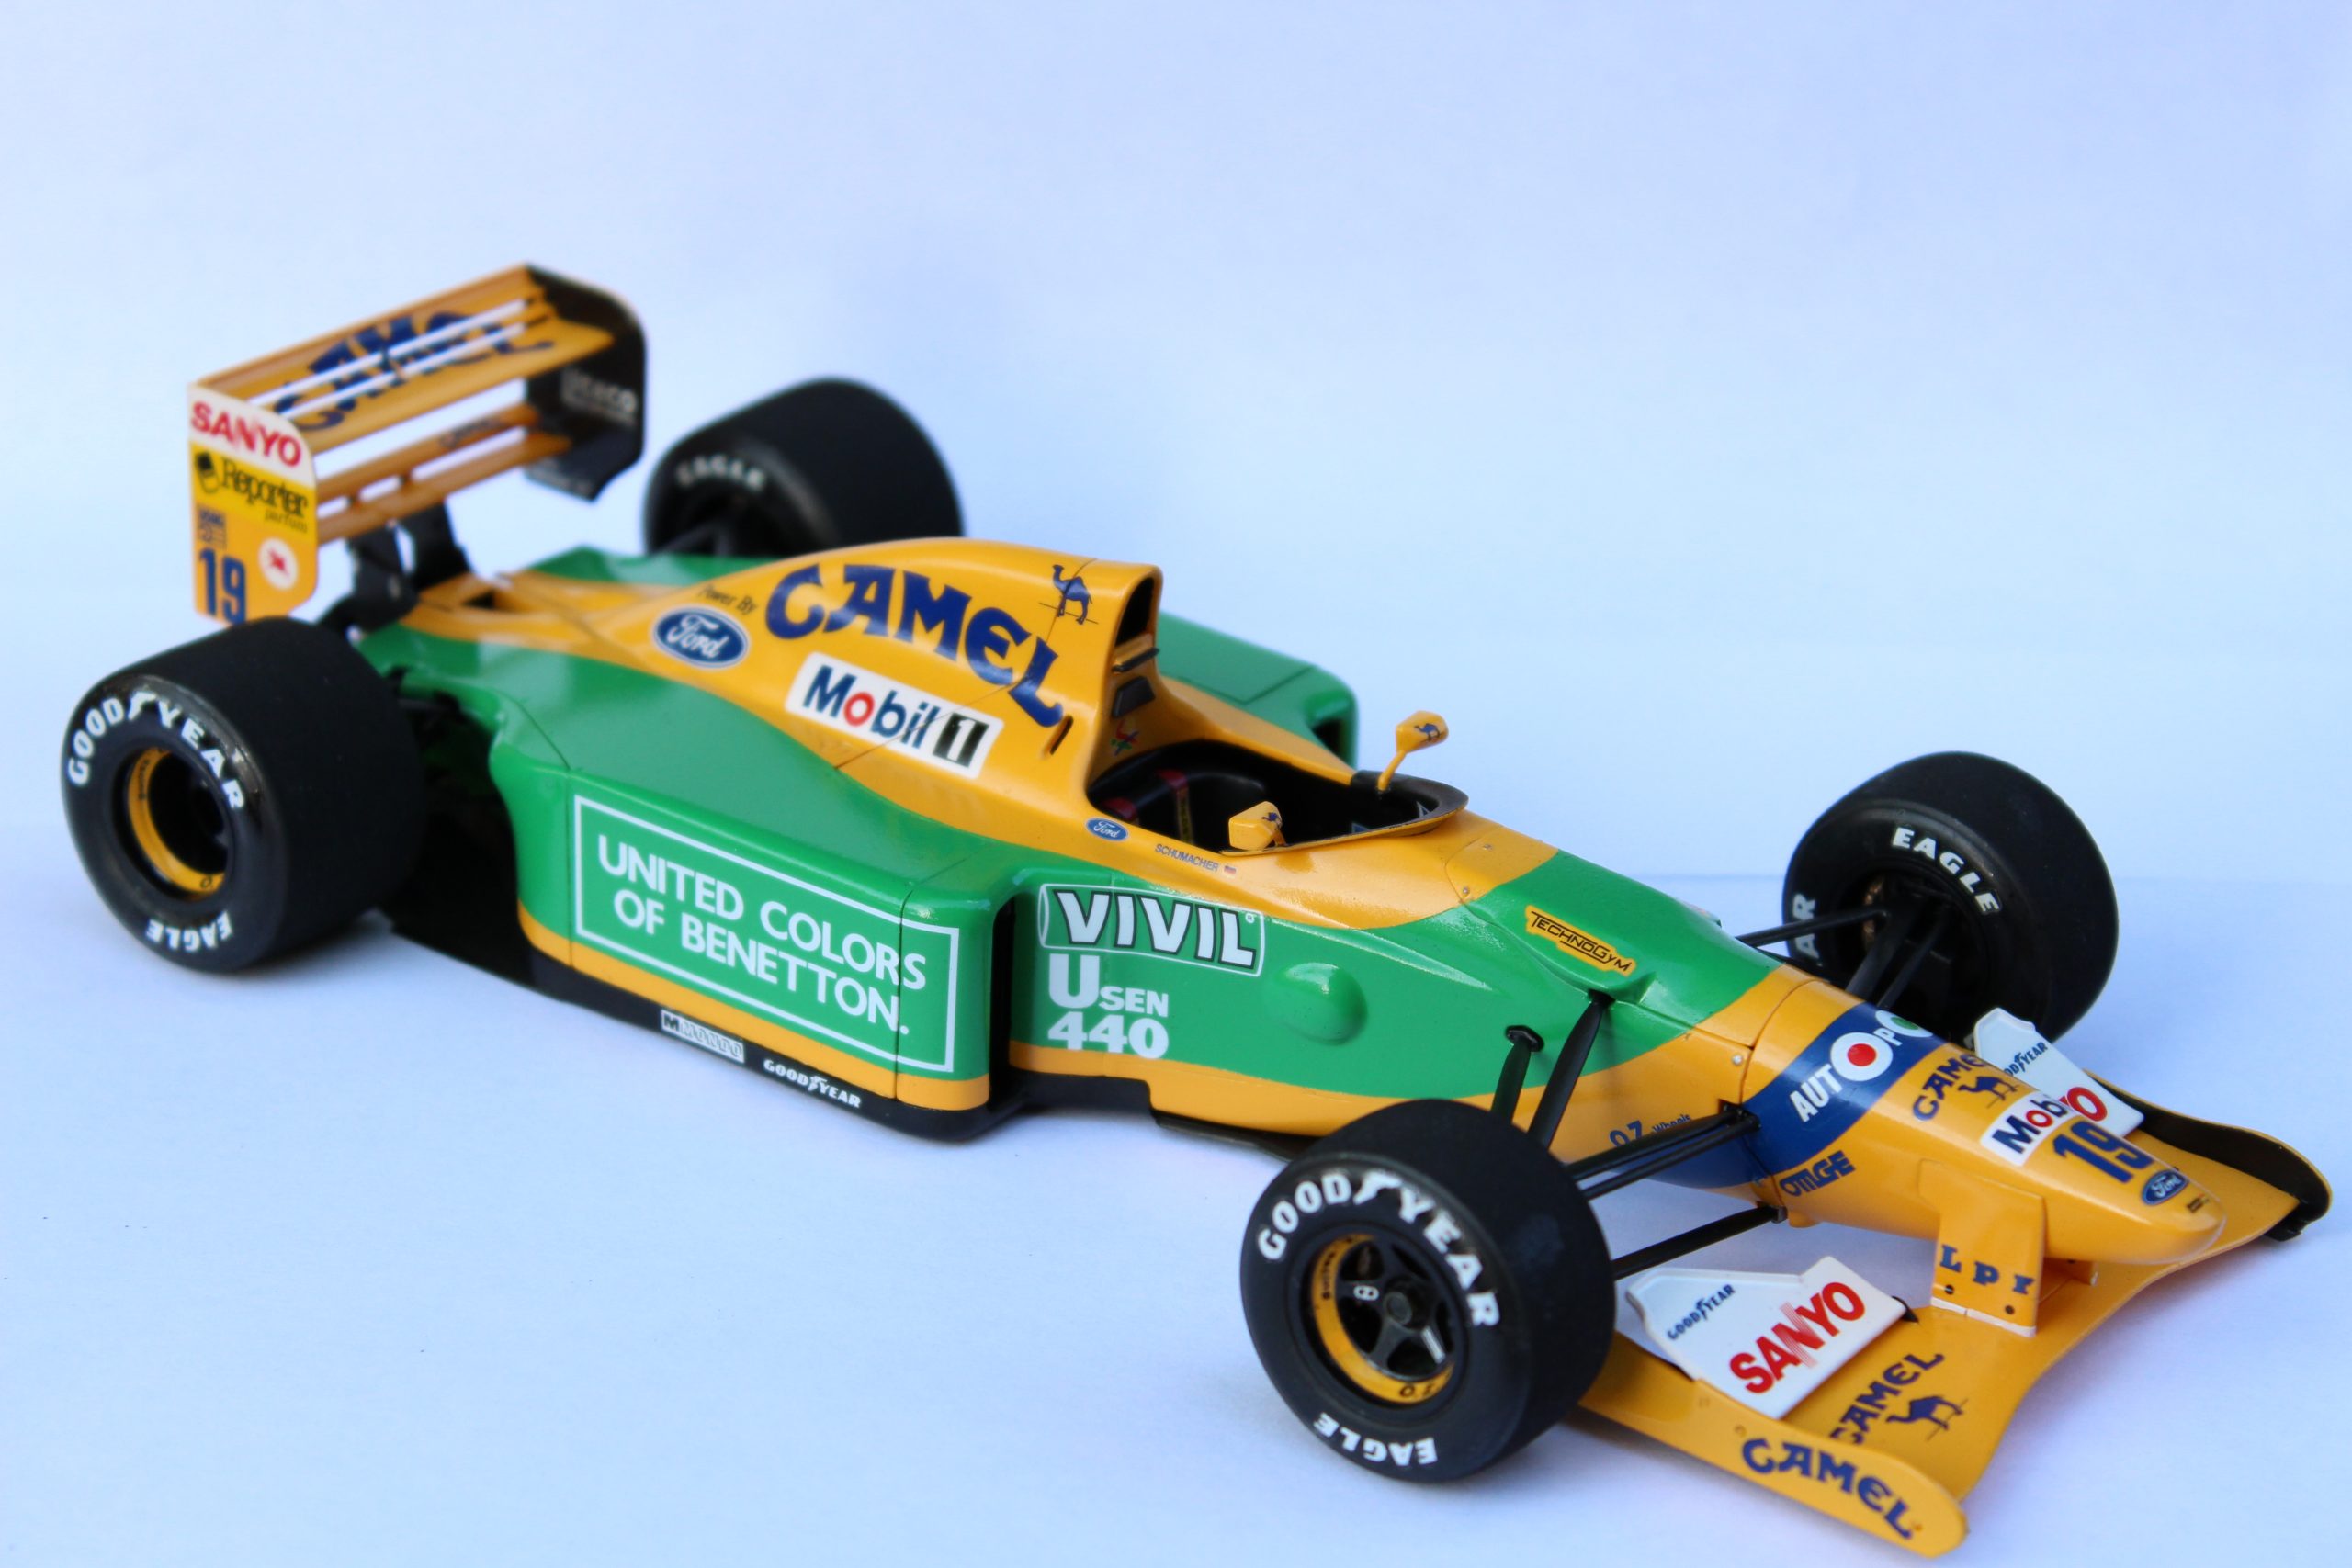
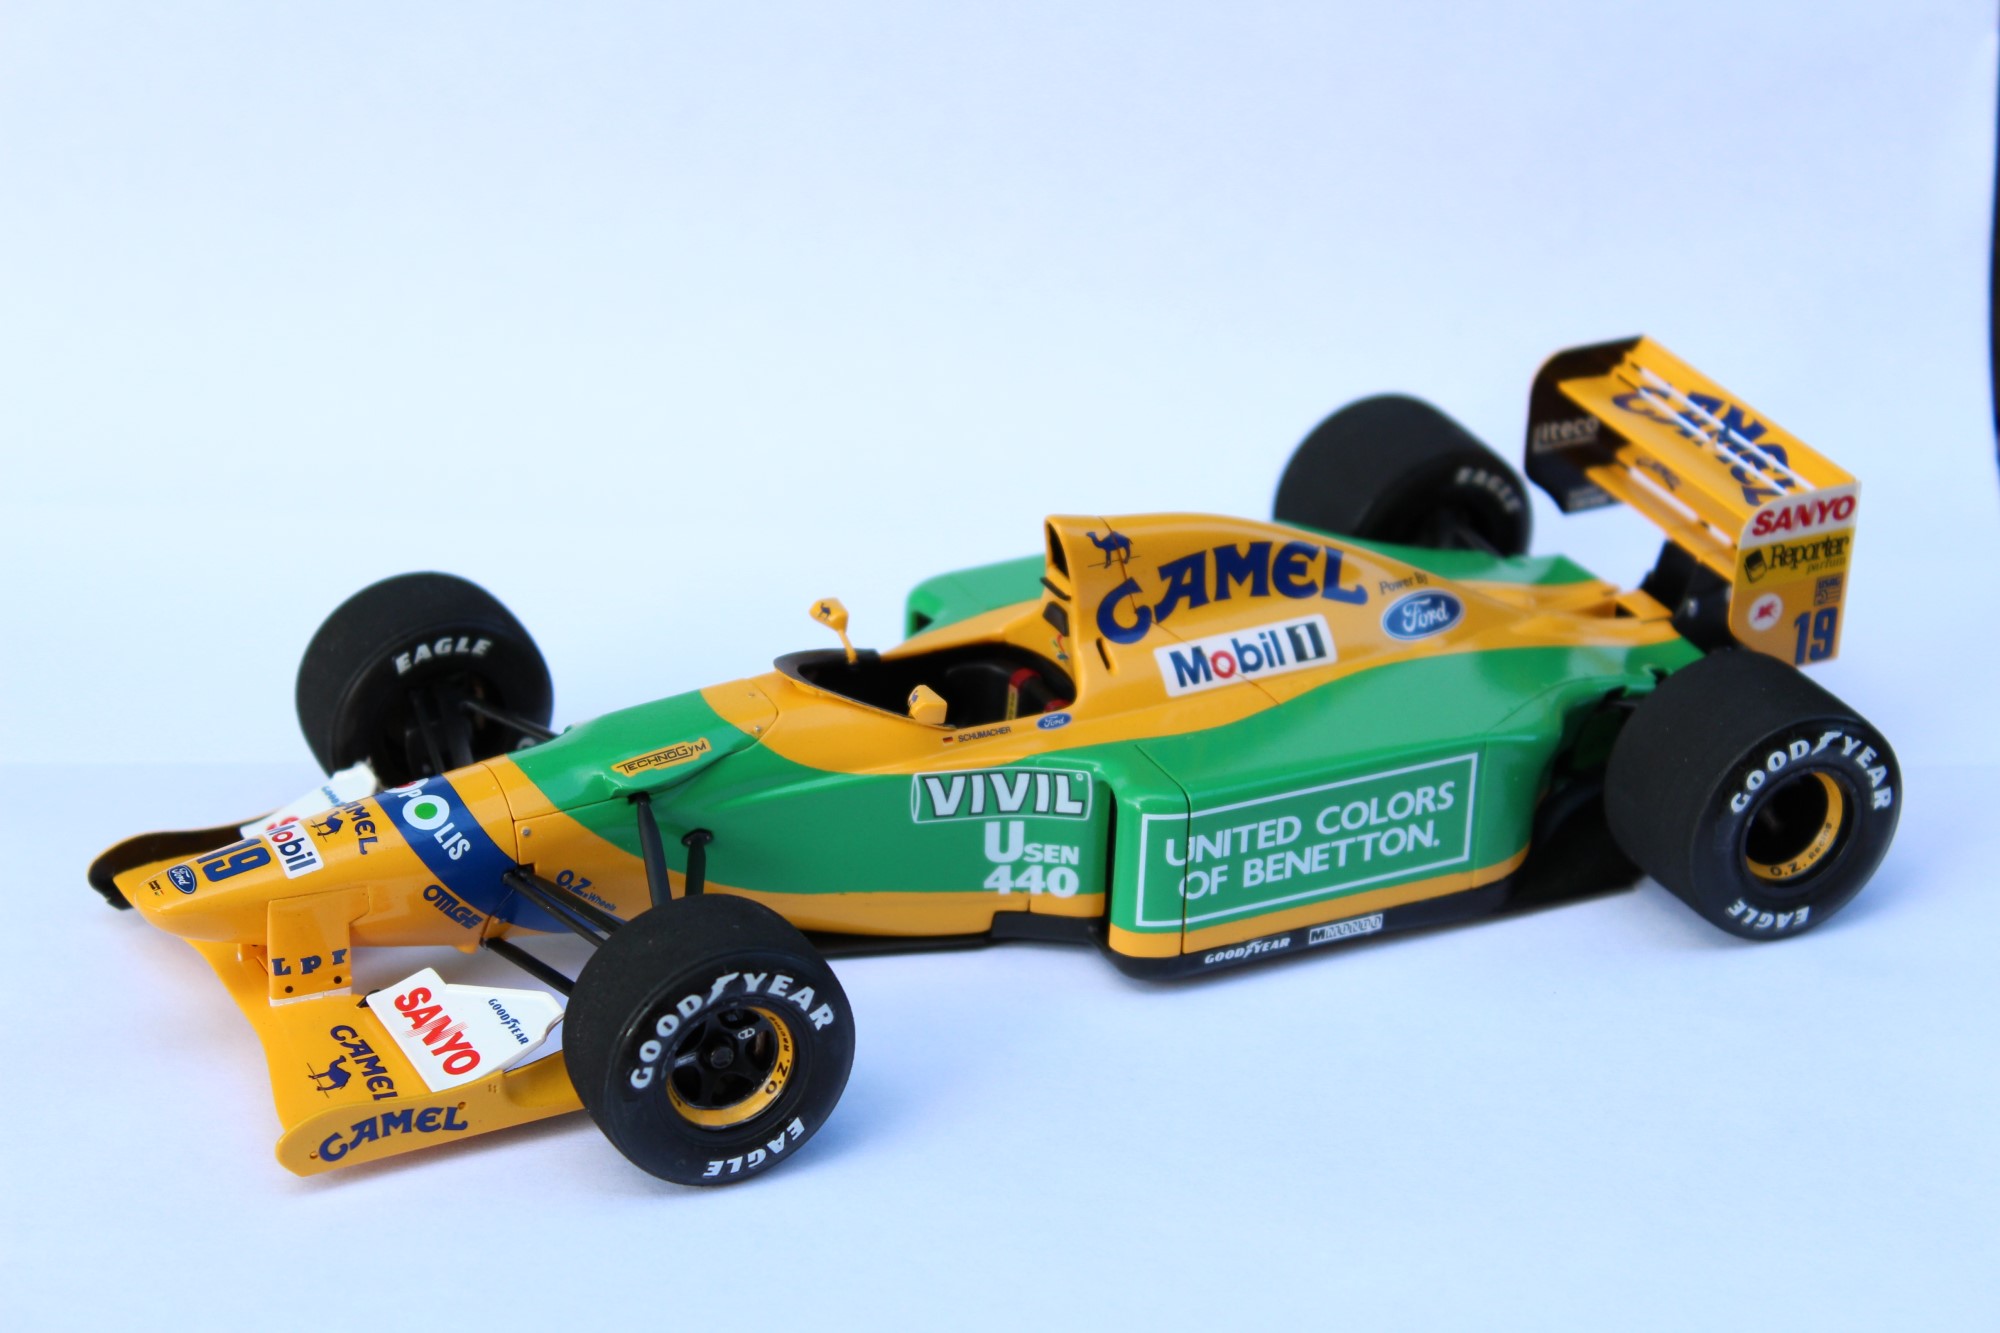
The Tamiya Benetton B192. Schumacher’s first full season in F1 was spent in this car, and he won the Belgian Grand Prix that year, the first of those incredible 91 wins.
About 10 years ago Tamiya’s kit of the B192 seemed to be everywhere. Readers from the UK will no doubt remember ModelZone – I swear every one of those shops I walked into had at least 3 of these kits in there! Being so easy to obtain meant it was inevitable that it would be a part of my early forays into serious modelling.
Attempt 1: Paint and decal woes
Those early forays however were not very successful. My first attempt with a Lotus 107B ended in disaster, though the next try, with the Tyrrell 020 at least made it to completion. For my third project I thought I’d tackle the Benetton. A fantastic colour scheme, on a lovely early 90s car shape, and two cool drivers – Schumacher and Brundle – to pick from.
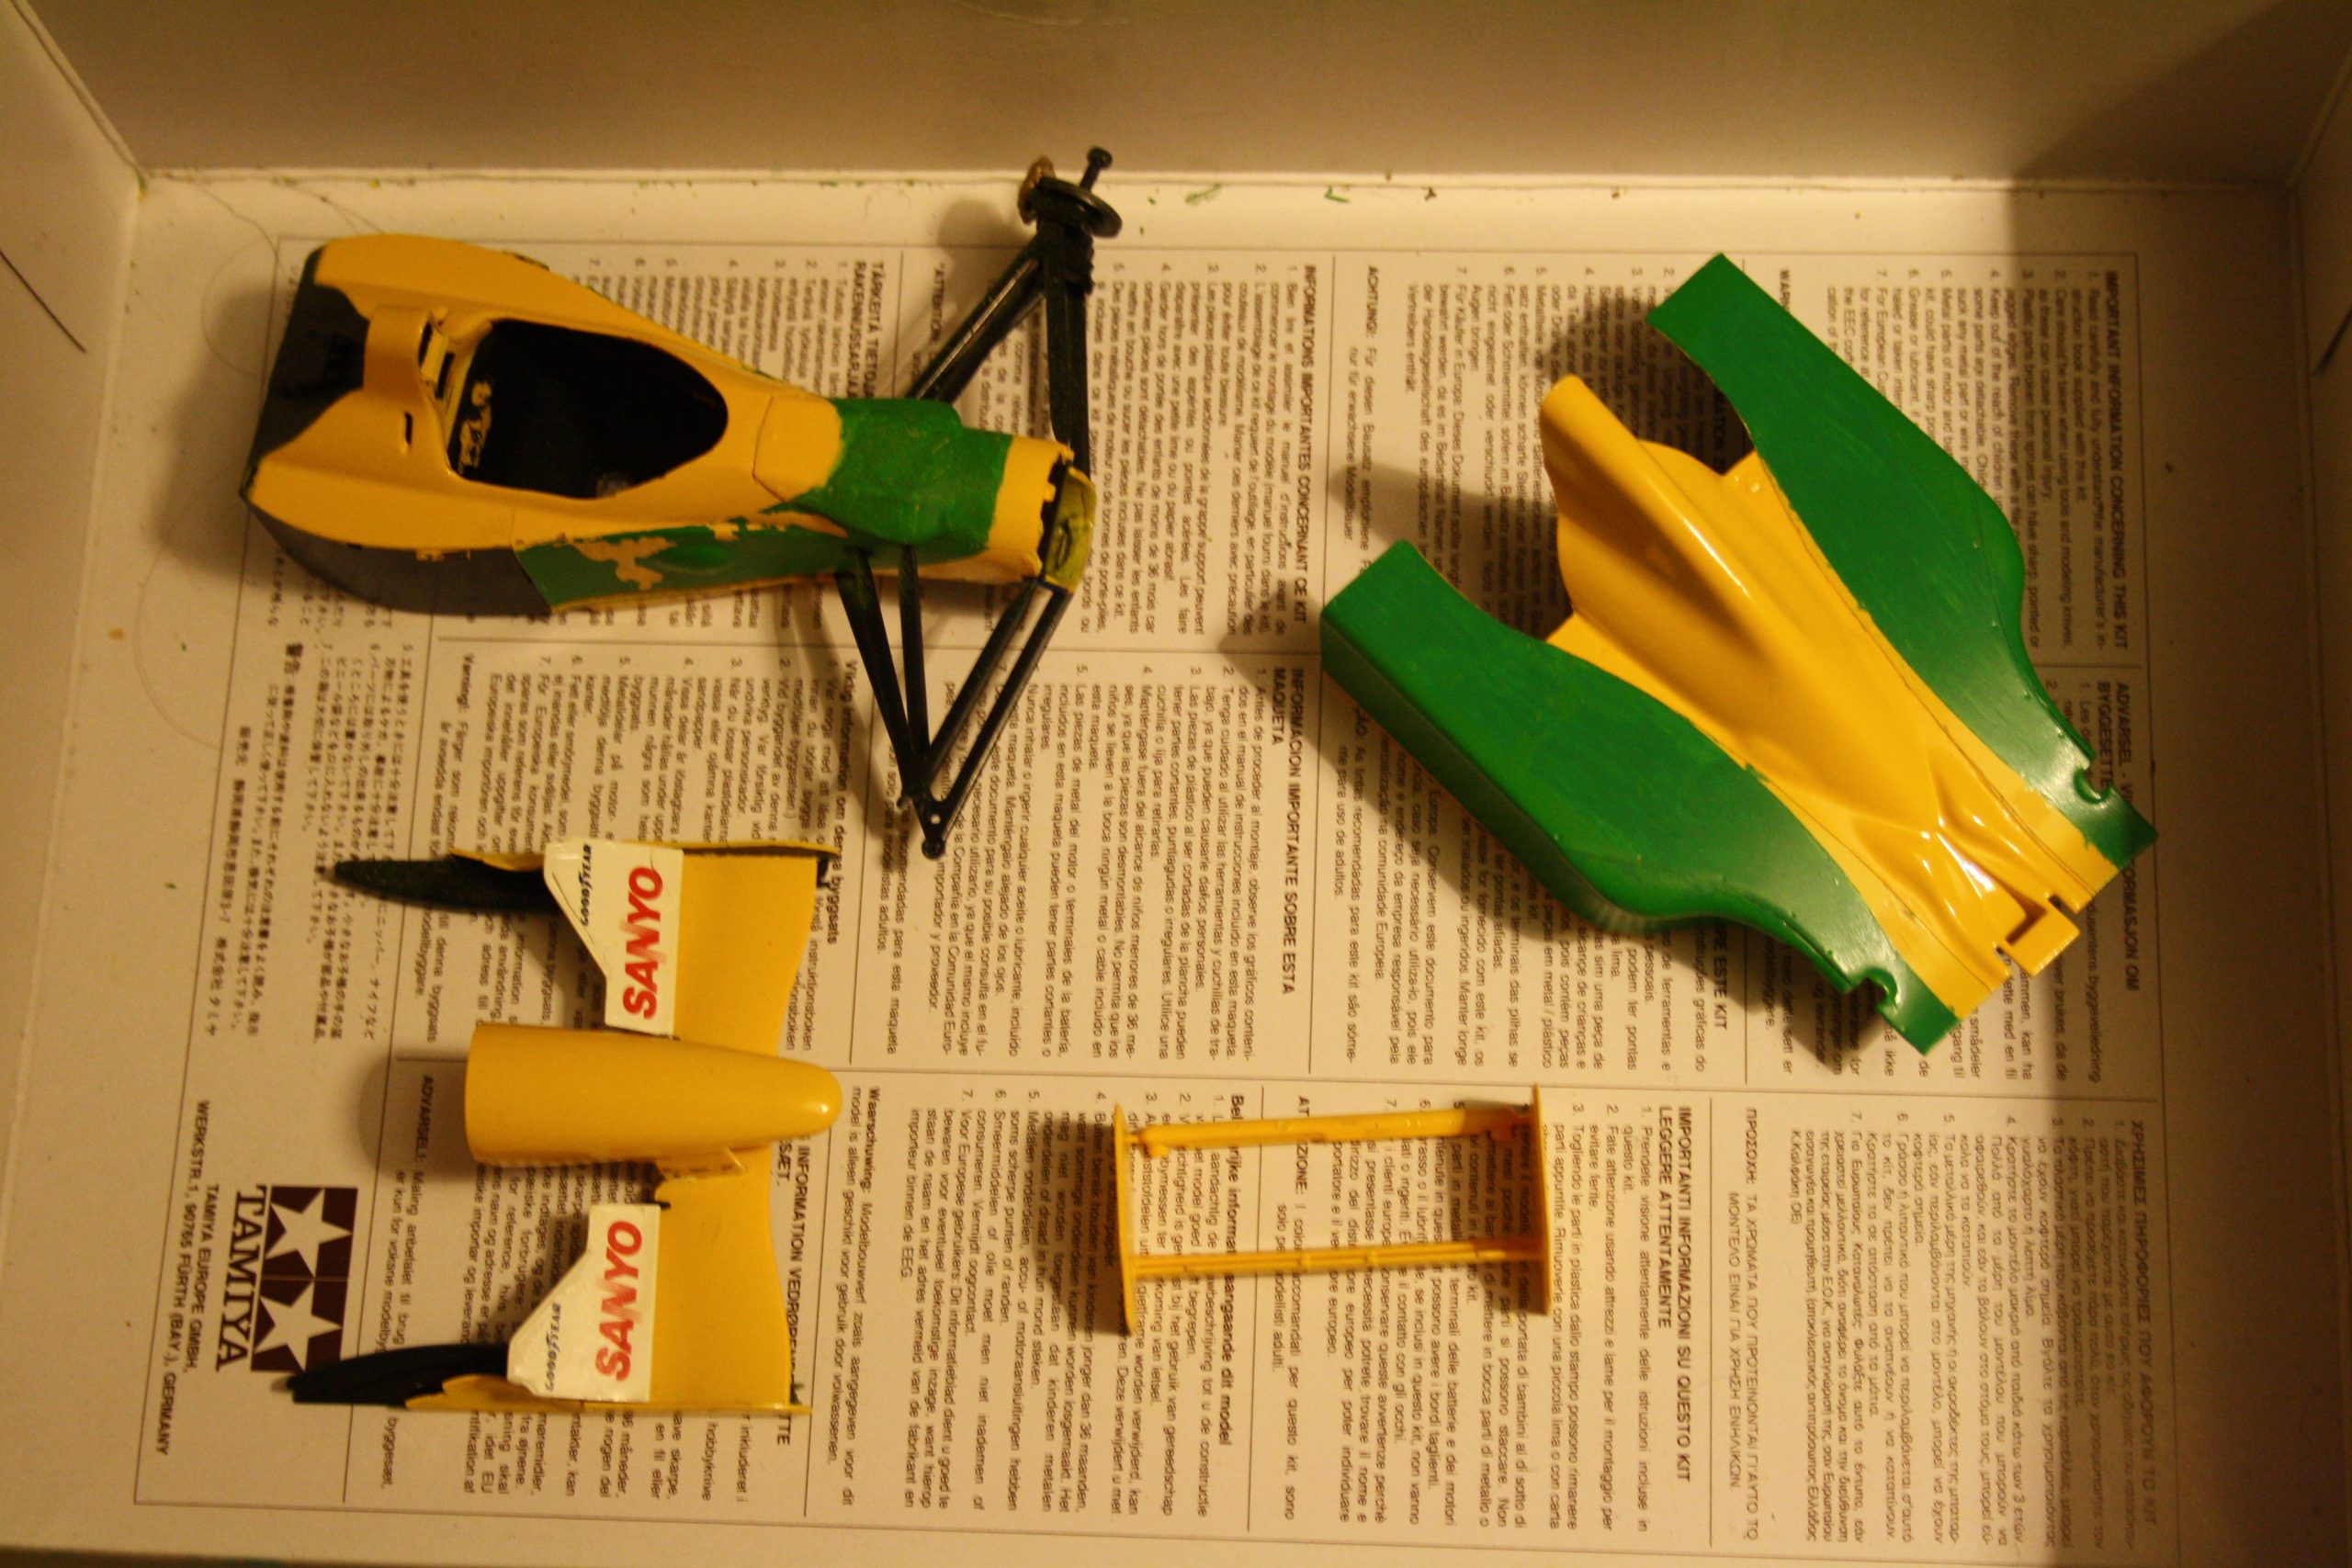
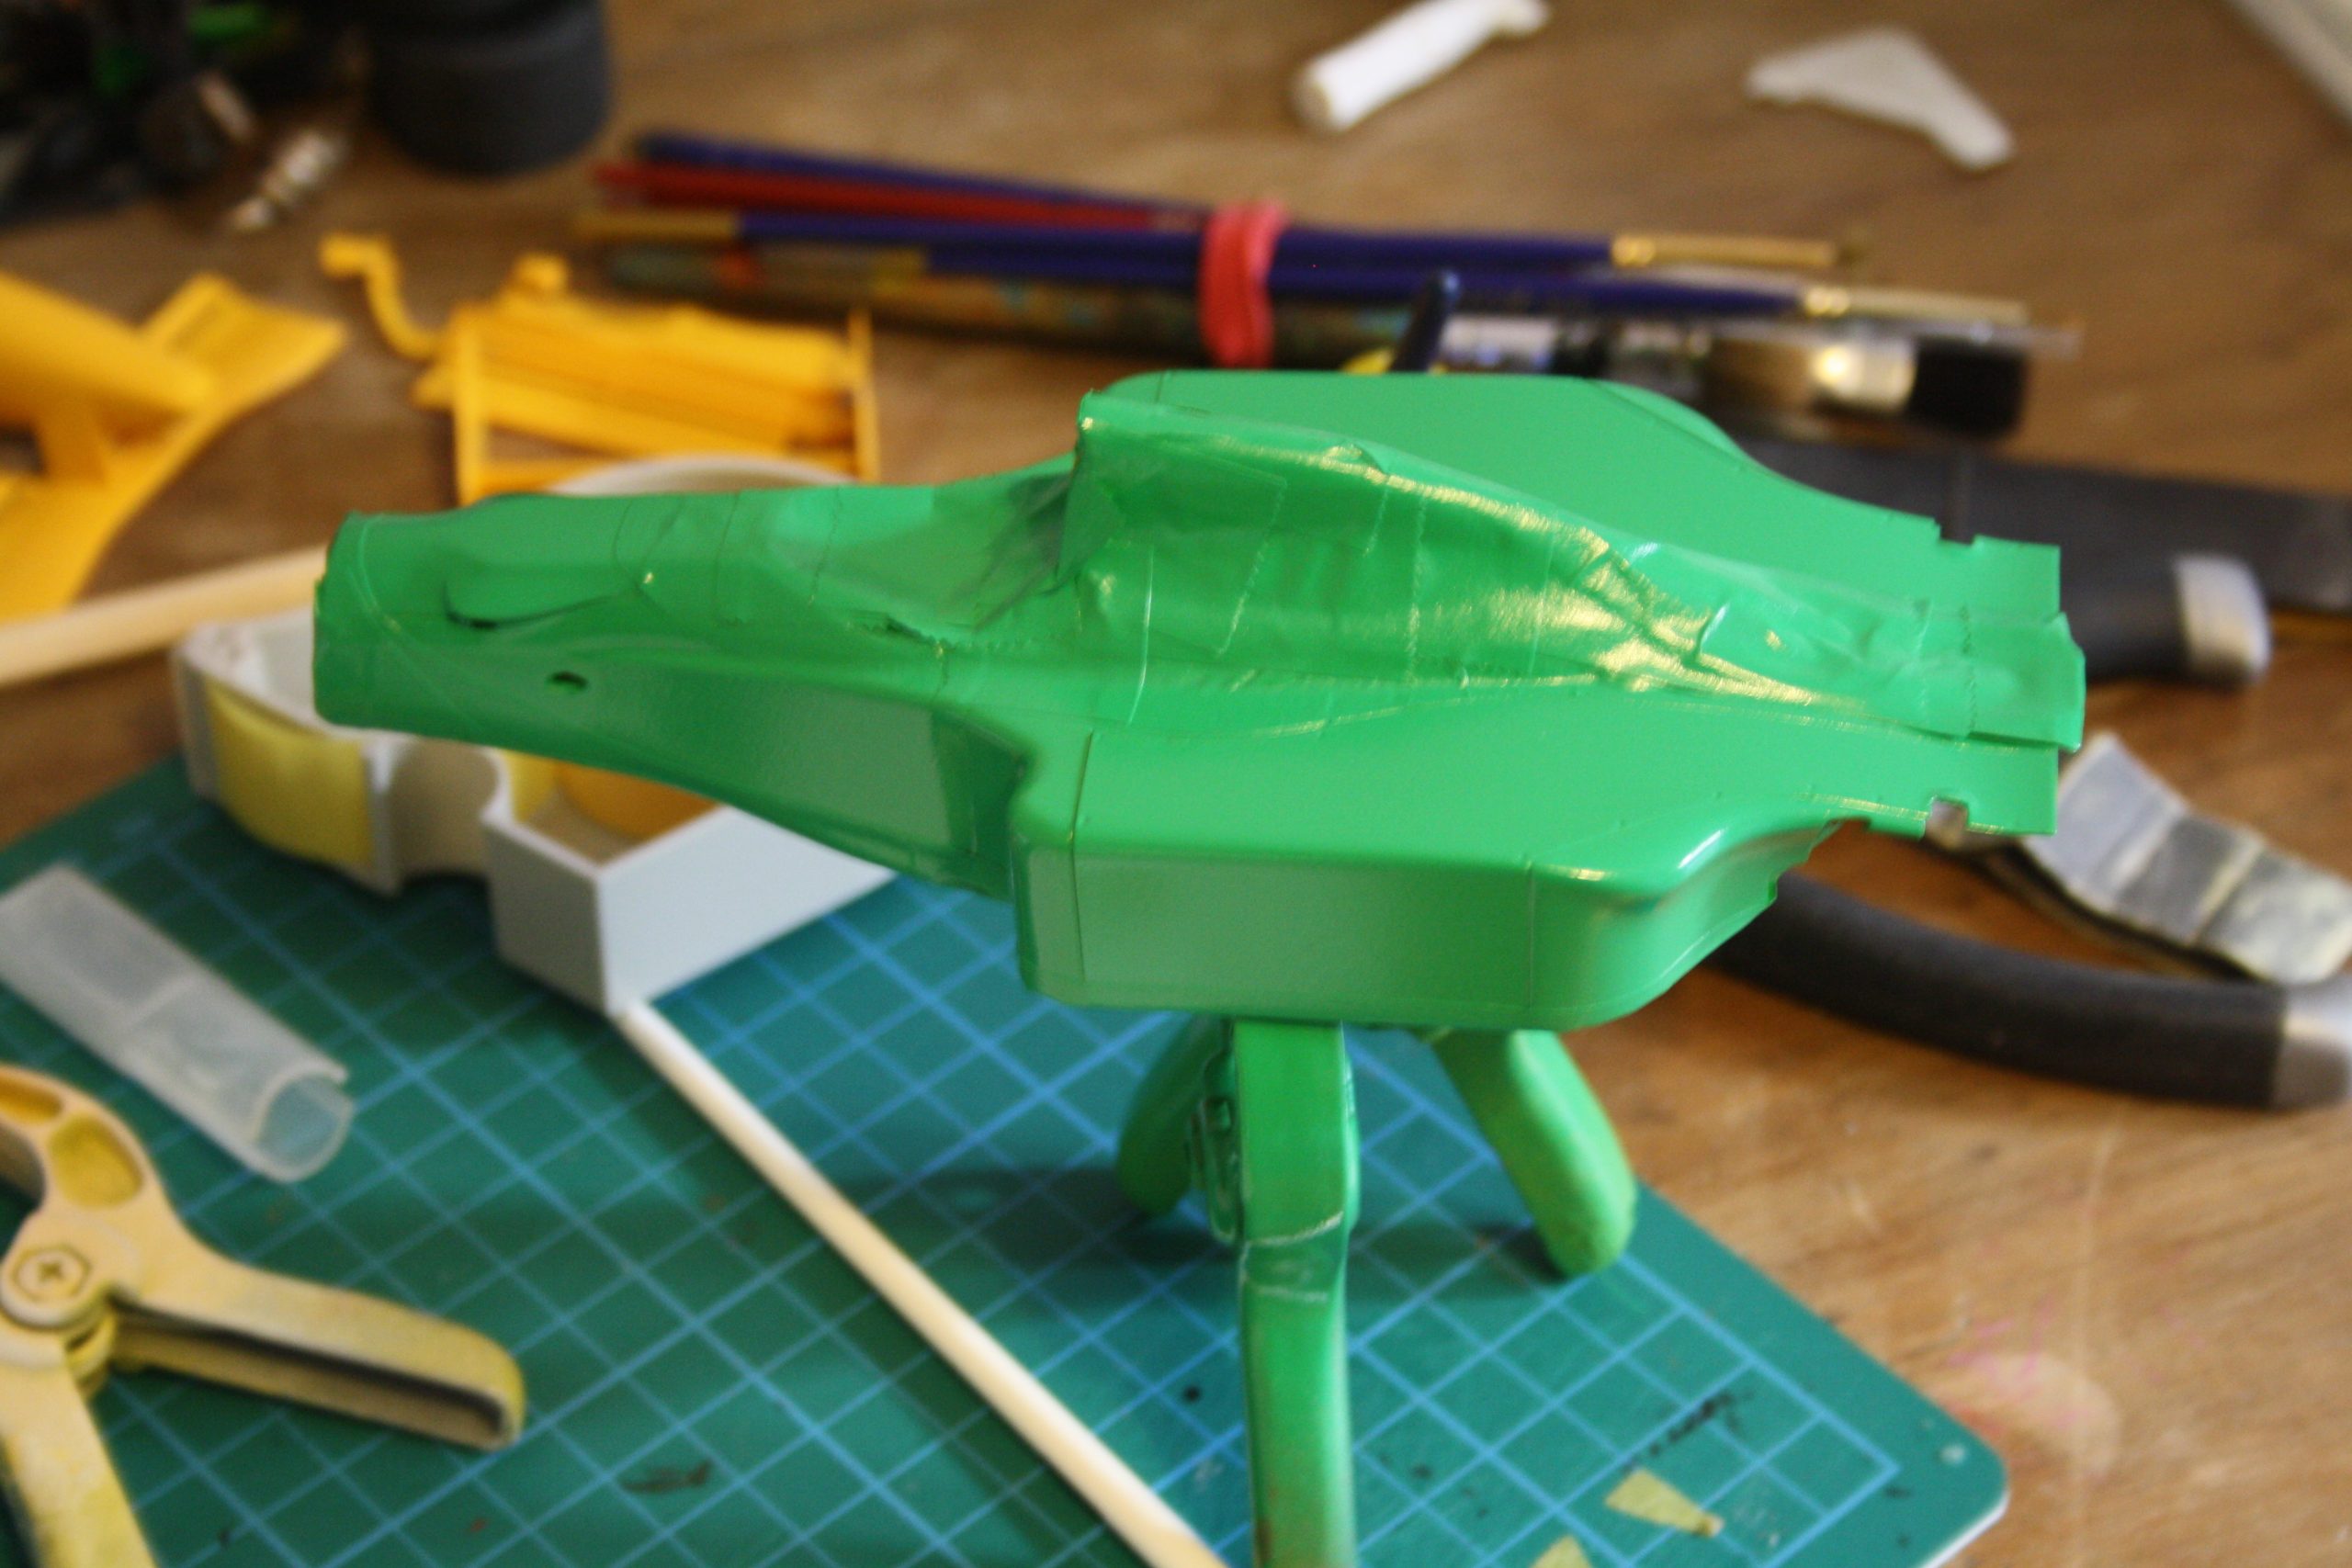
Unfortunately, that’s about as good as it got for my first crack at building the Tamiya kit. I made a lovely start with the engine and rear end detail painting, but once the bodywork required attention things started to go wrong. The kit comes with decals for the big green areas around the body. For the flat surfaces, this was fine – the decals went on well and all seemed good. Around the sidepod inlets however, I had real trouble getting the decals to sit properly and cover the yellow. With the decals all screwed up I tried to salvage the model by brush painting the messed up areas. First up was a blend of Citadel Colour green acrylics and when that didn’t match the decals, I tried Tamiya X28 which proved to be just as inaccurate as well!
As a result, the B192 went back in the box to be forgotten about. In the meantime I settled into some more straightforward projects and eventually tried my luck with some more complex cars, like the Larrousse LC90, and some more simple, like the Ferrari 156/85. A few years went by and spurred on by all those Tamiya Benetton B192 boxes in ModelZone, I built up the courage to revisit the kit. I picked up a second one and took the plunge to try again.
Attempt 2: Masking templates and TS35
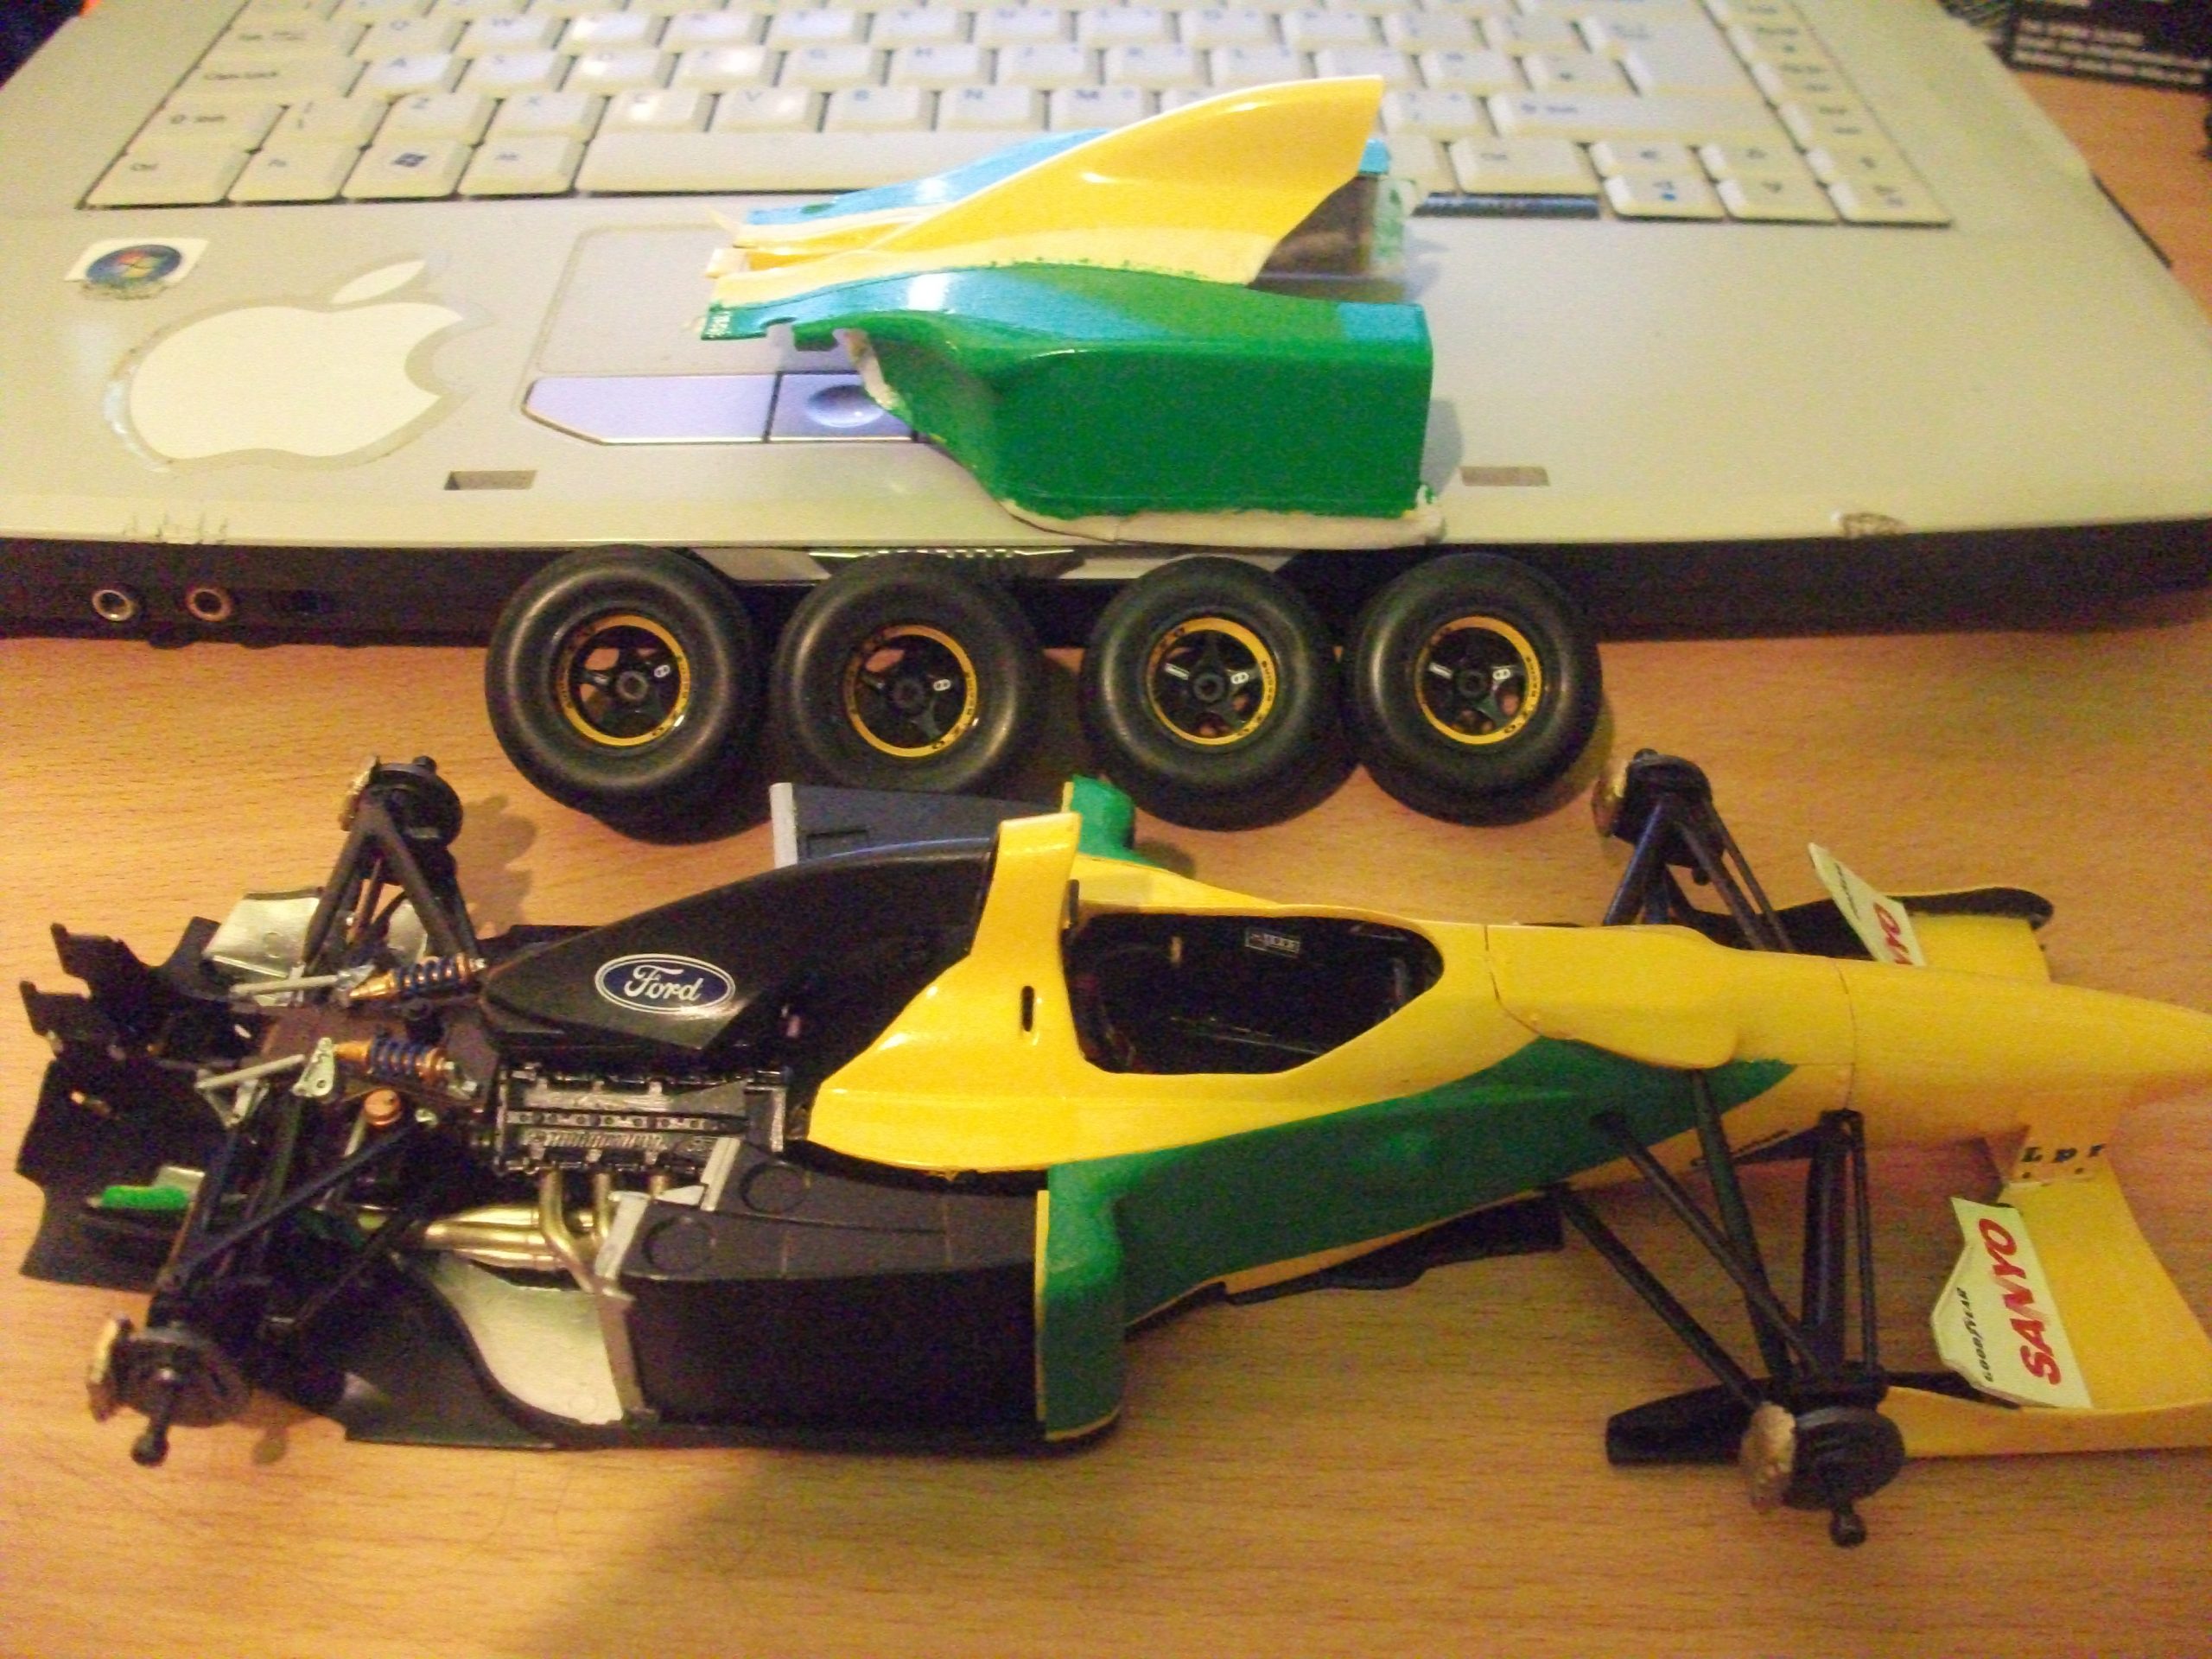
I did not want to start from scratch with the second kit. I’d already done enough good work first time around with the detail parts which I didn’t want to waste. So I broke up the kit and reused everything except the bodywork and front suspension. The floor needed a little cleanup but otherwise the original components were fine. I had decided to build the kit kerbside anyway so the engine detail was irrelevant. I’d made a nice job of the painting as well. Nevermind!

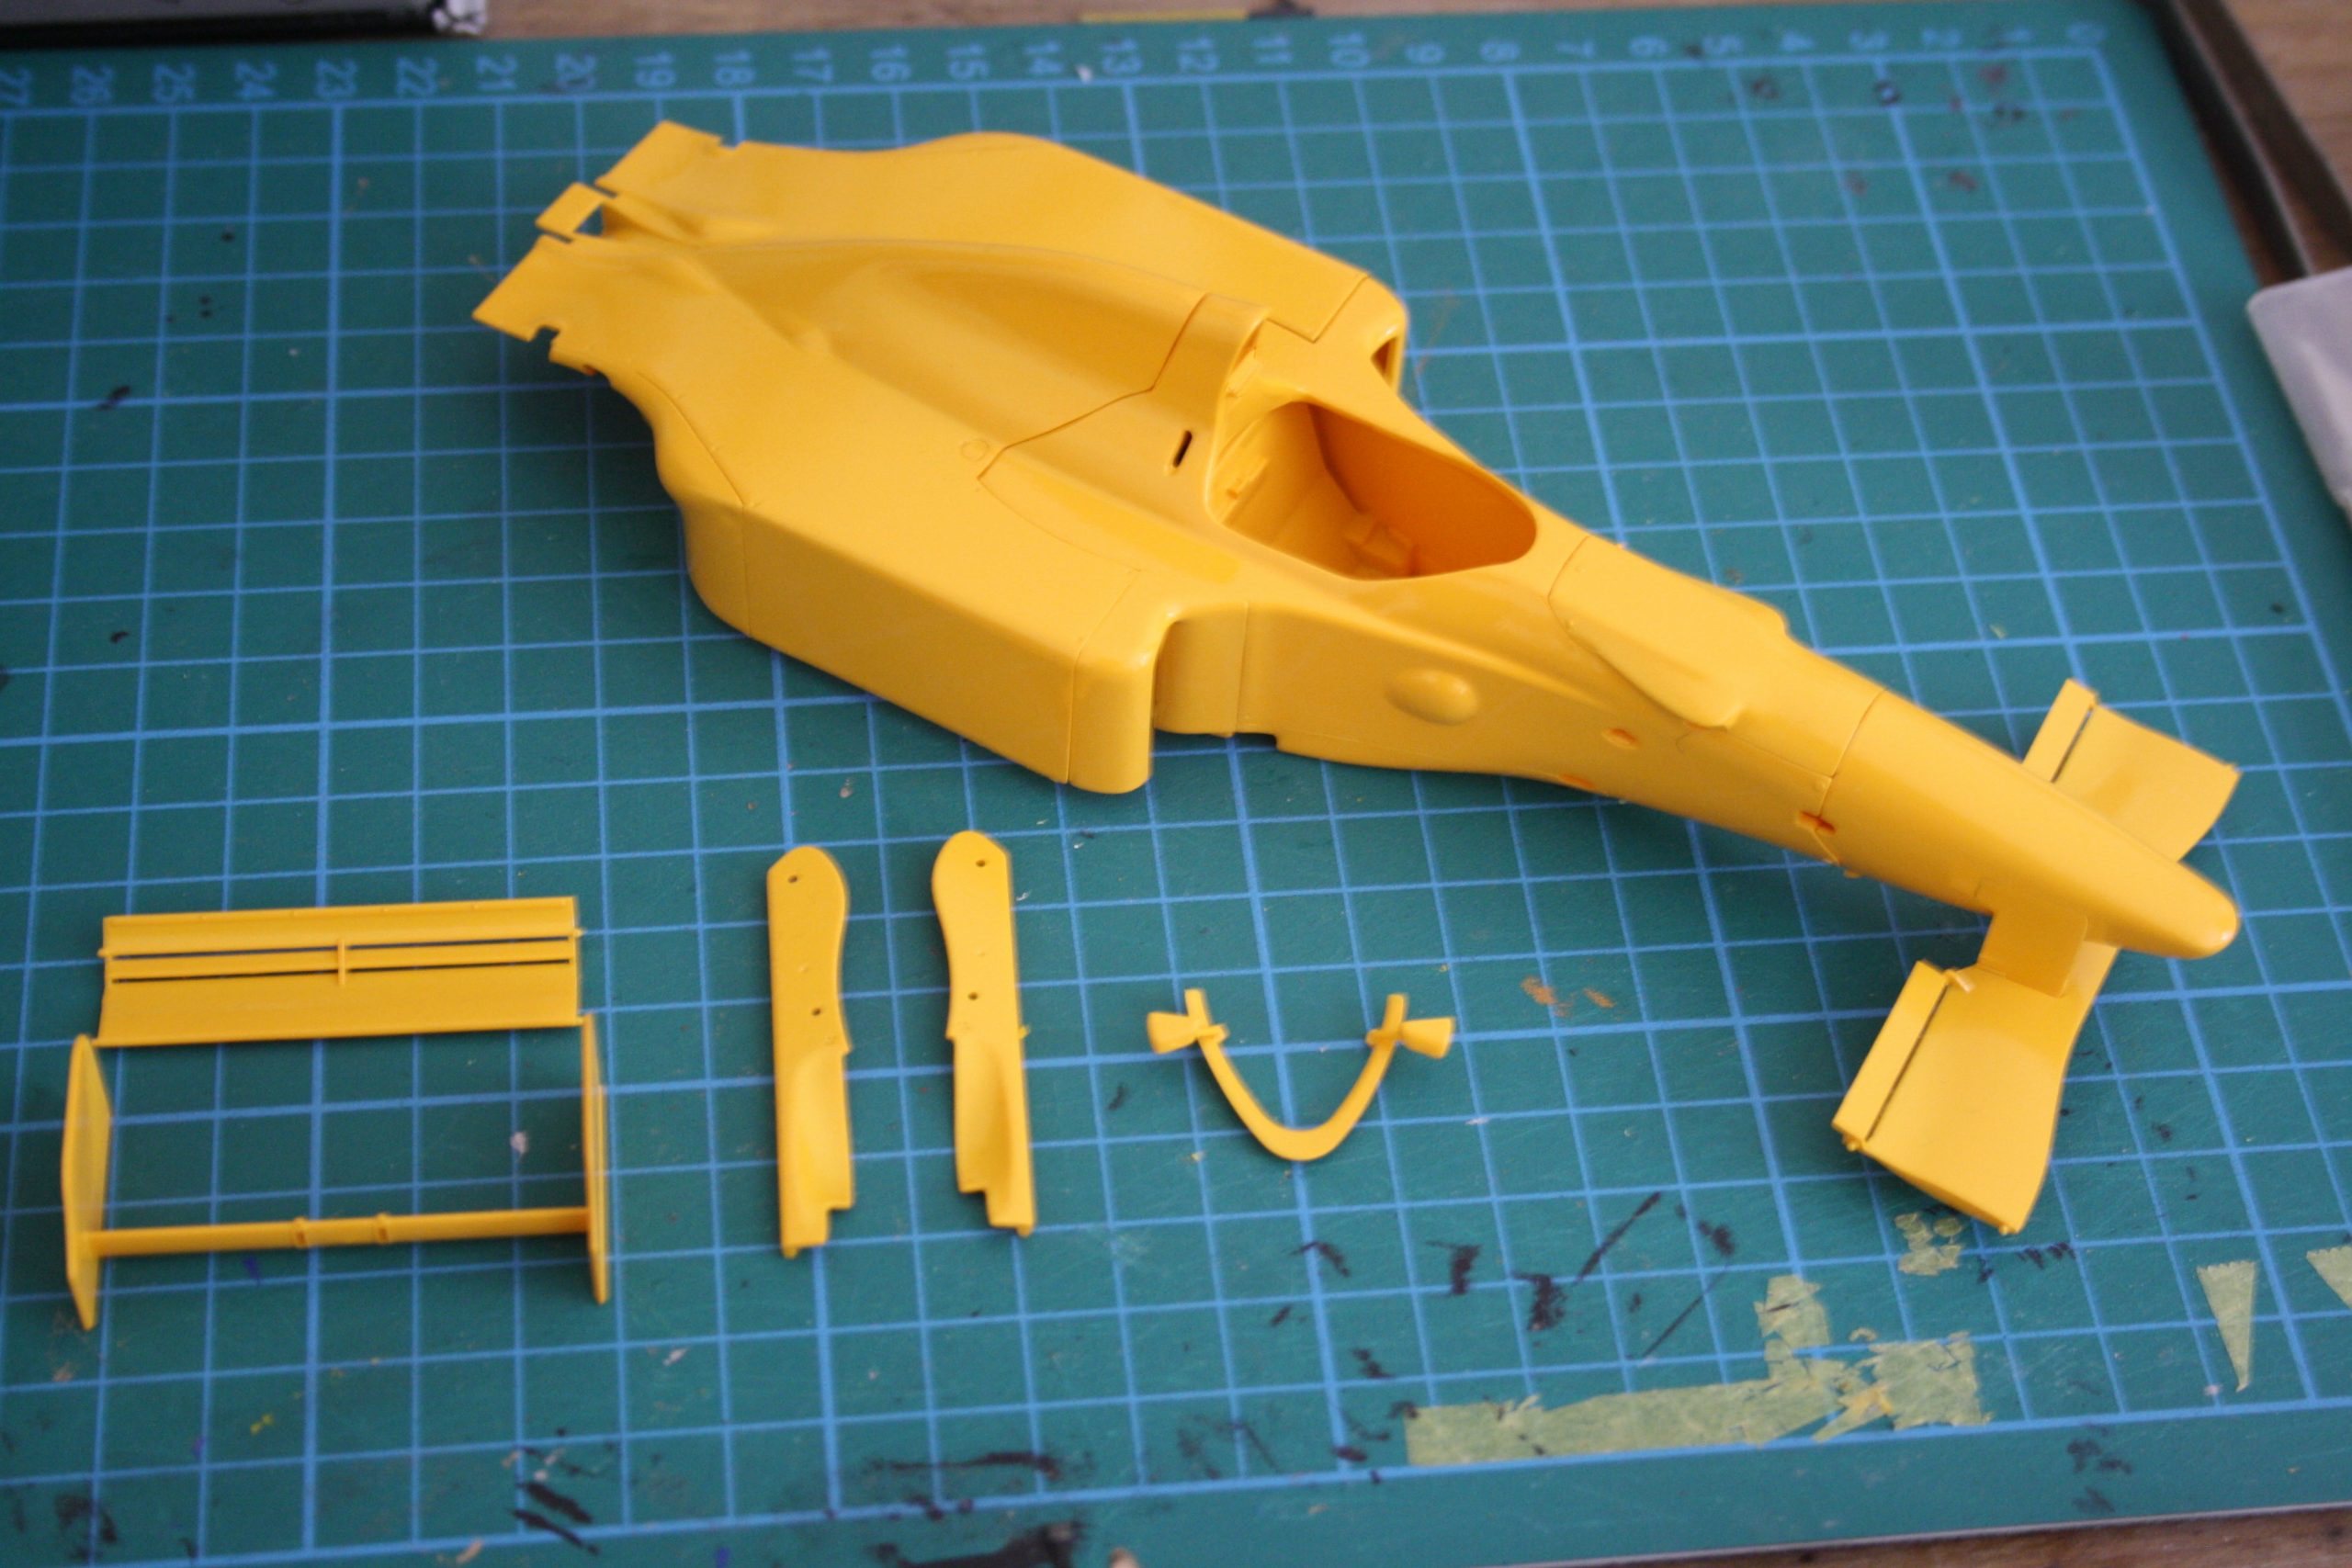
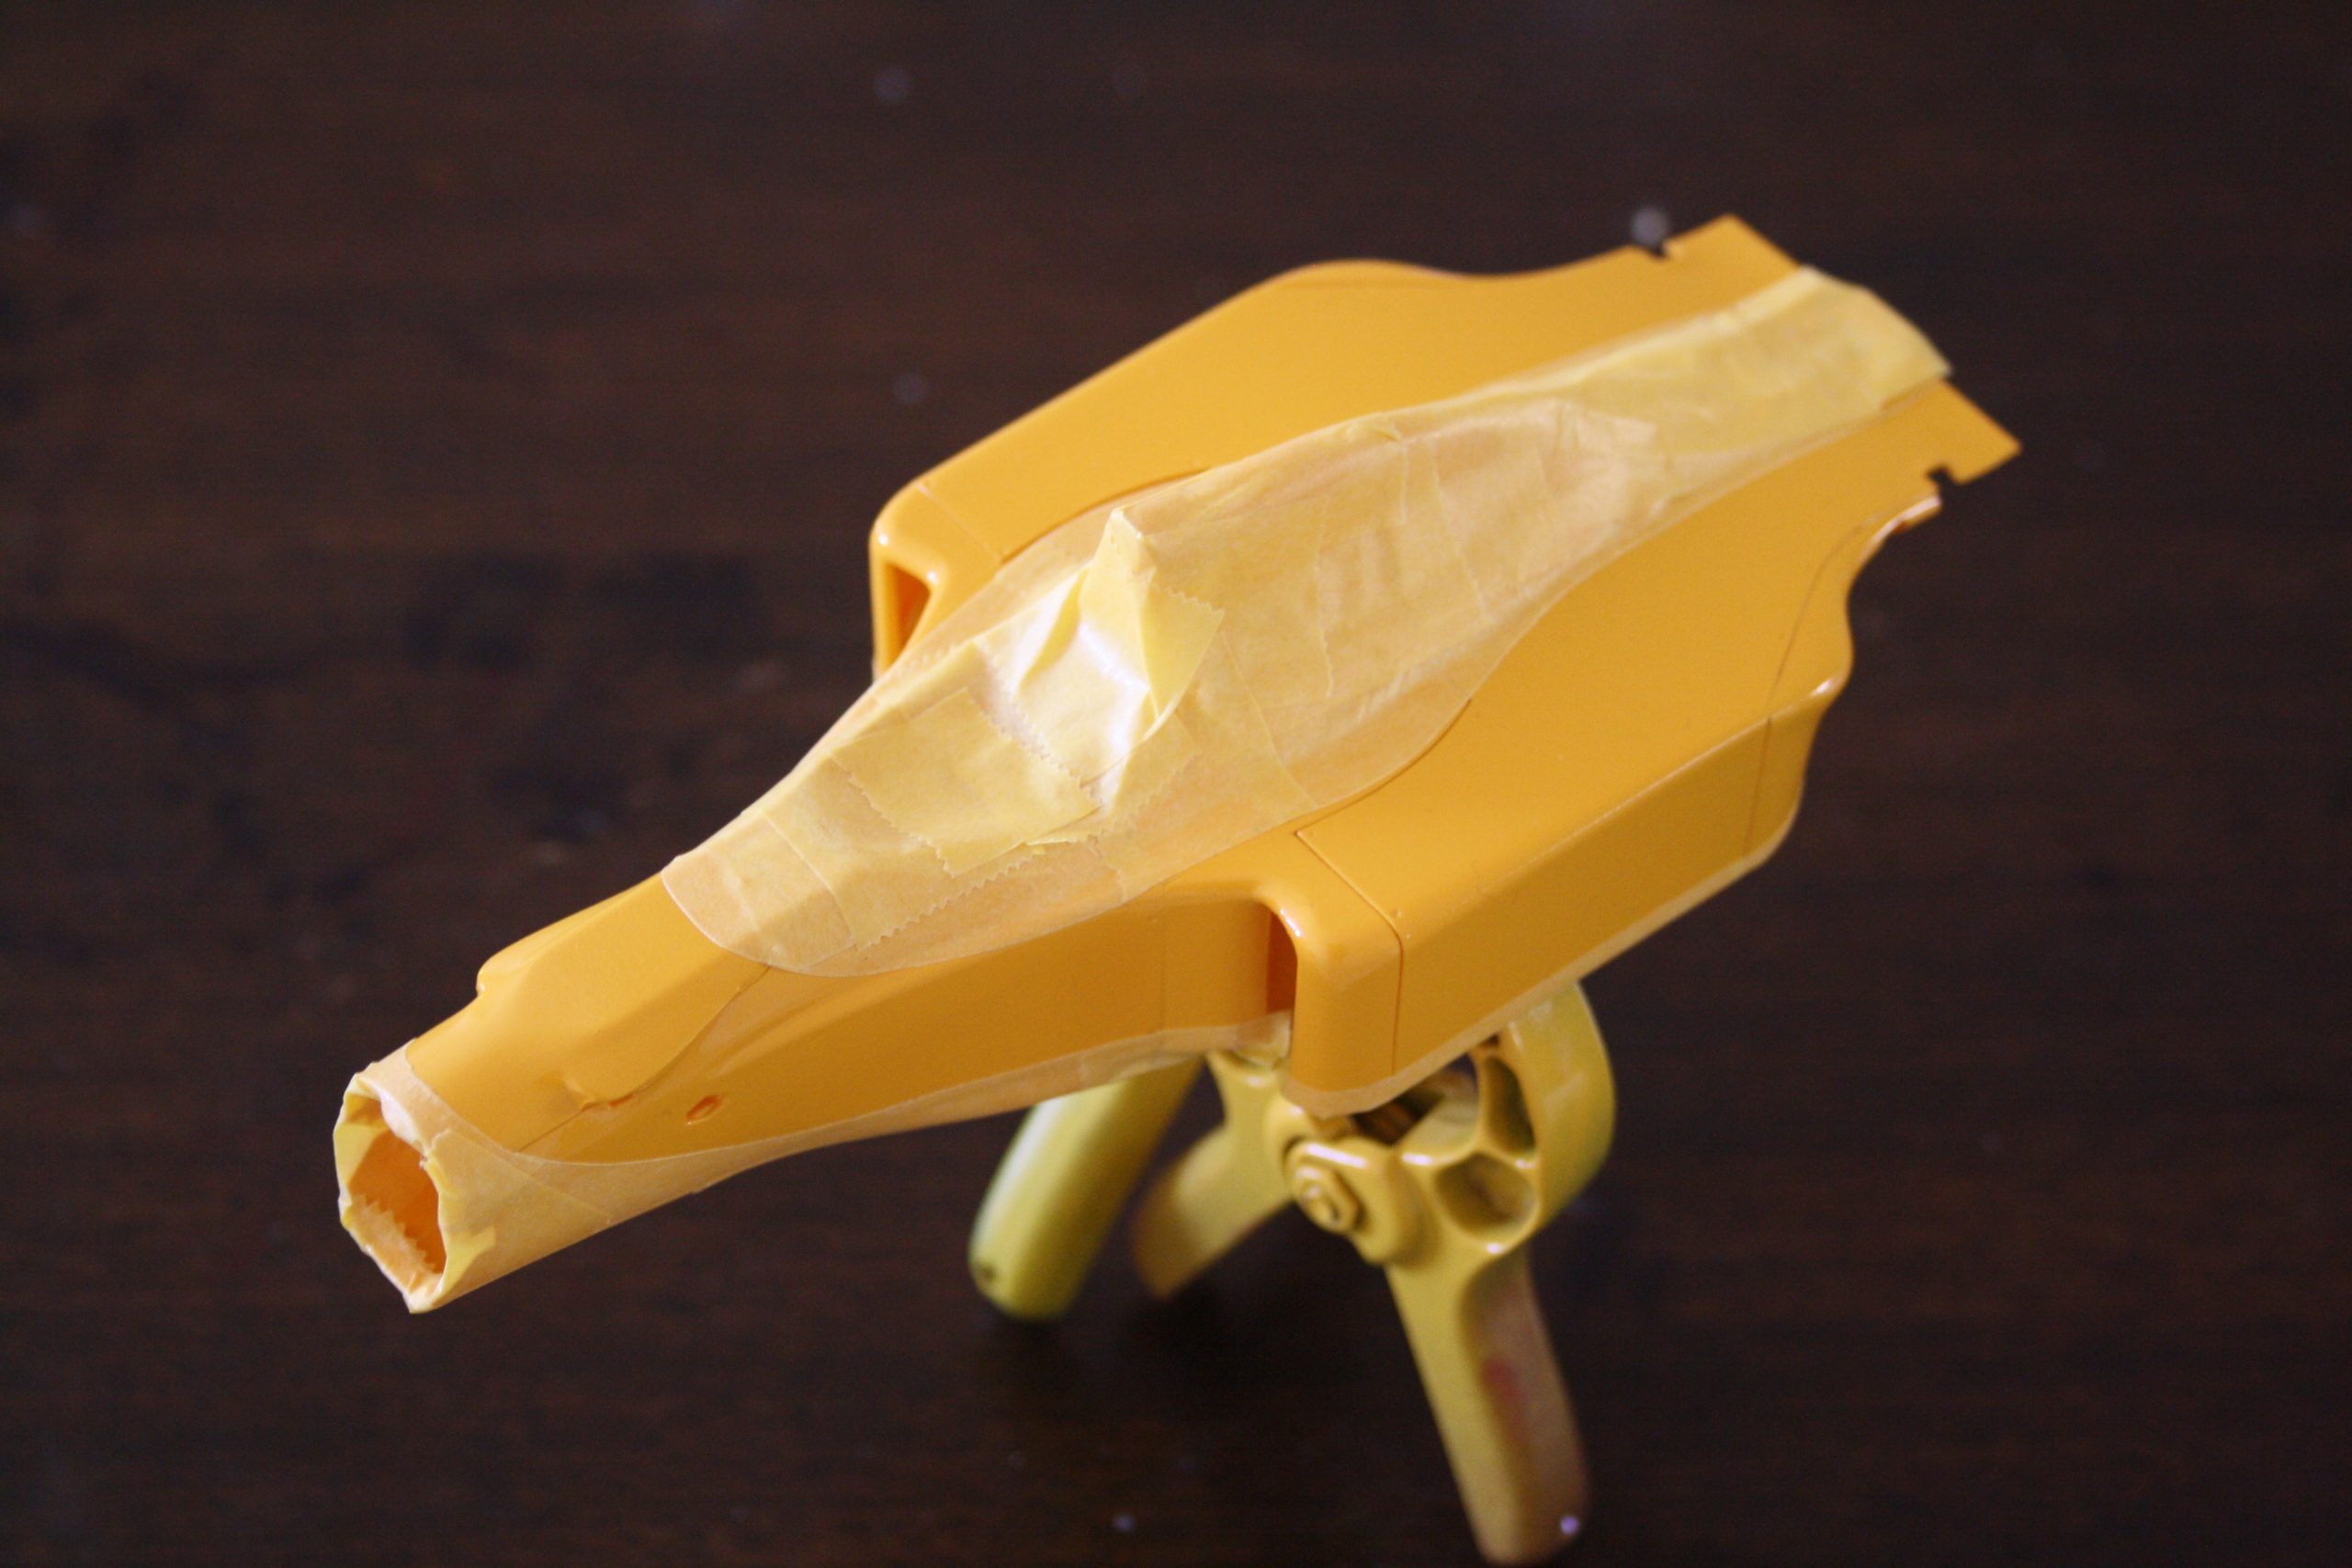
With that decided, I moved onto preparing the all-important new bodywork for paint. First up was plenty of Tamiya TS47 Chrome Yellow. Once that had been left for a few days to properly dry out and harden, it was time to banish the demons of the past. I found a PDF template online of the green areas of the B192. You can actually recreate this yourself by scanning in the decal sheet and using the green decals as the templates too. But if you’d like the PDF you can download it here. I can’t remember where I found it – if you’re the creator reading this, let me know and I’ll give credit where it’s due!
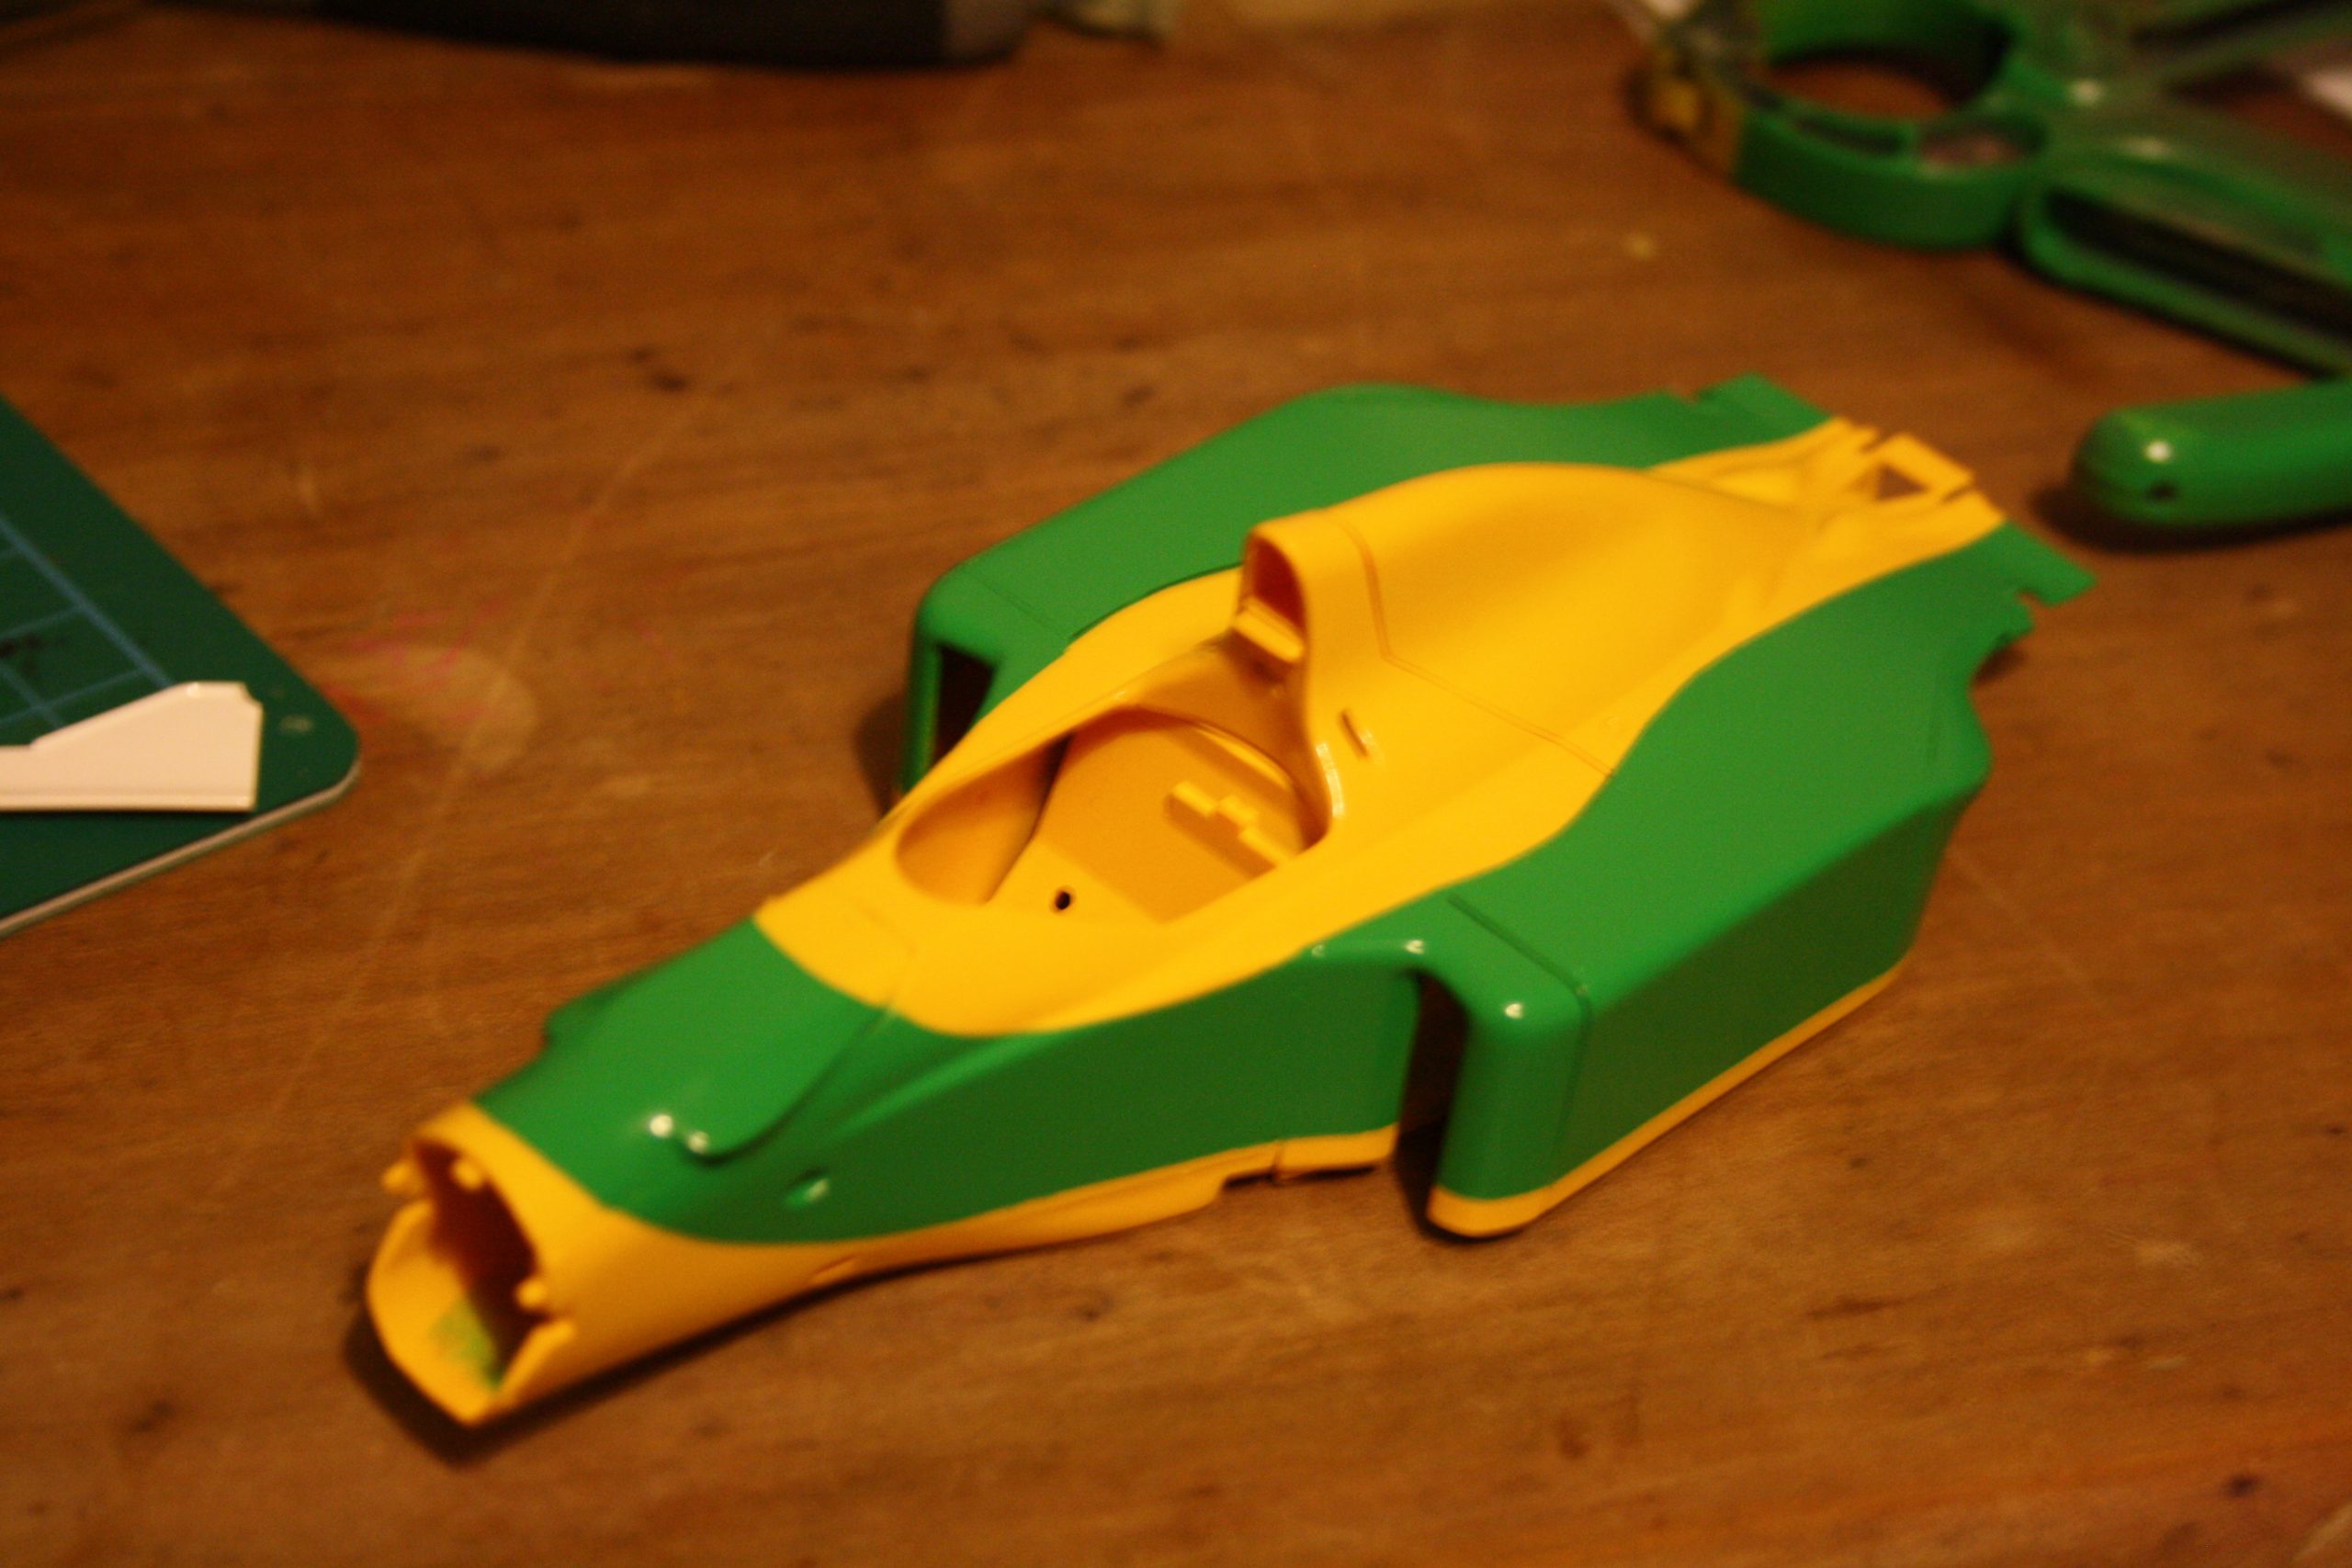
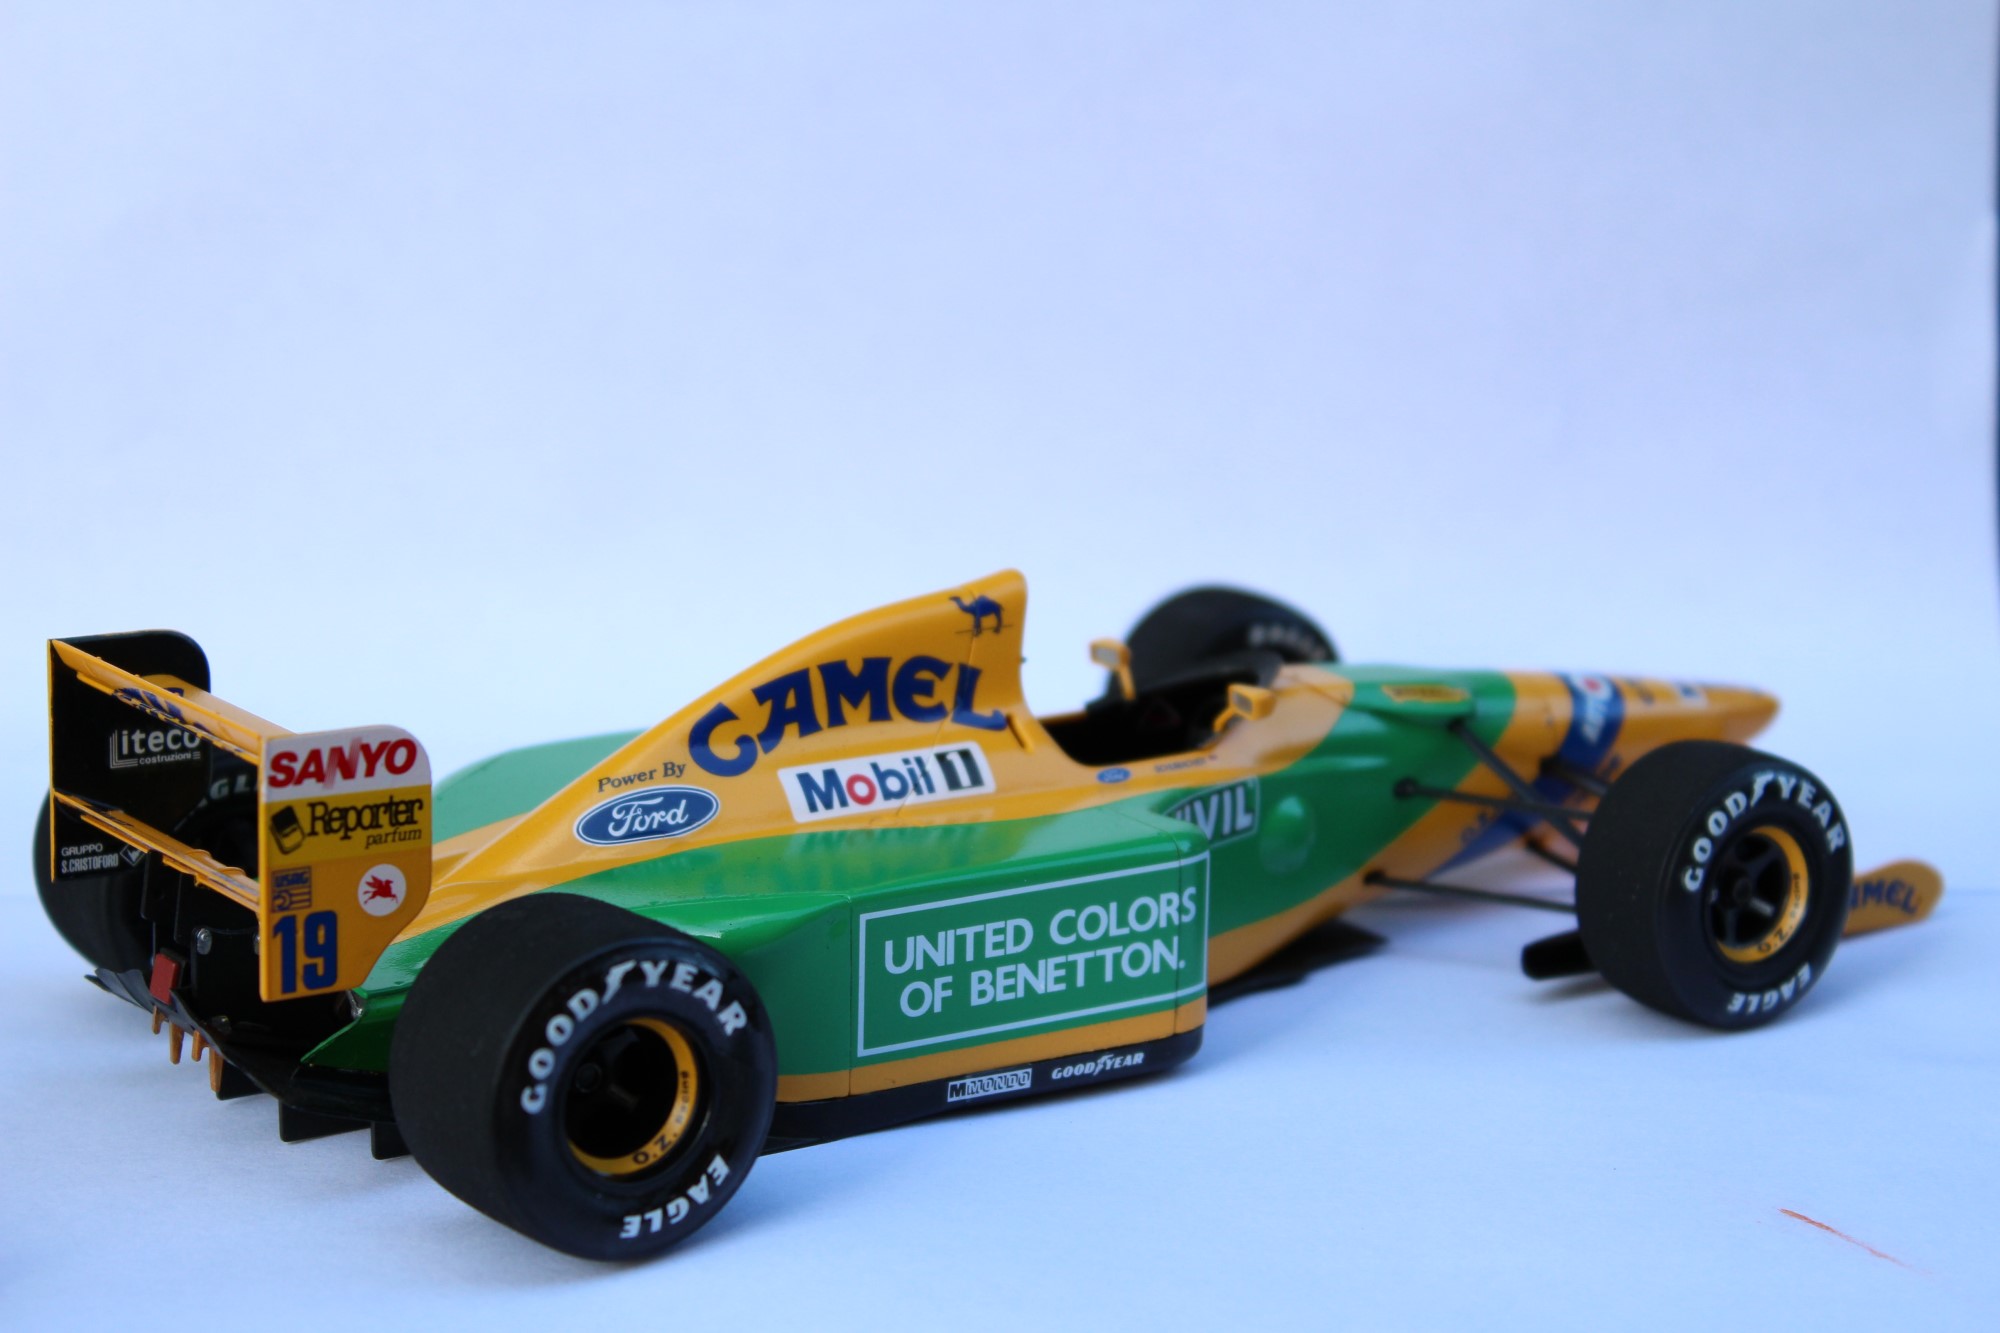
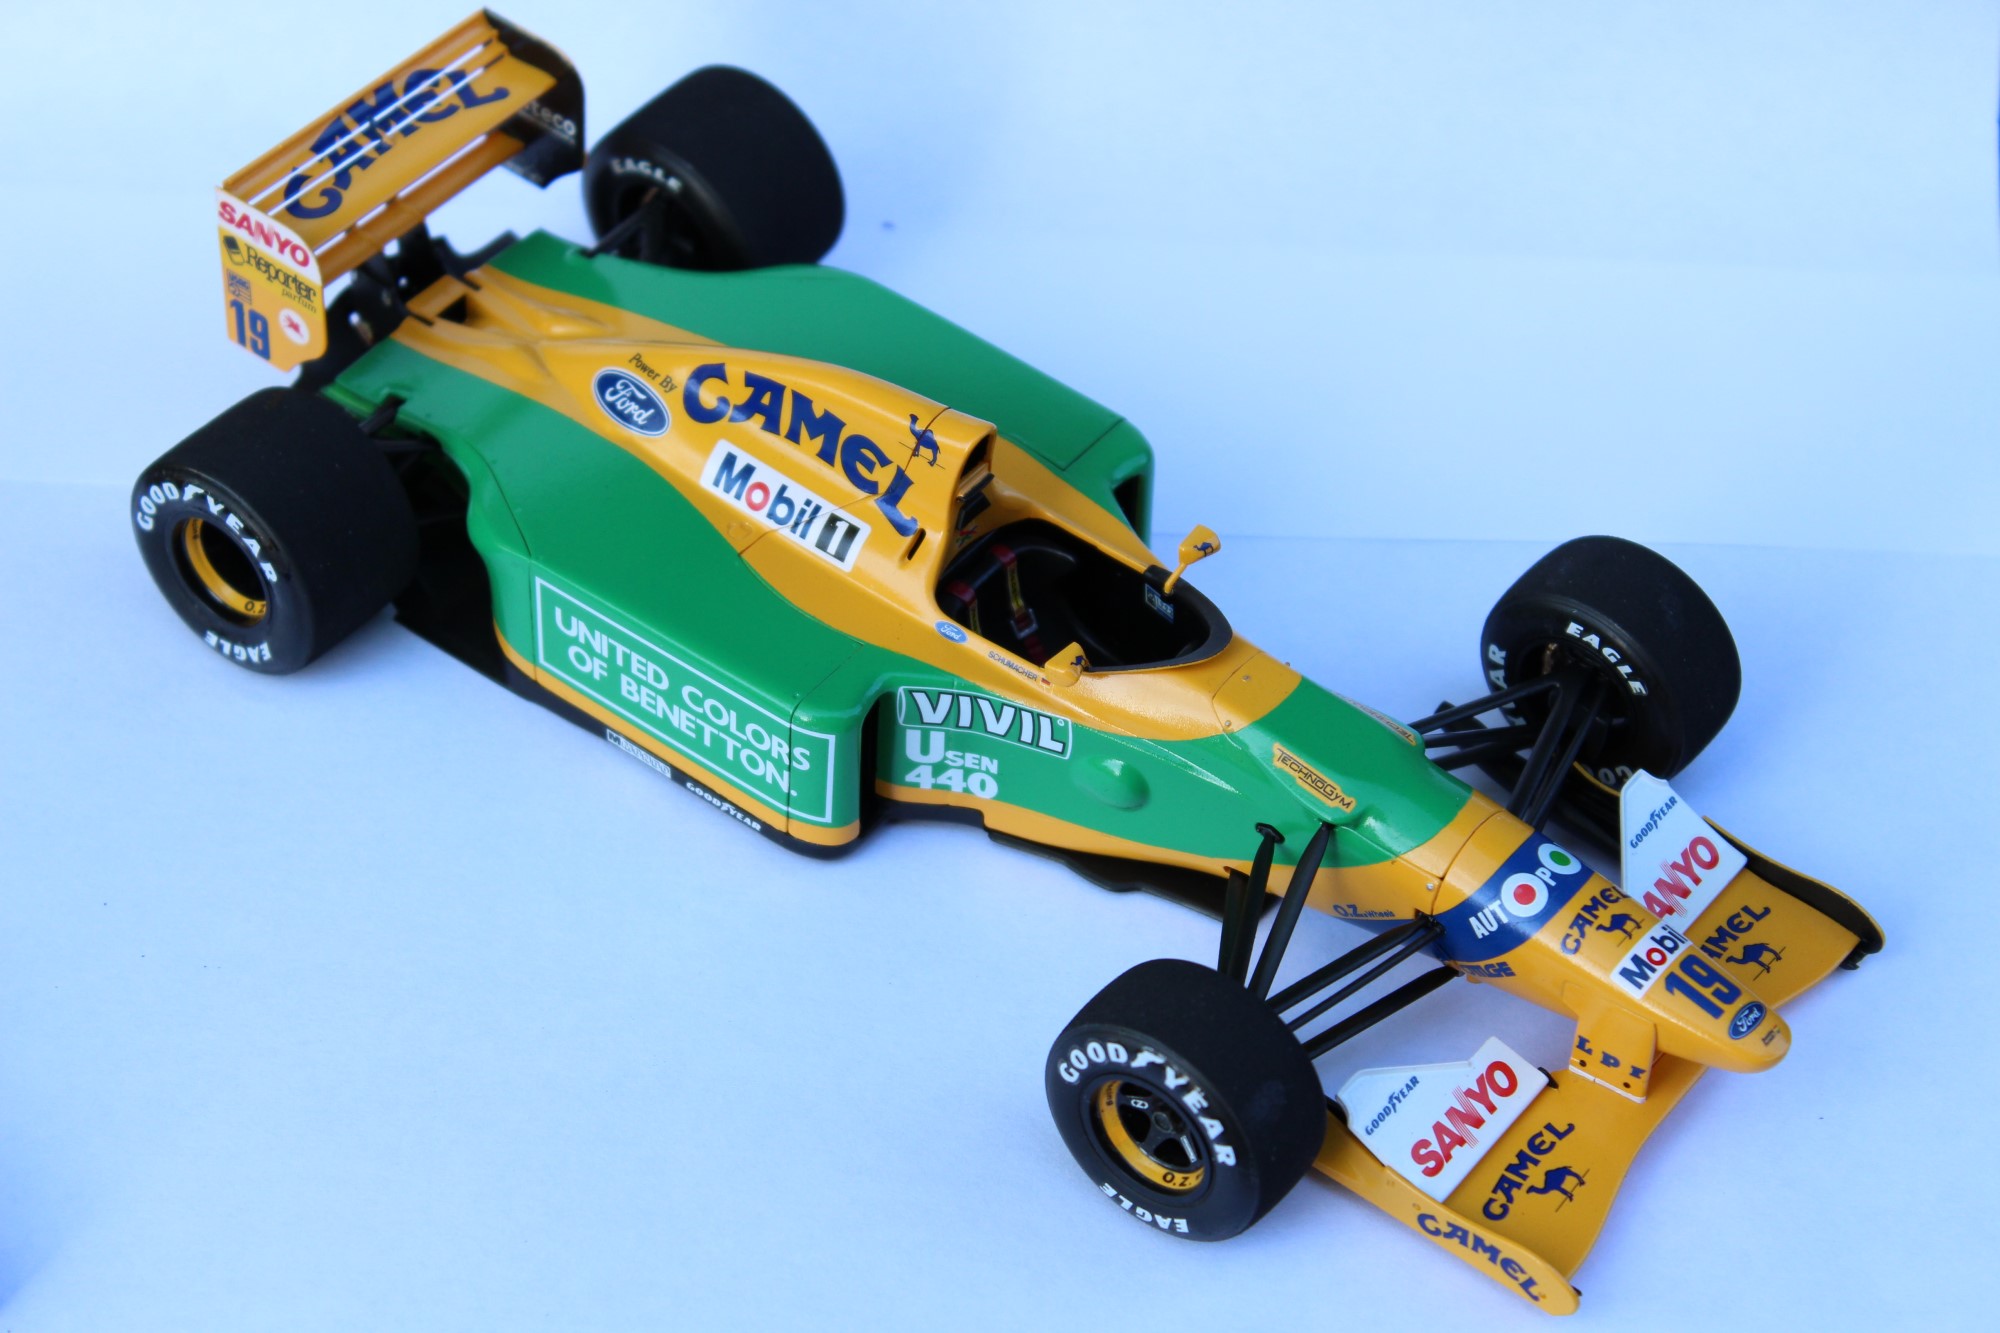
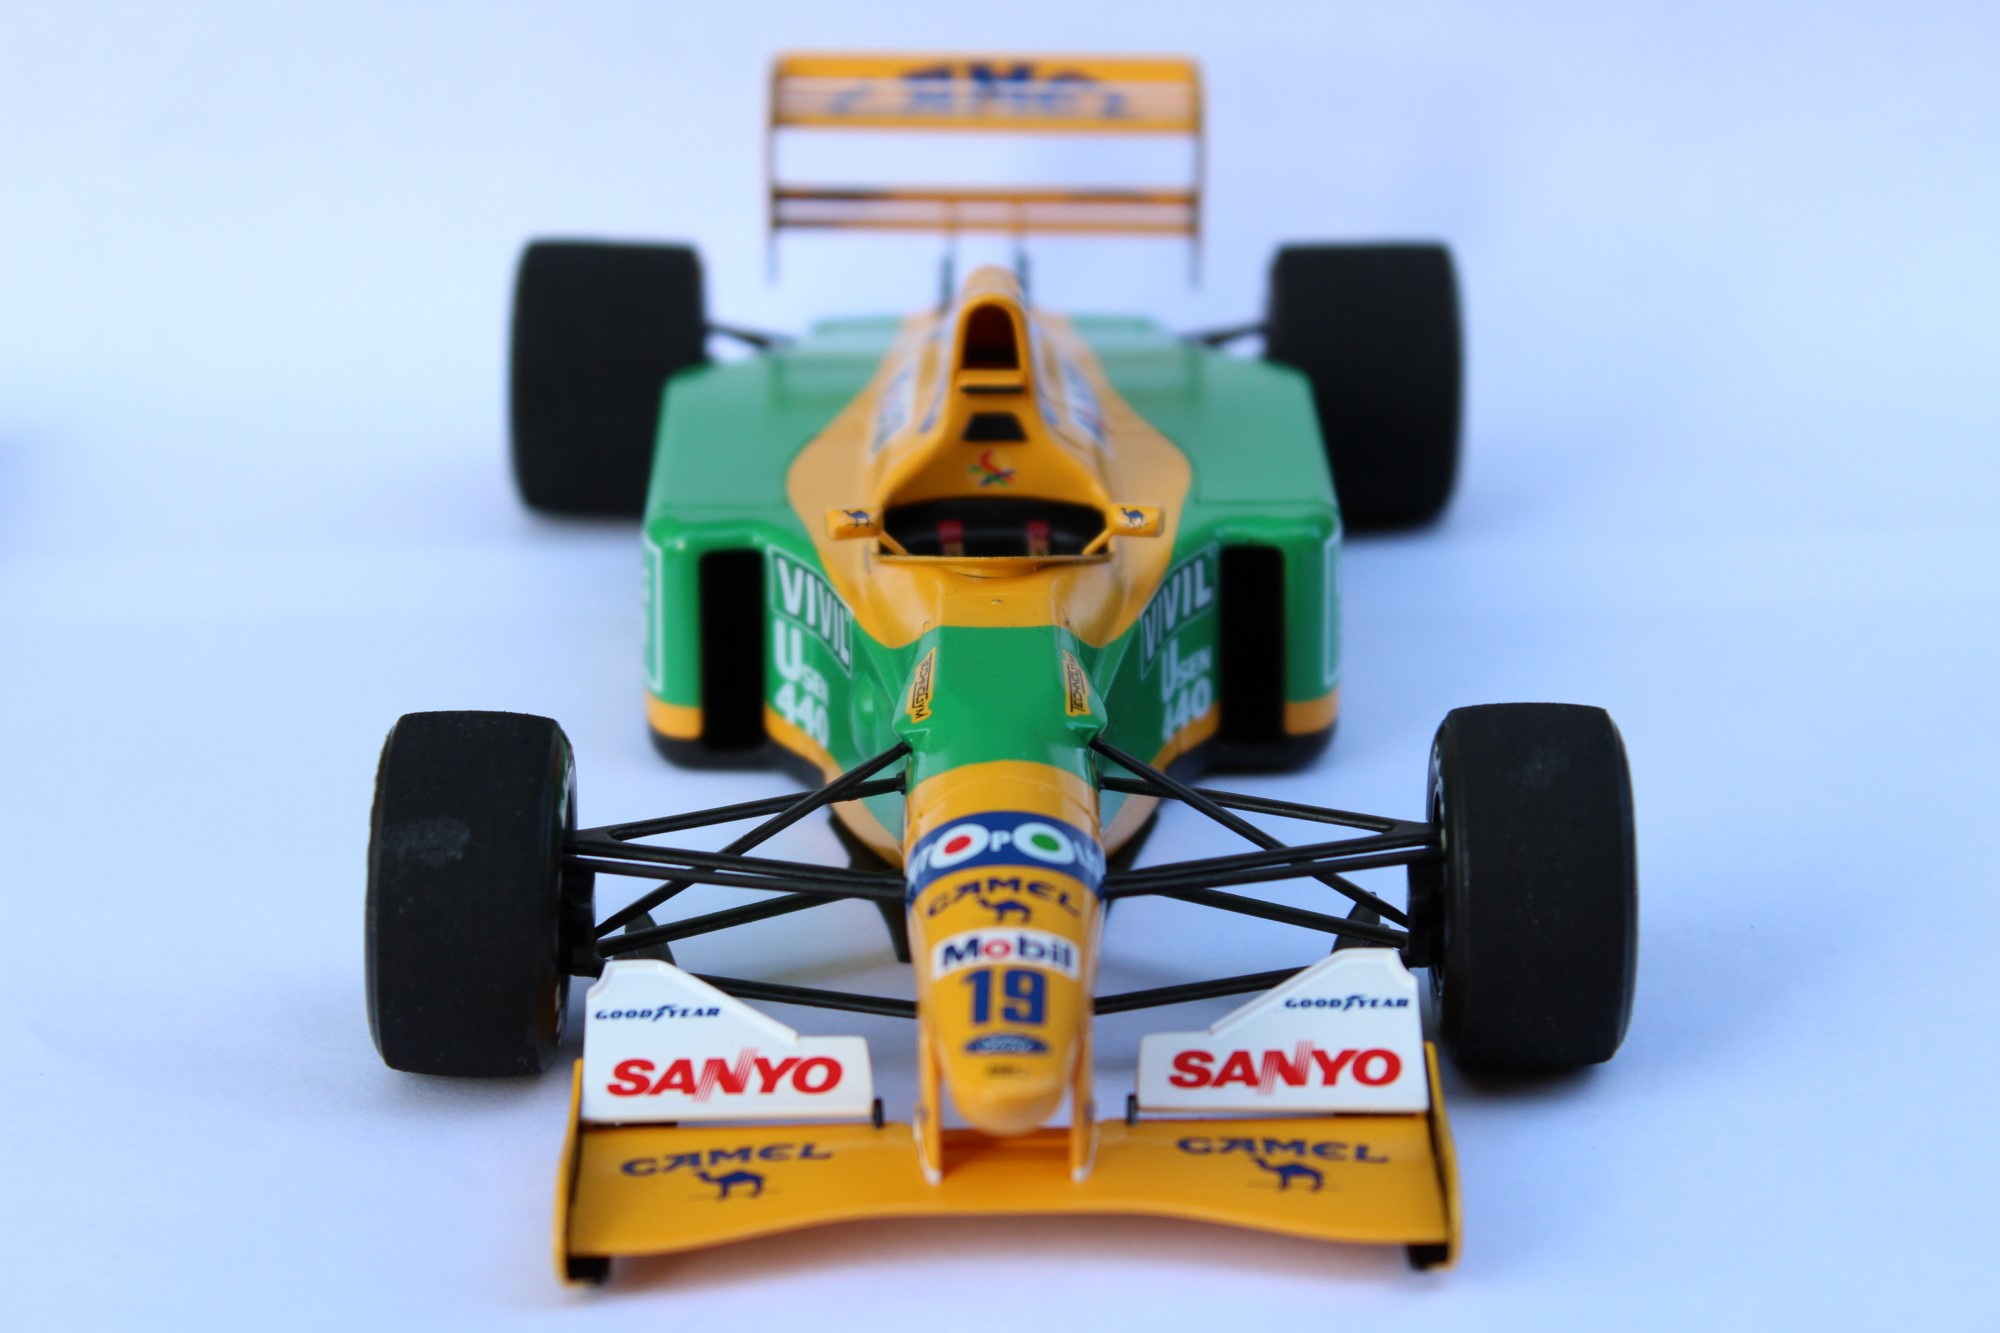
With the masking template on, I sprayed TS35 Park Green onto the body, instead of the green decals. And as I peeled the tape off, whaddya know, there was the lovely yellow and green Benetton livery looking fantastic! There were a few areas to be cleaned up, but fundamentally the job was a successful one. The demons had been banished!
Time to decal the Benetton B192
The decal work for the Tamiya Benetton B192 is made significantly easier without the hassle of those expansive green areas. The standard kit comes with the usual fillers for the tobacco decals. The decal sheet has the word “Benetton” replacing “Camel” and written in the same Camel font. But a quick search reveals in the two races run without tobacco sponsorship, Benetton actually used the image of a camel in place of the normal text logo, at the British GP and German GP. So if you want a livery that remotely resembles the real-life B192, the standard Tamiya tobacco replacement decals can go in the bin!
There’s a few different tobacco decal sheets available for the B192. Tabu, Shunko, Museum Collection and MSM do versions and there’s probably other suppliers too. I used the Tabu sheet which includes the Goodyear logos. These come in handy if you’re unfortunate to own a more recent version of the kit when Tamiya had to remove all references to Goodyear…
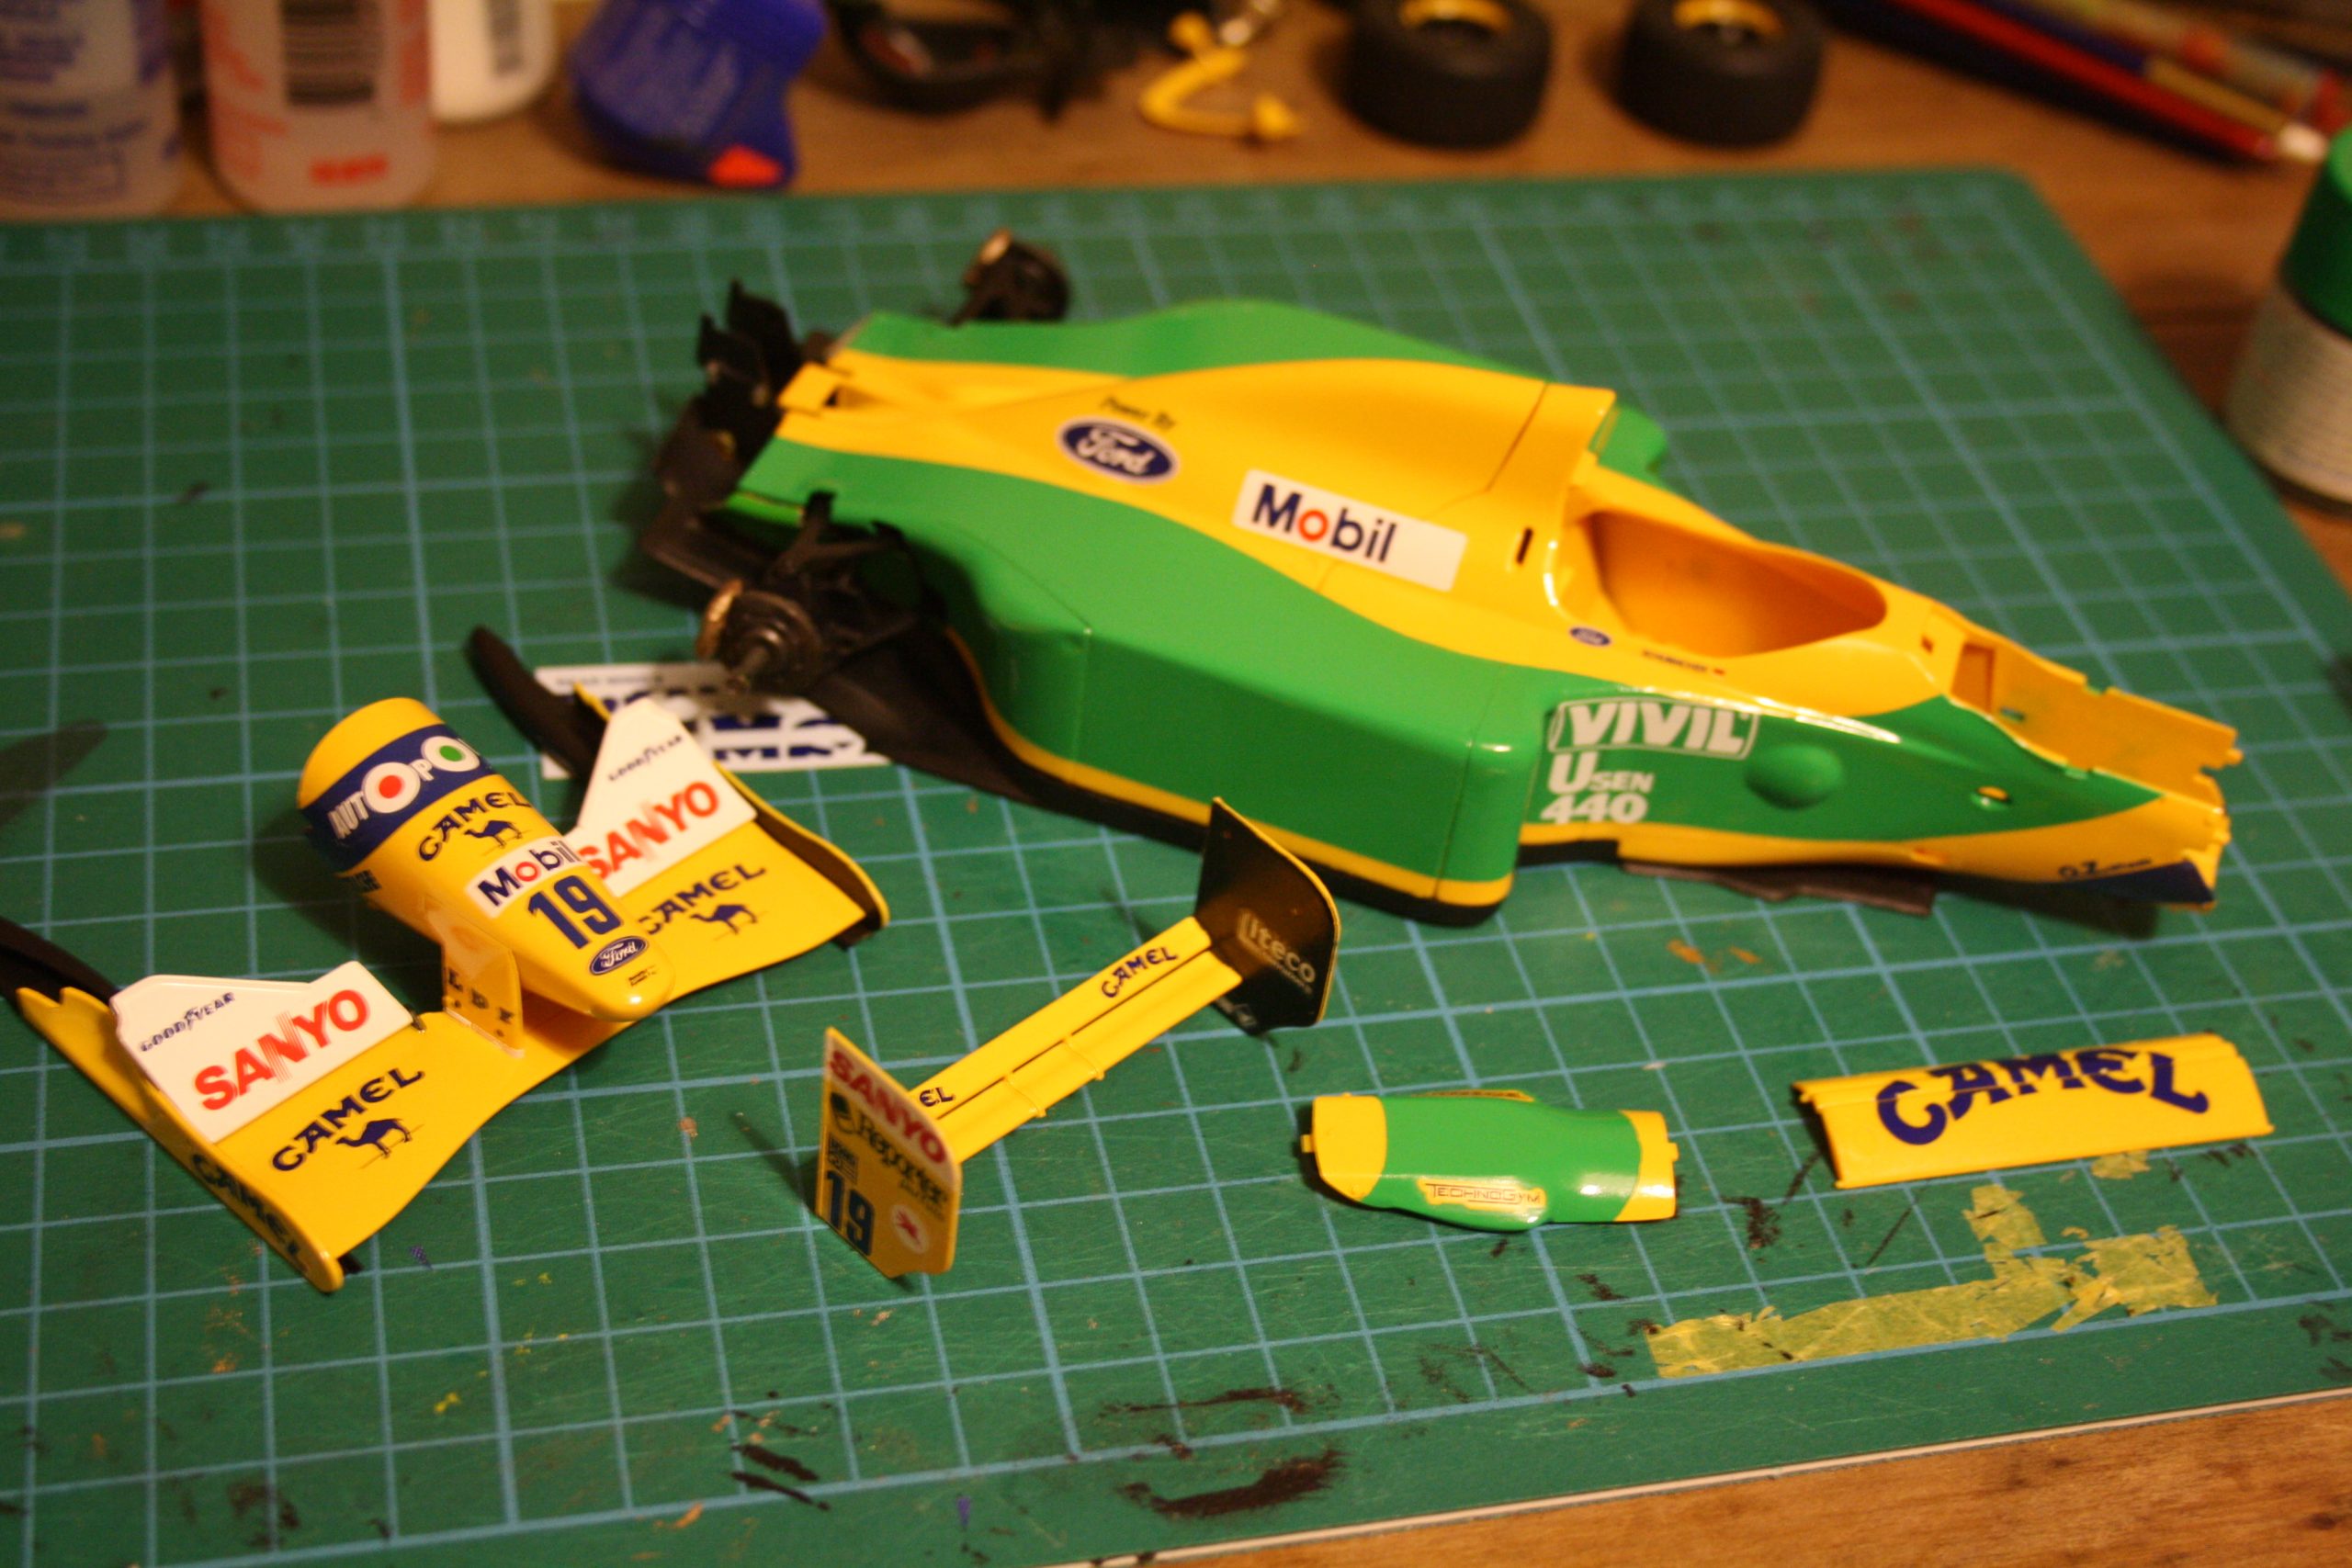
The only minor hiccup as I applied the decals was a slight miscalculation on the thickness of the green bands below the cockpit. This meant the “Vivil” and “Usen 440” logos didn’t have as much space as they should have. The Camel decal on the front of the upper rear wing elements was also quite fiddly. There’s three upper elements so getting the decal lined up was a little tricky. I got there in the end and a little bit of blue paint sorted out some minor imperfections. After that, I gave the bodywork a couple of coats of TS13 Clear.

The last details before the finish
Re-using parts from my first attempt at the kit meant there wasn’t much left to do. With the bodywork complete, I was able to assemble the rear of the car, and then concentrate on the front suspension. This proved to be no trouble, and meant the final job was to scrub the tyres with the Dremel and apply the tyre decals. Tyre decals have often caused me a bit of angst, but these went on fine. And with that, I could call the kit finished.
On reflection, while I was glad to have completed the B192, I should have spent more time on details. Particularly the cockpit, where I used the standard seat with moulded seat belts. That would’ve added something extra, and though I didn’t add them, I might revisit it in future!
My top tip for the Tamiya Benetton B192
My main tip if you’re also attempting the Tamyia Benetton B192 is to avoid using the decals for the green areas. It’s tempting to just try the decals, especially if you have experience with Micro Set and Micro Sol decal softener. How hard can it be, right? Plus, masking up a complex livery pattern can be hard to get accurate. So it’s easy to see where the temptation comes from. But, if it’s a single colour, nine times out of ten you’ll get a better result if you paint it instead. Take your time getting the masking right and you’ll have a finish you can be proud of.
This build diary was originally published in stages on f1m.com in 2015.
Leave a Reply