
Tl;dr – take me to the pictures!
The Fujimi Sauber C30 was one of my earlier builds back in 2014. At that time the only 1:20 scale F1 model kits I’d built were the Tyrrell 020 and Lotus 102B. The Sauber caught my eye because it was an unusual subject for a kit. It wasn’t a front-running car, and there aren’t many Sauber model kits at a sensible price. Aside from Fujimi’s efforts (they also did the following season’s C31), the only other kits that come to mind are the Revell Sauber C22 and BMW Sauber F1.06.
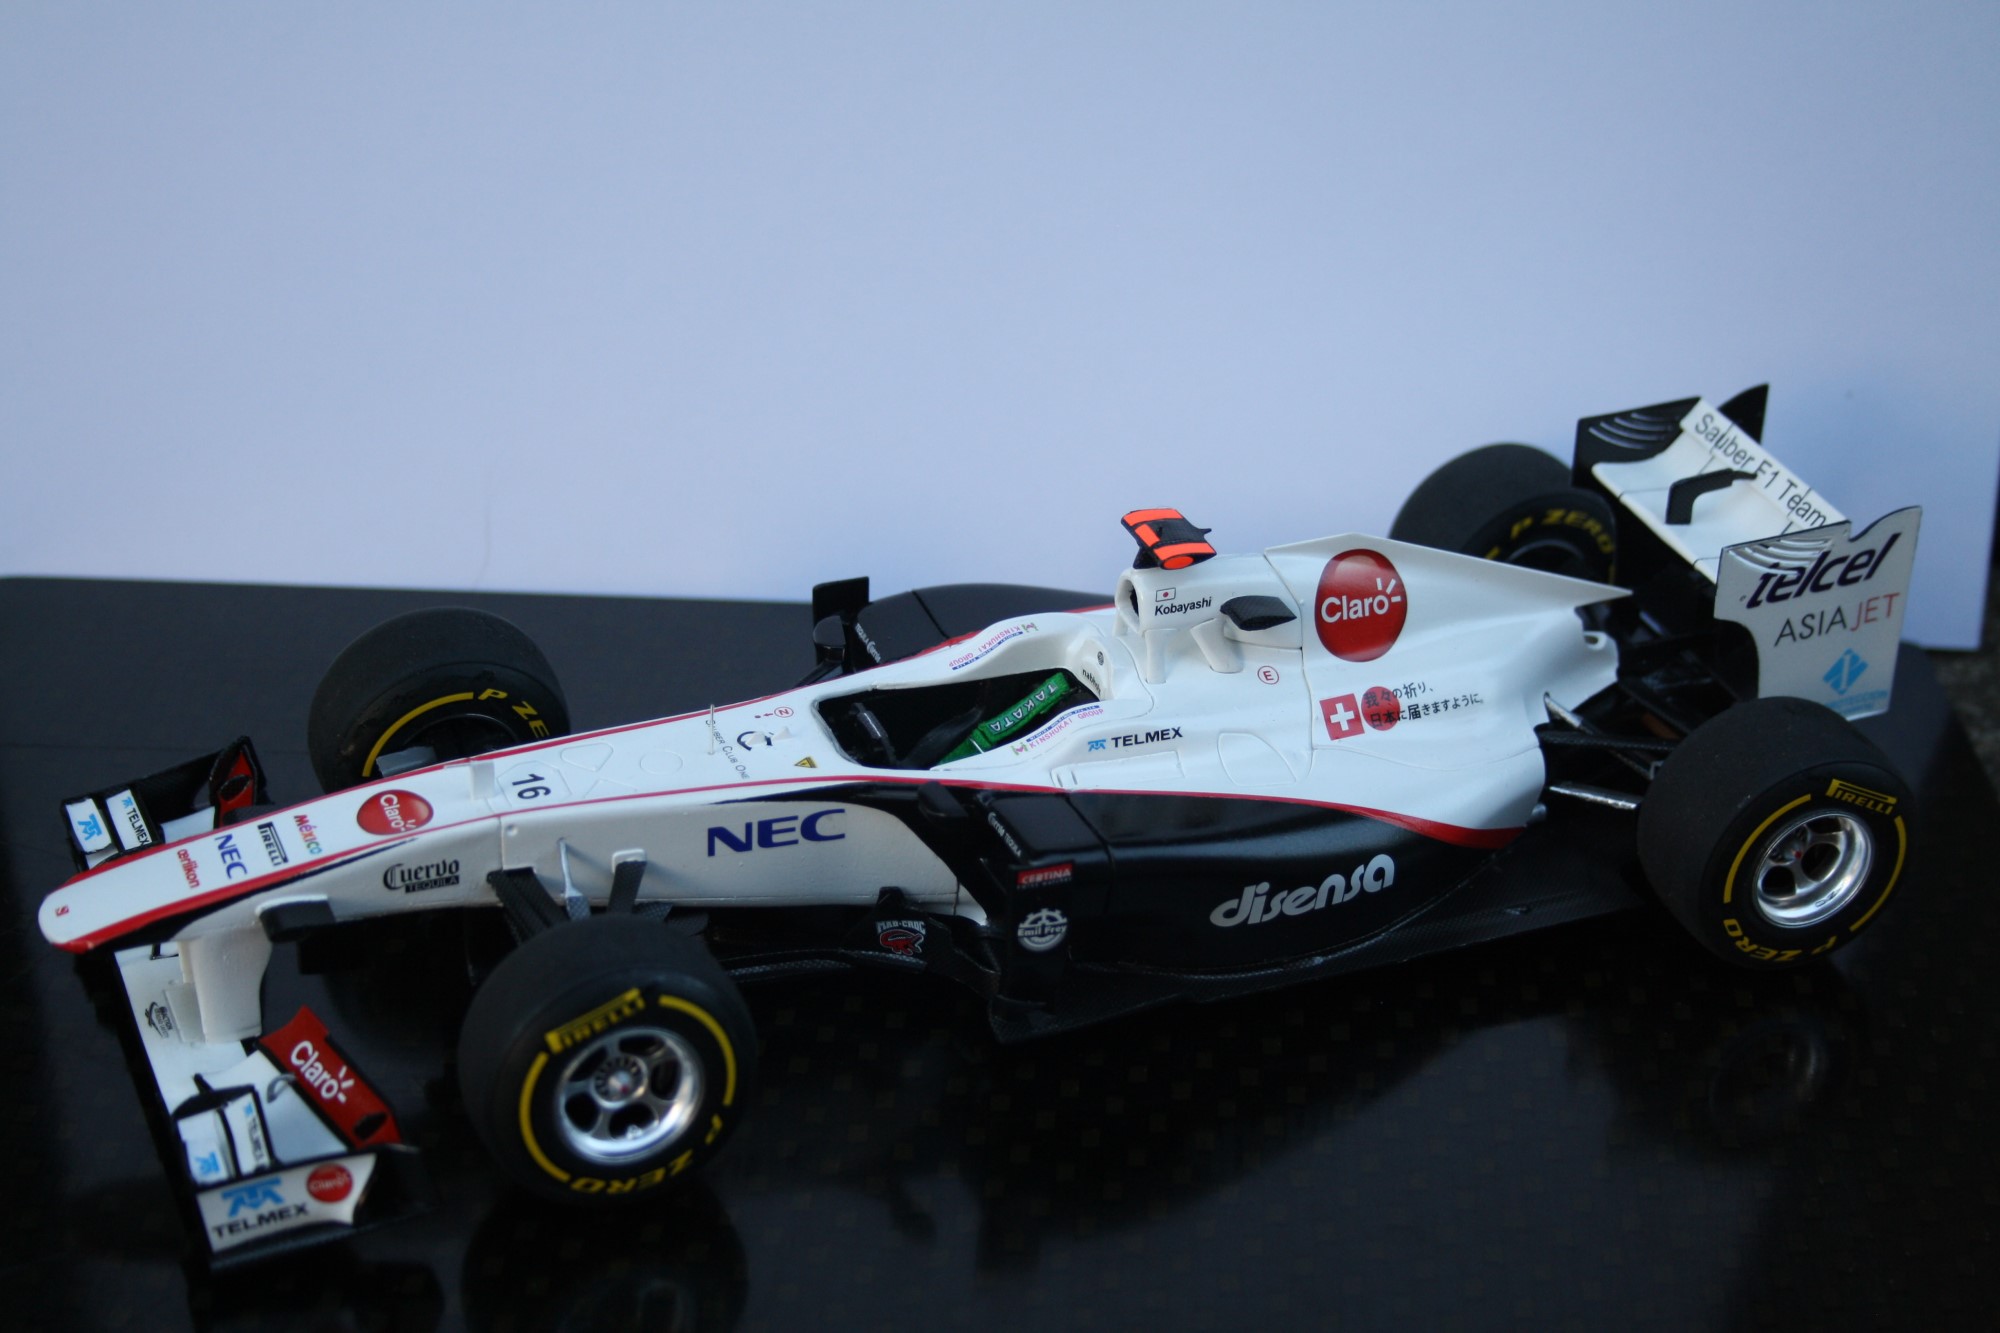
The Sauber C30 car was piloted in the 2011 F1 season by exciting Japanese driver Kamui Kobayashi, and Mexican rookie Sergio Perez. Kobayashi had an excellent start to the year – after the team’s disqualification in Melbourne he scored points in the next six races. This included an impressive fifth place at Monaco. Perez also steadily scored points throughout 2011 as he familiarised himself with F1. But overall, it wasn’t a stand-out year for the team. In fairness, after the upheaval of 2010, Sauber were probably just glad for another solid points-scoring year.
Some notes on building the Sauber
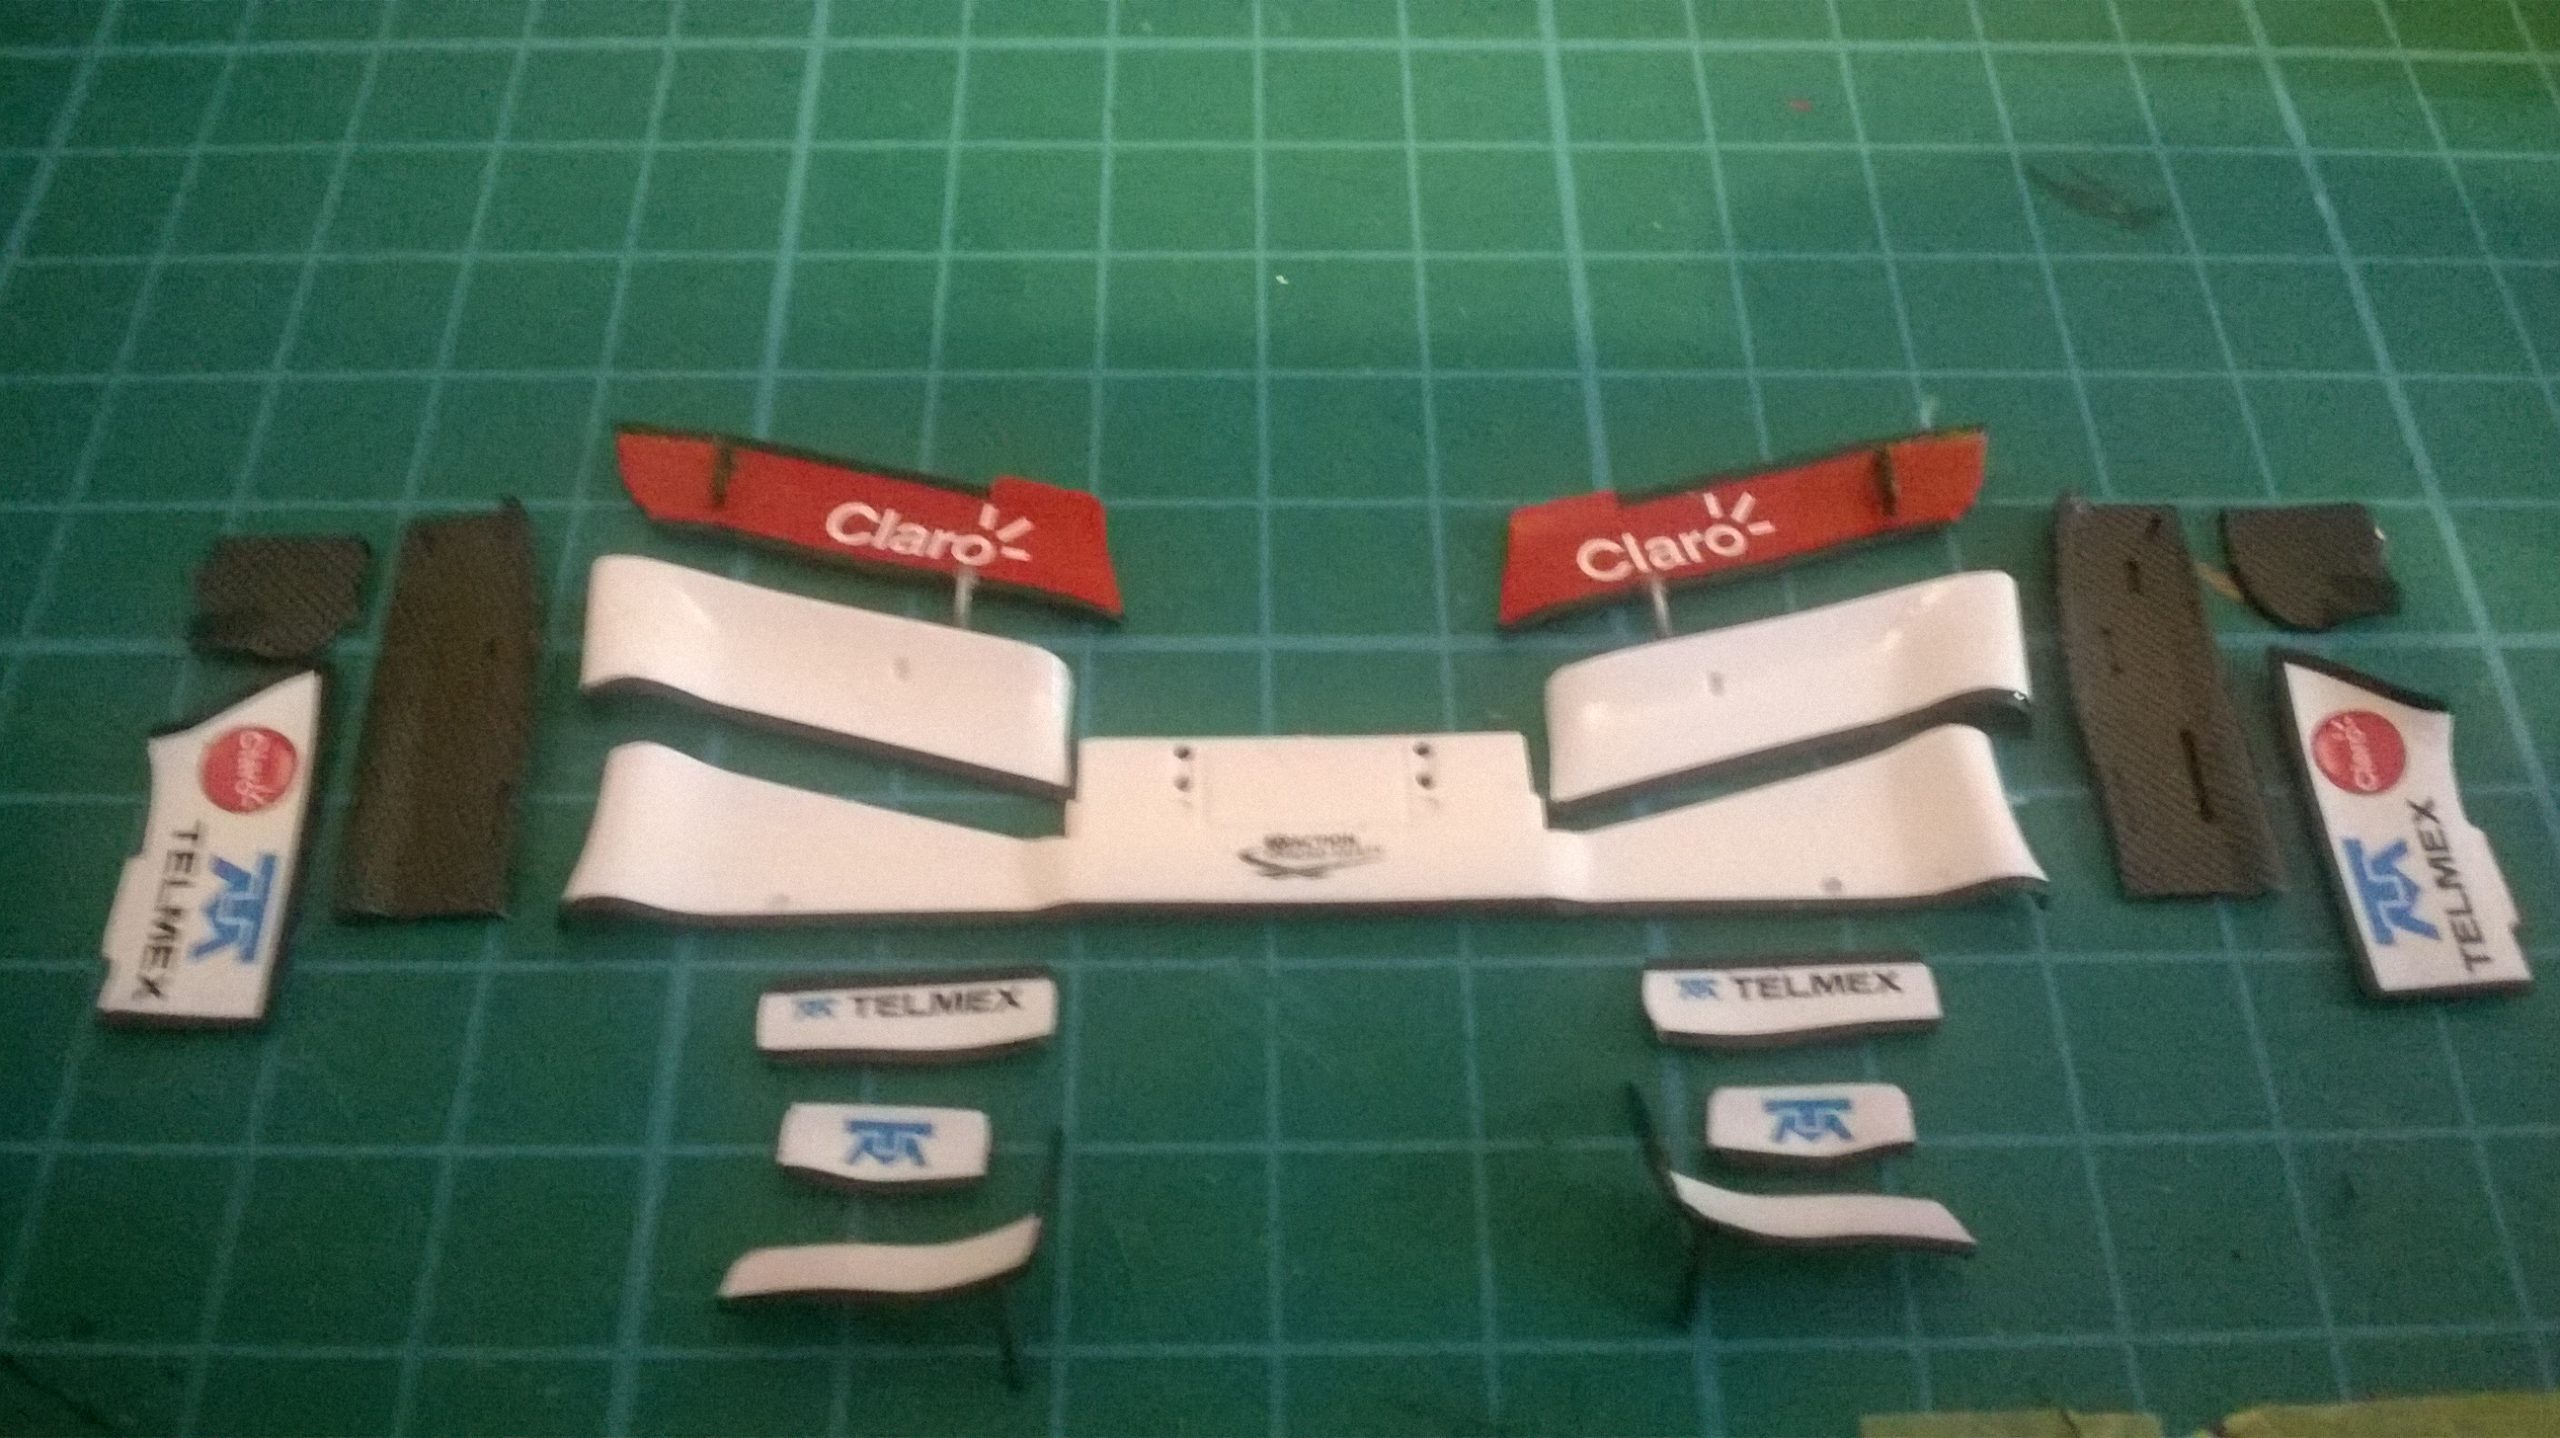
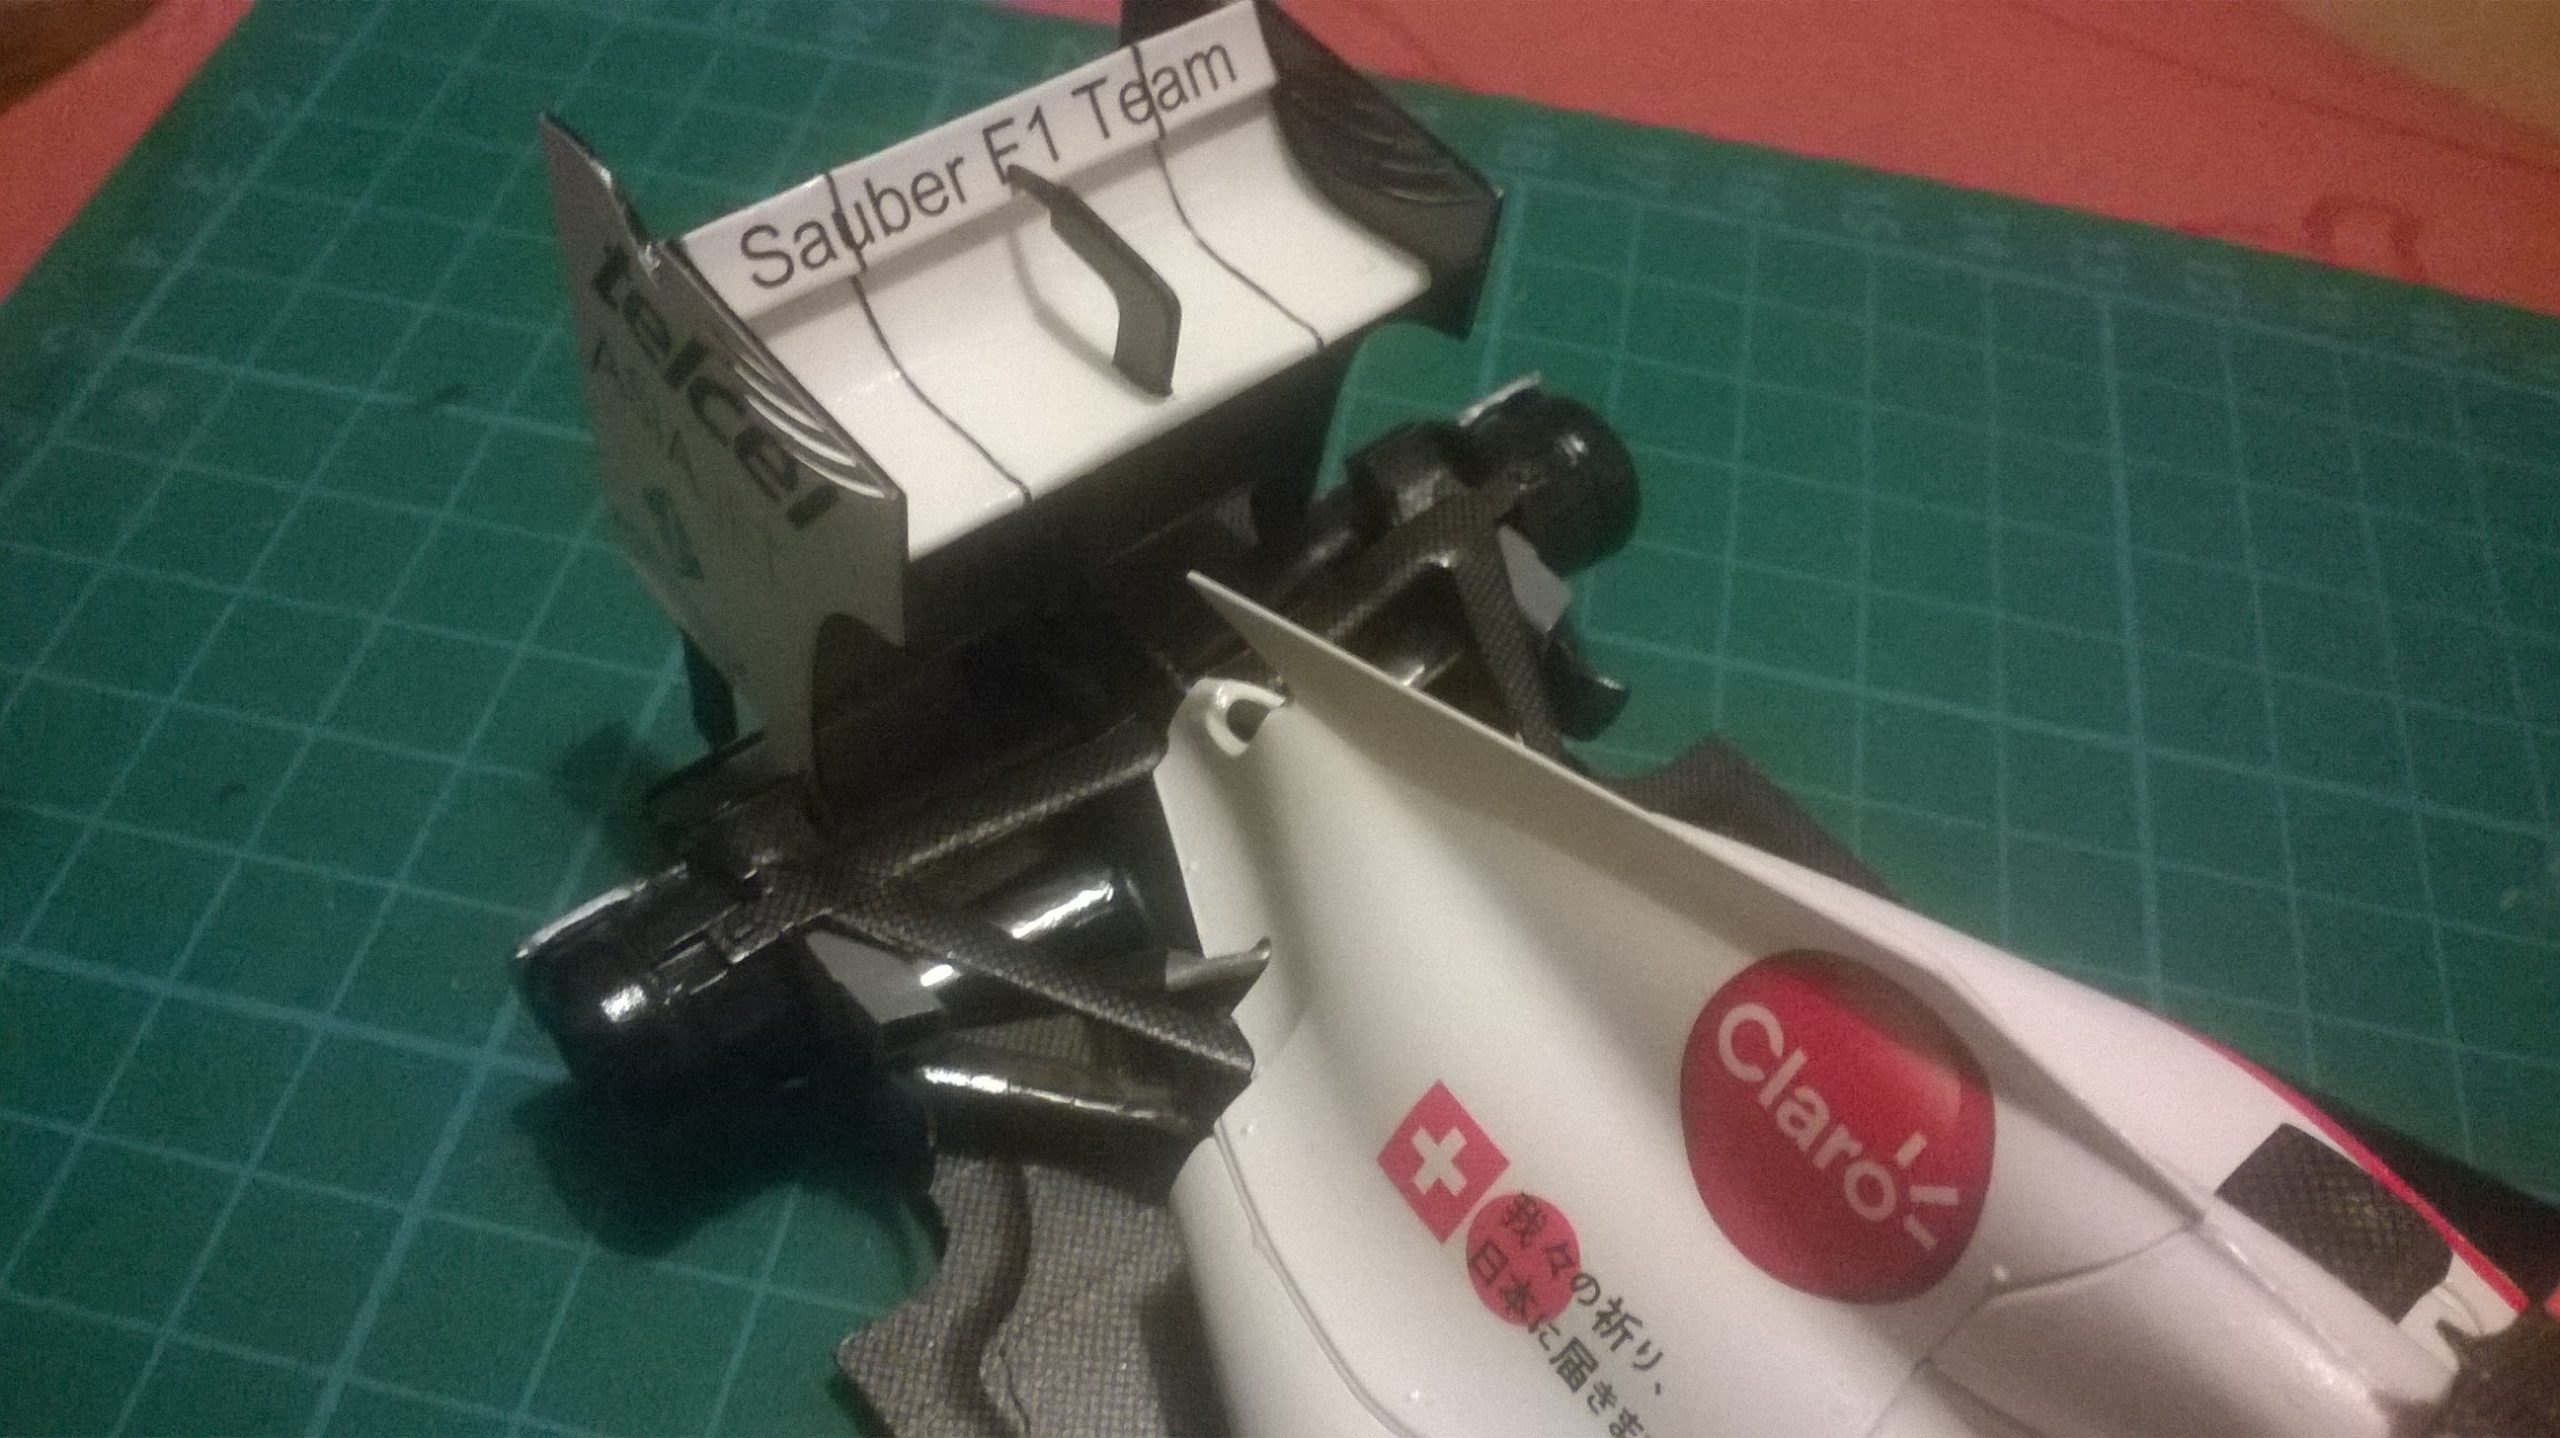
As this is an old build, I don’t have many pictures of the C30 kit in progress. I bought it when the kit was first released in 2012 with a nice 30% discount on the introductory price. I couldn’t say no to that! The kit itself went together quite well, but there were gaps in some places between body panels. My inexperience and eagerness to build it meant I didn’t rectify these flaws. If I were building the kit a second time, I’d make sure the body fitment was better, especially the sidepod sections where they connect to the radiator inlets. Another interesting aspect of the build was the front wing. Look at all those pieces!
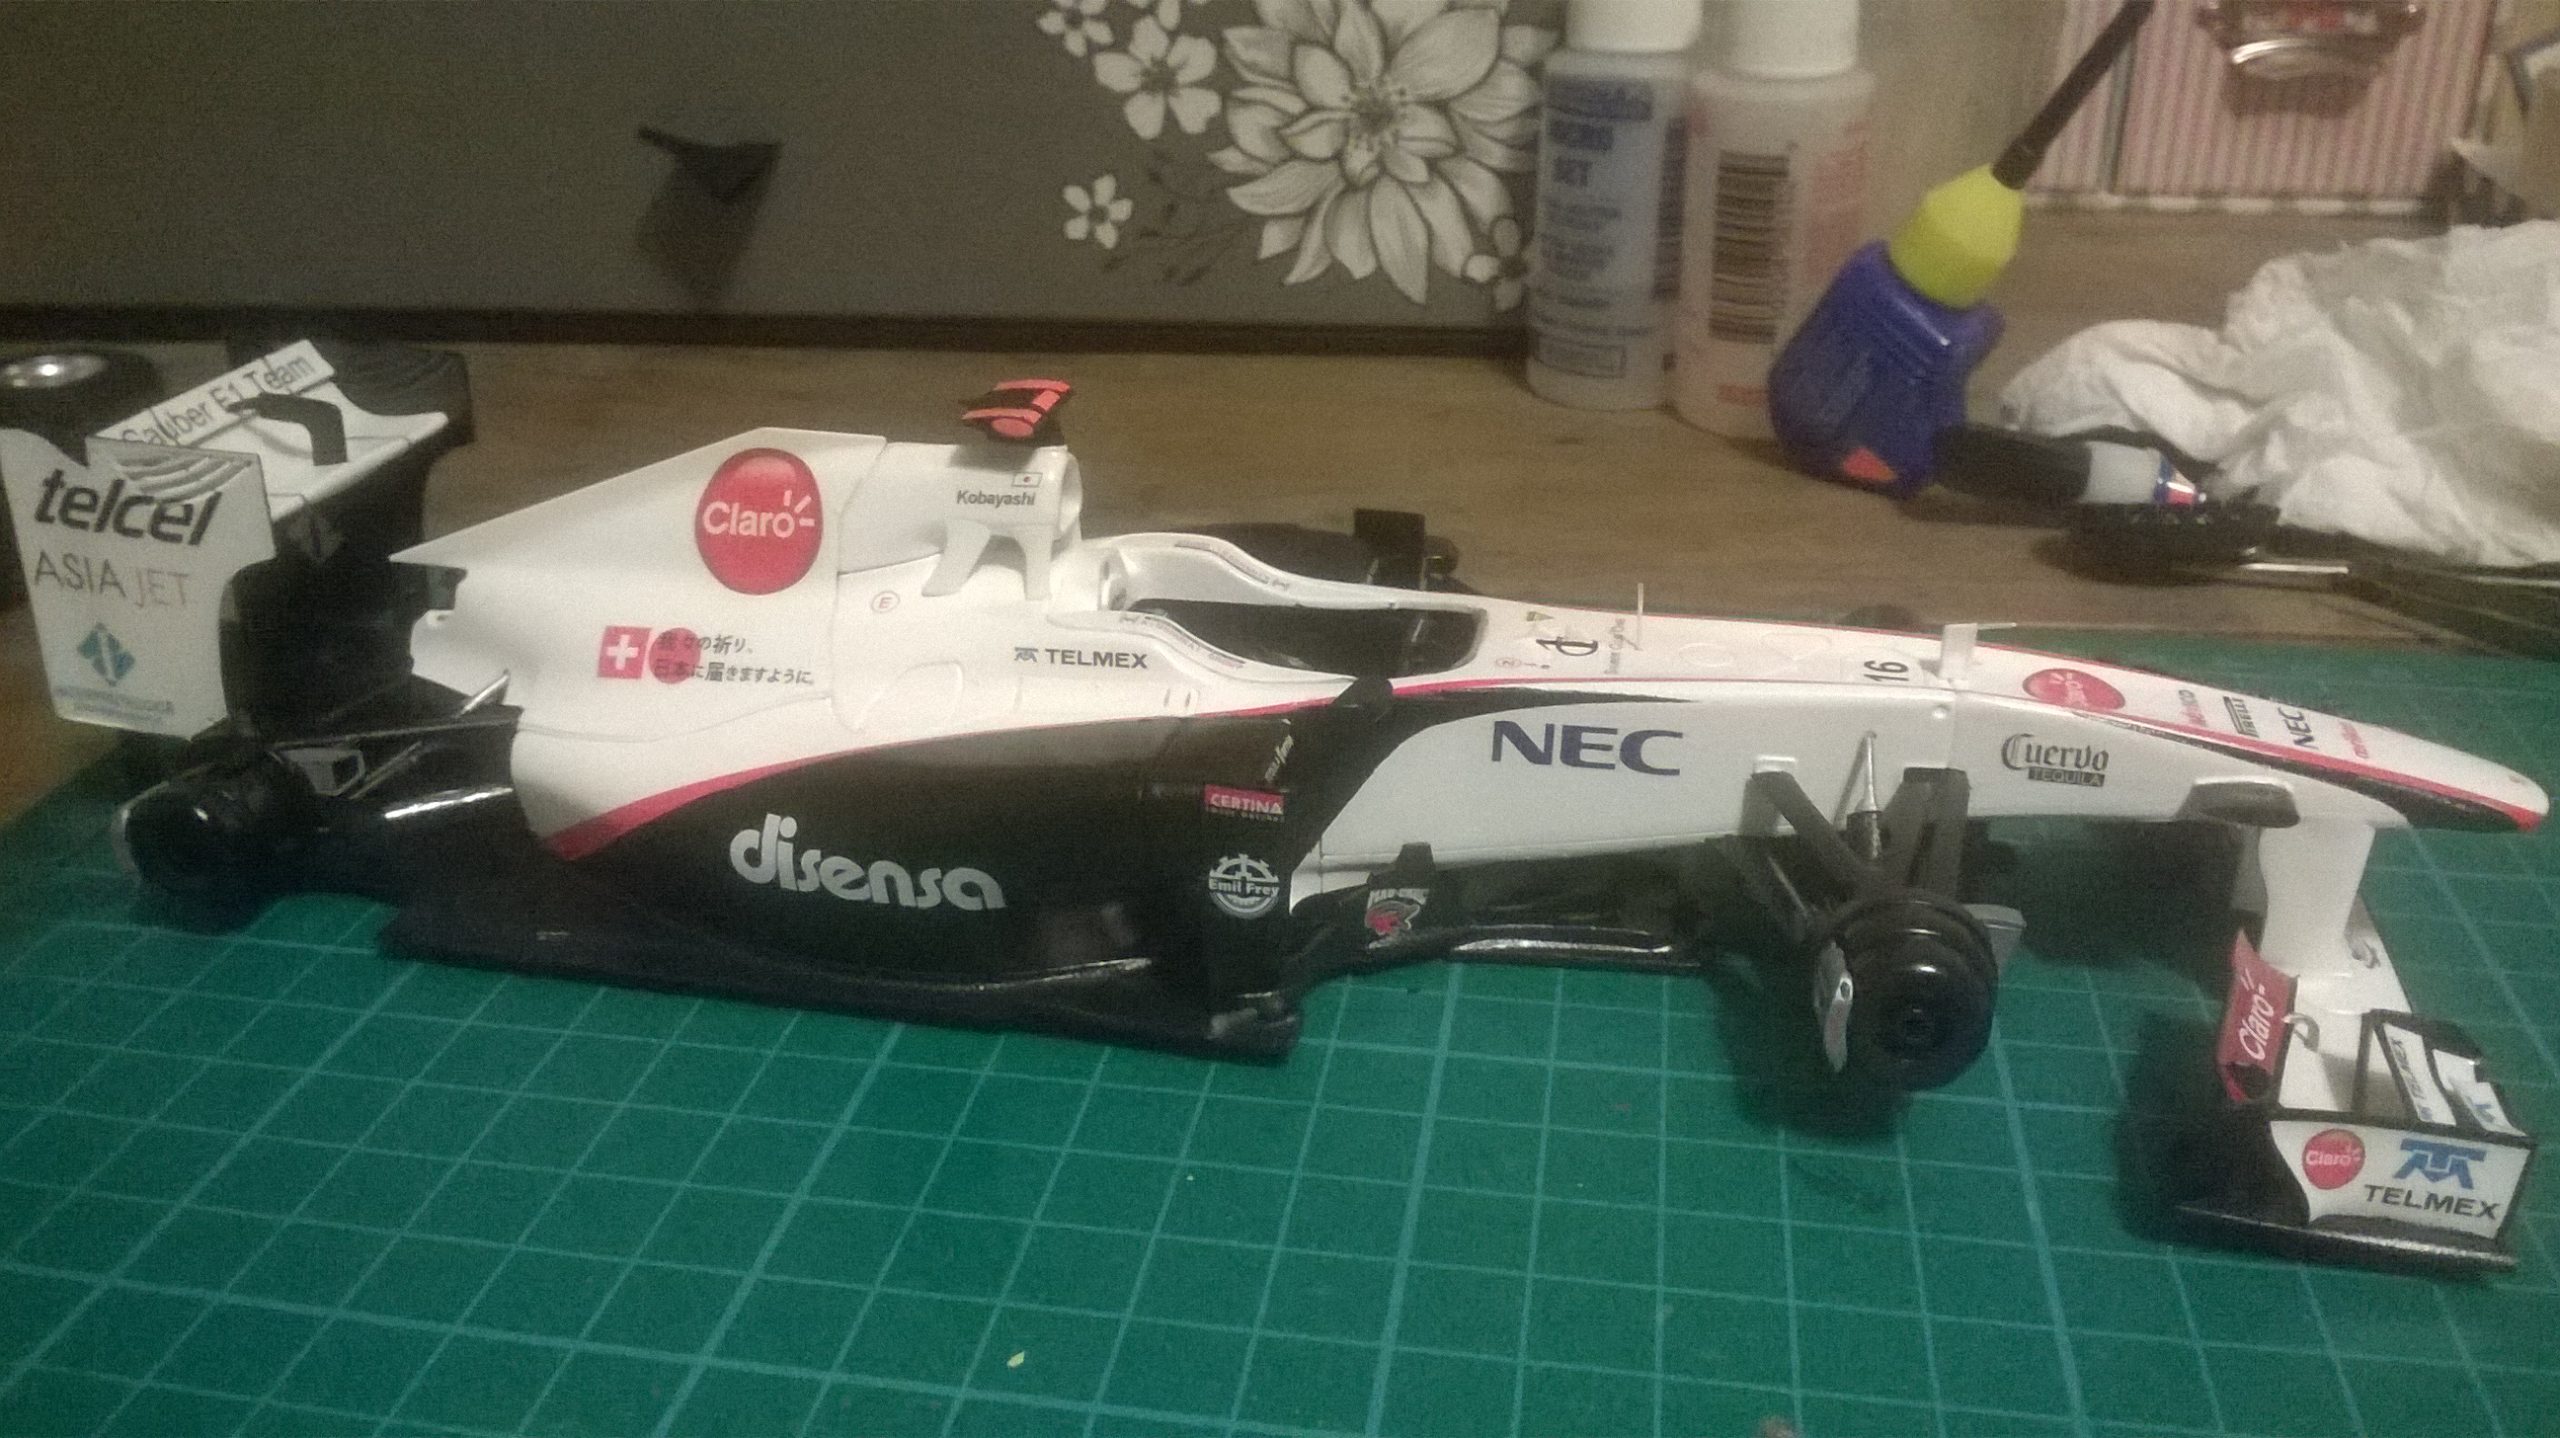
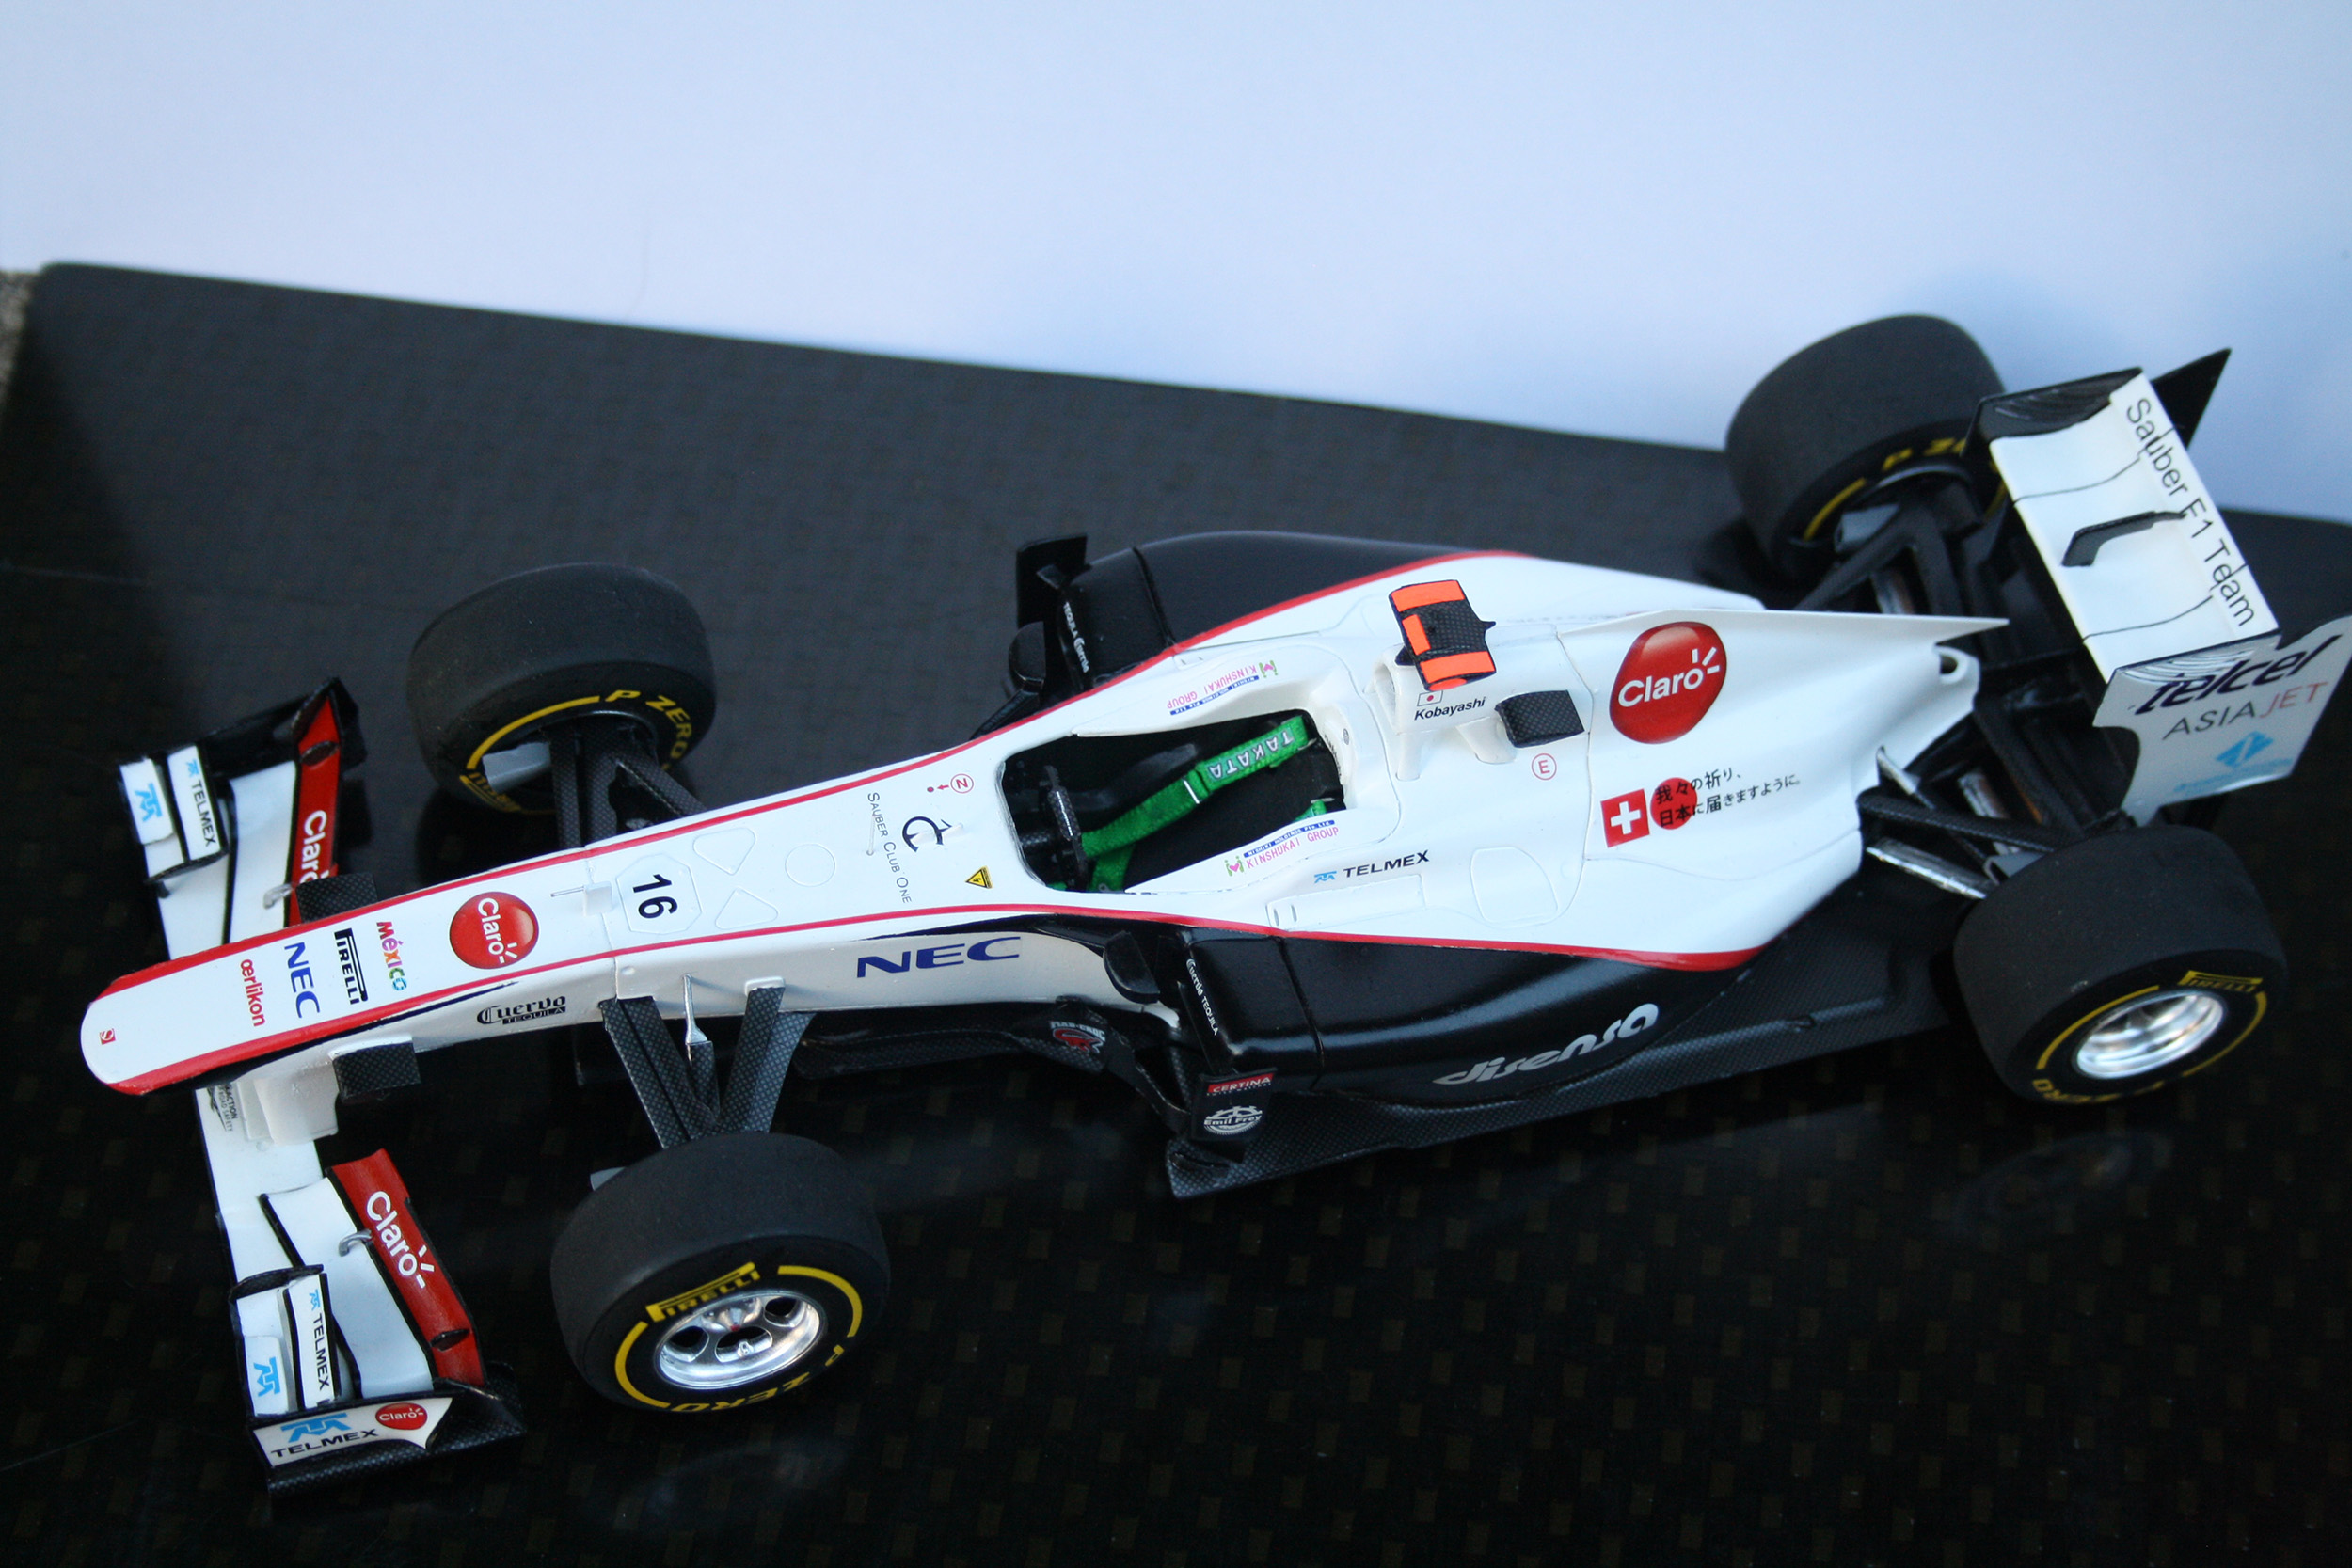
The Fujimi kit comes with handy masking templates which make painting the black areas very easy. I simply sprayed the white coat, waited for it to dry, applied the masking templates, and then used Tamiya TS29 for the black areas. There’s some debate about what the actual colour is of those black areas. Different sources suggest either black, metallic black or very dark grey, but from the photos I studied, standard semi-gloss black as per the kit instructions seemed the way to go.
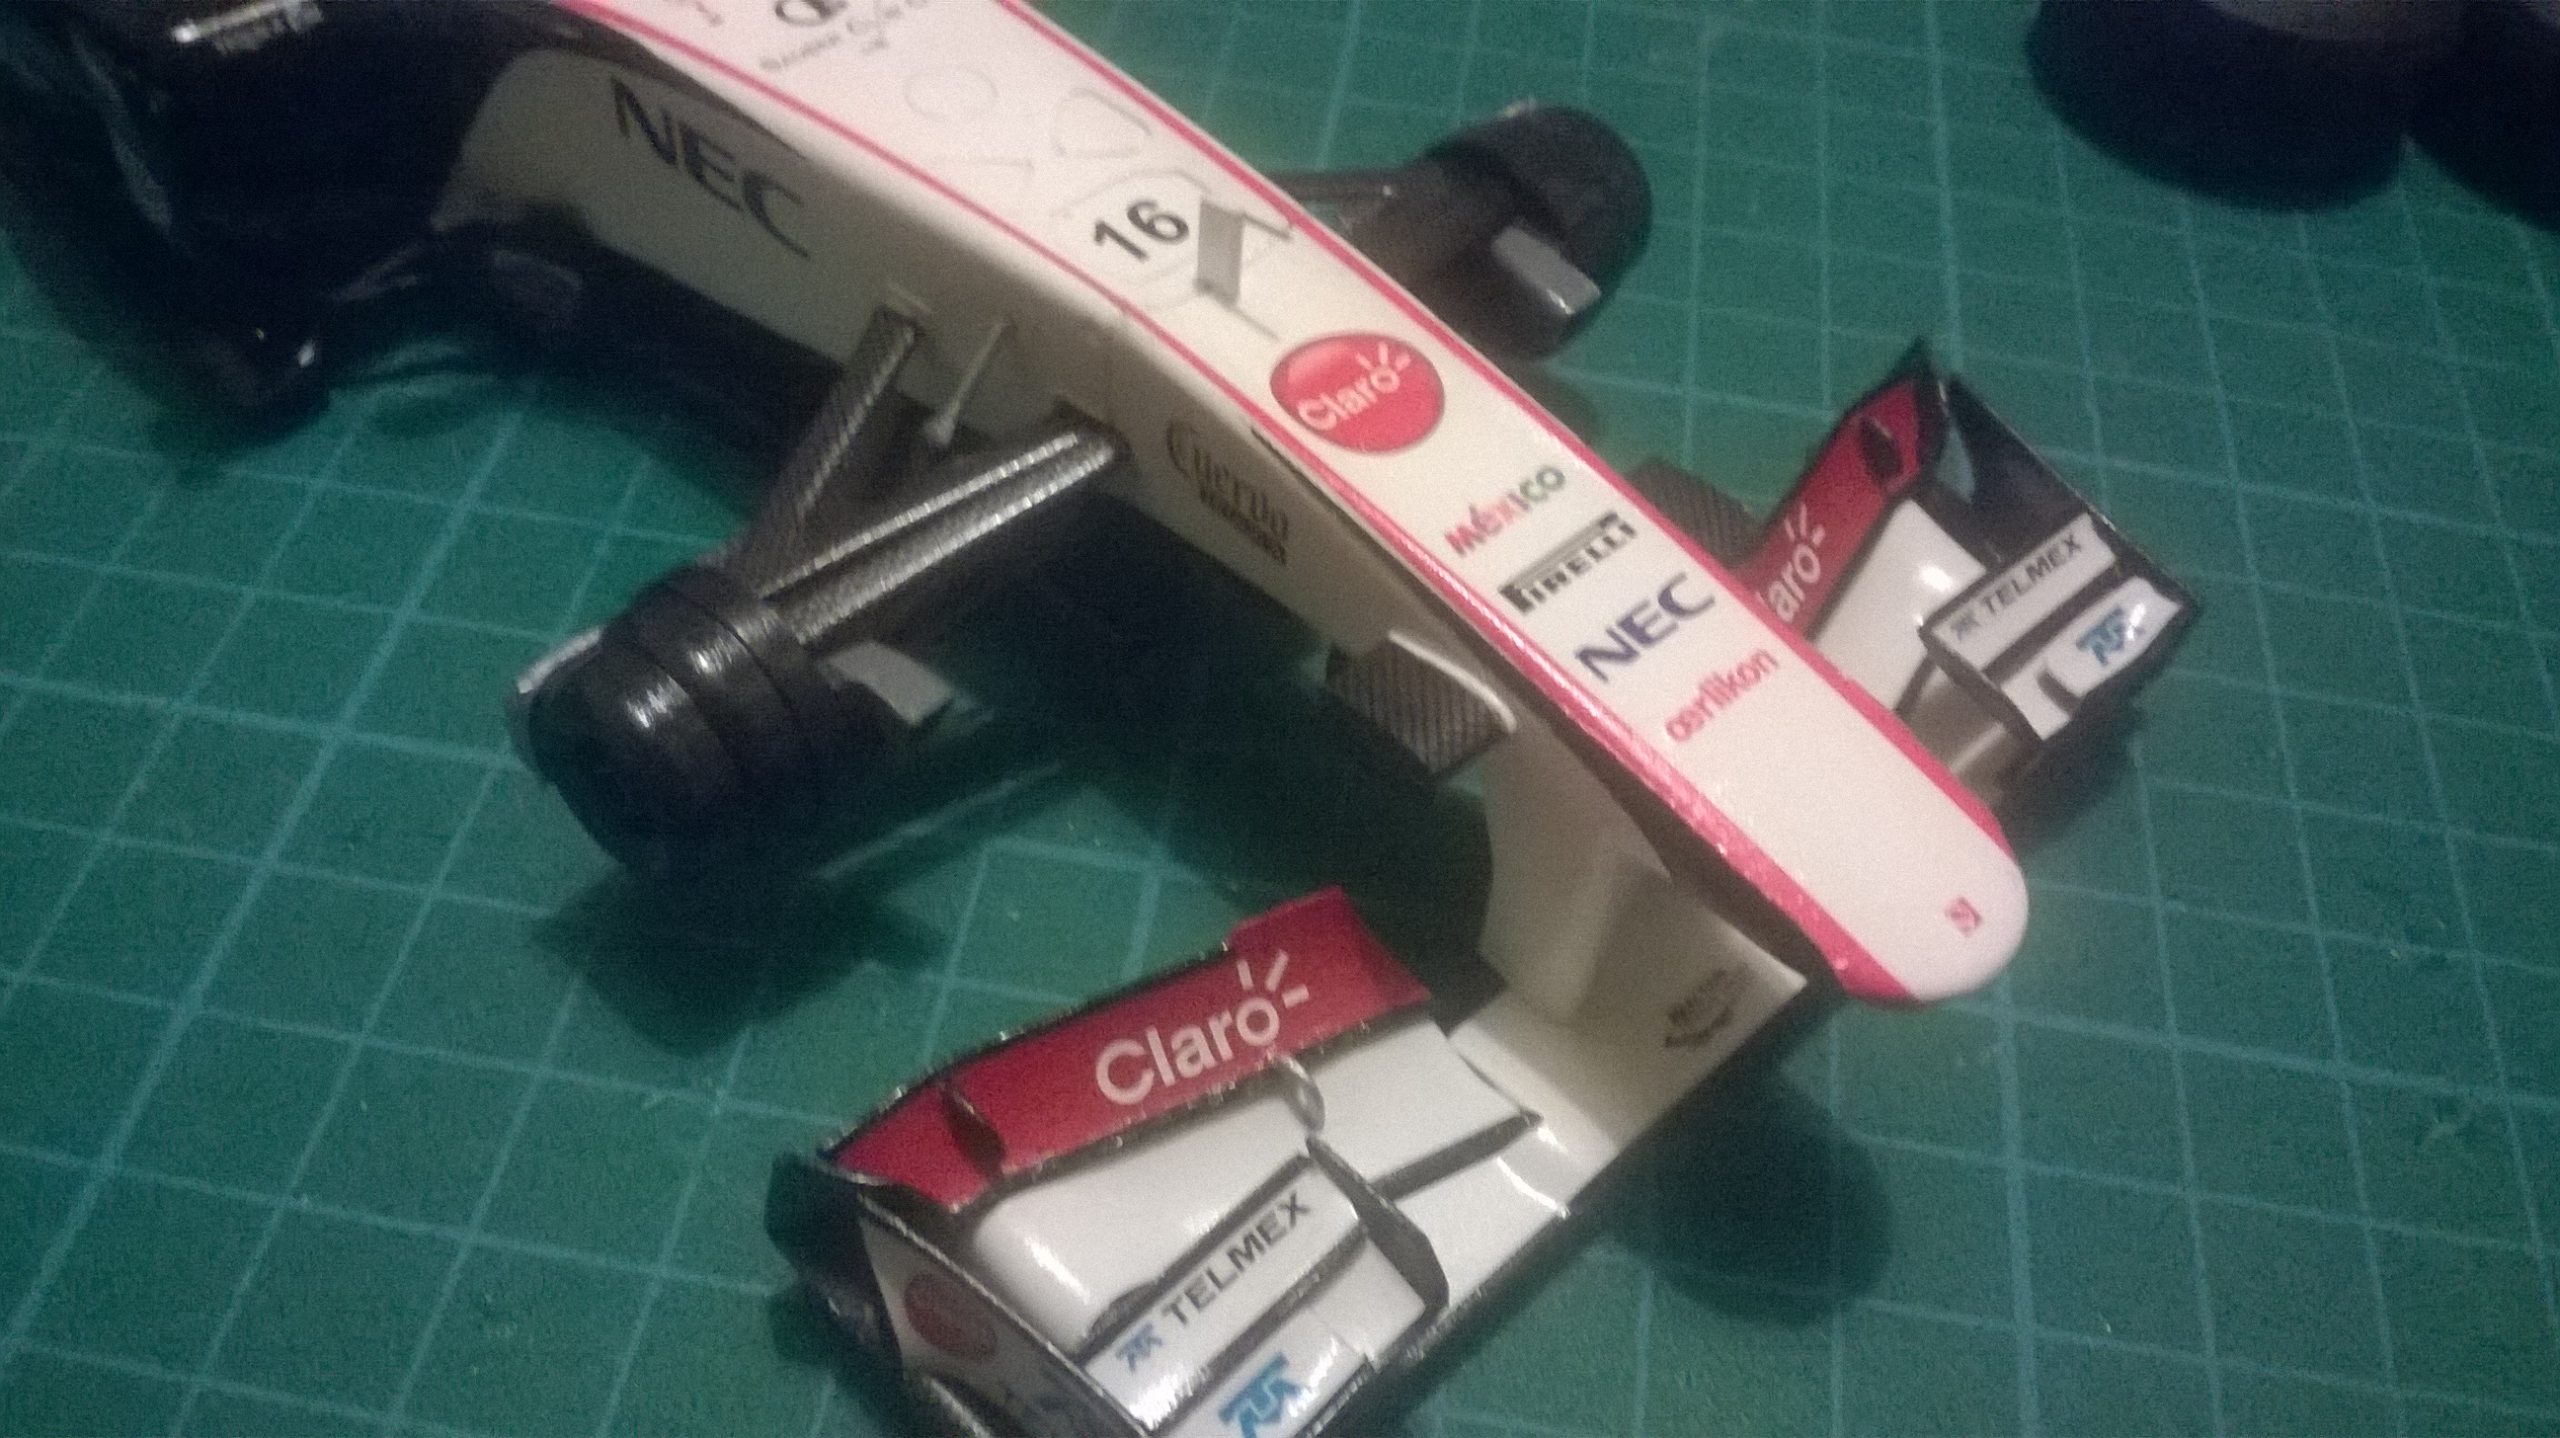
With the main colours painted, it was time for the red stripe decals to be applied. I was worried they’d end up misaligned due to a poor spraying job, but they lined up very neatly and gave a great finish. The red decals come in two parts for each side, so four in total. This makes the job much easier. There’s nothing worse than battling with very long narrow decals, trying to get them aligned and in position! Although Perez’s Mexican backers had filled the Sauber up with more logos in 2011, the remaining decal work wasn’t too problematic. I always wonder why Telmex wasn’t chosen as his main sponsor. A blue/white Telmex livery would have looked brilliant on the Sauber.
Adding some extra detail
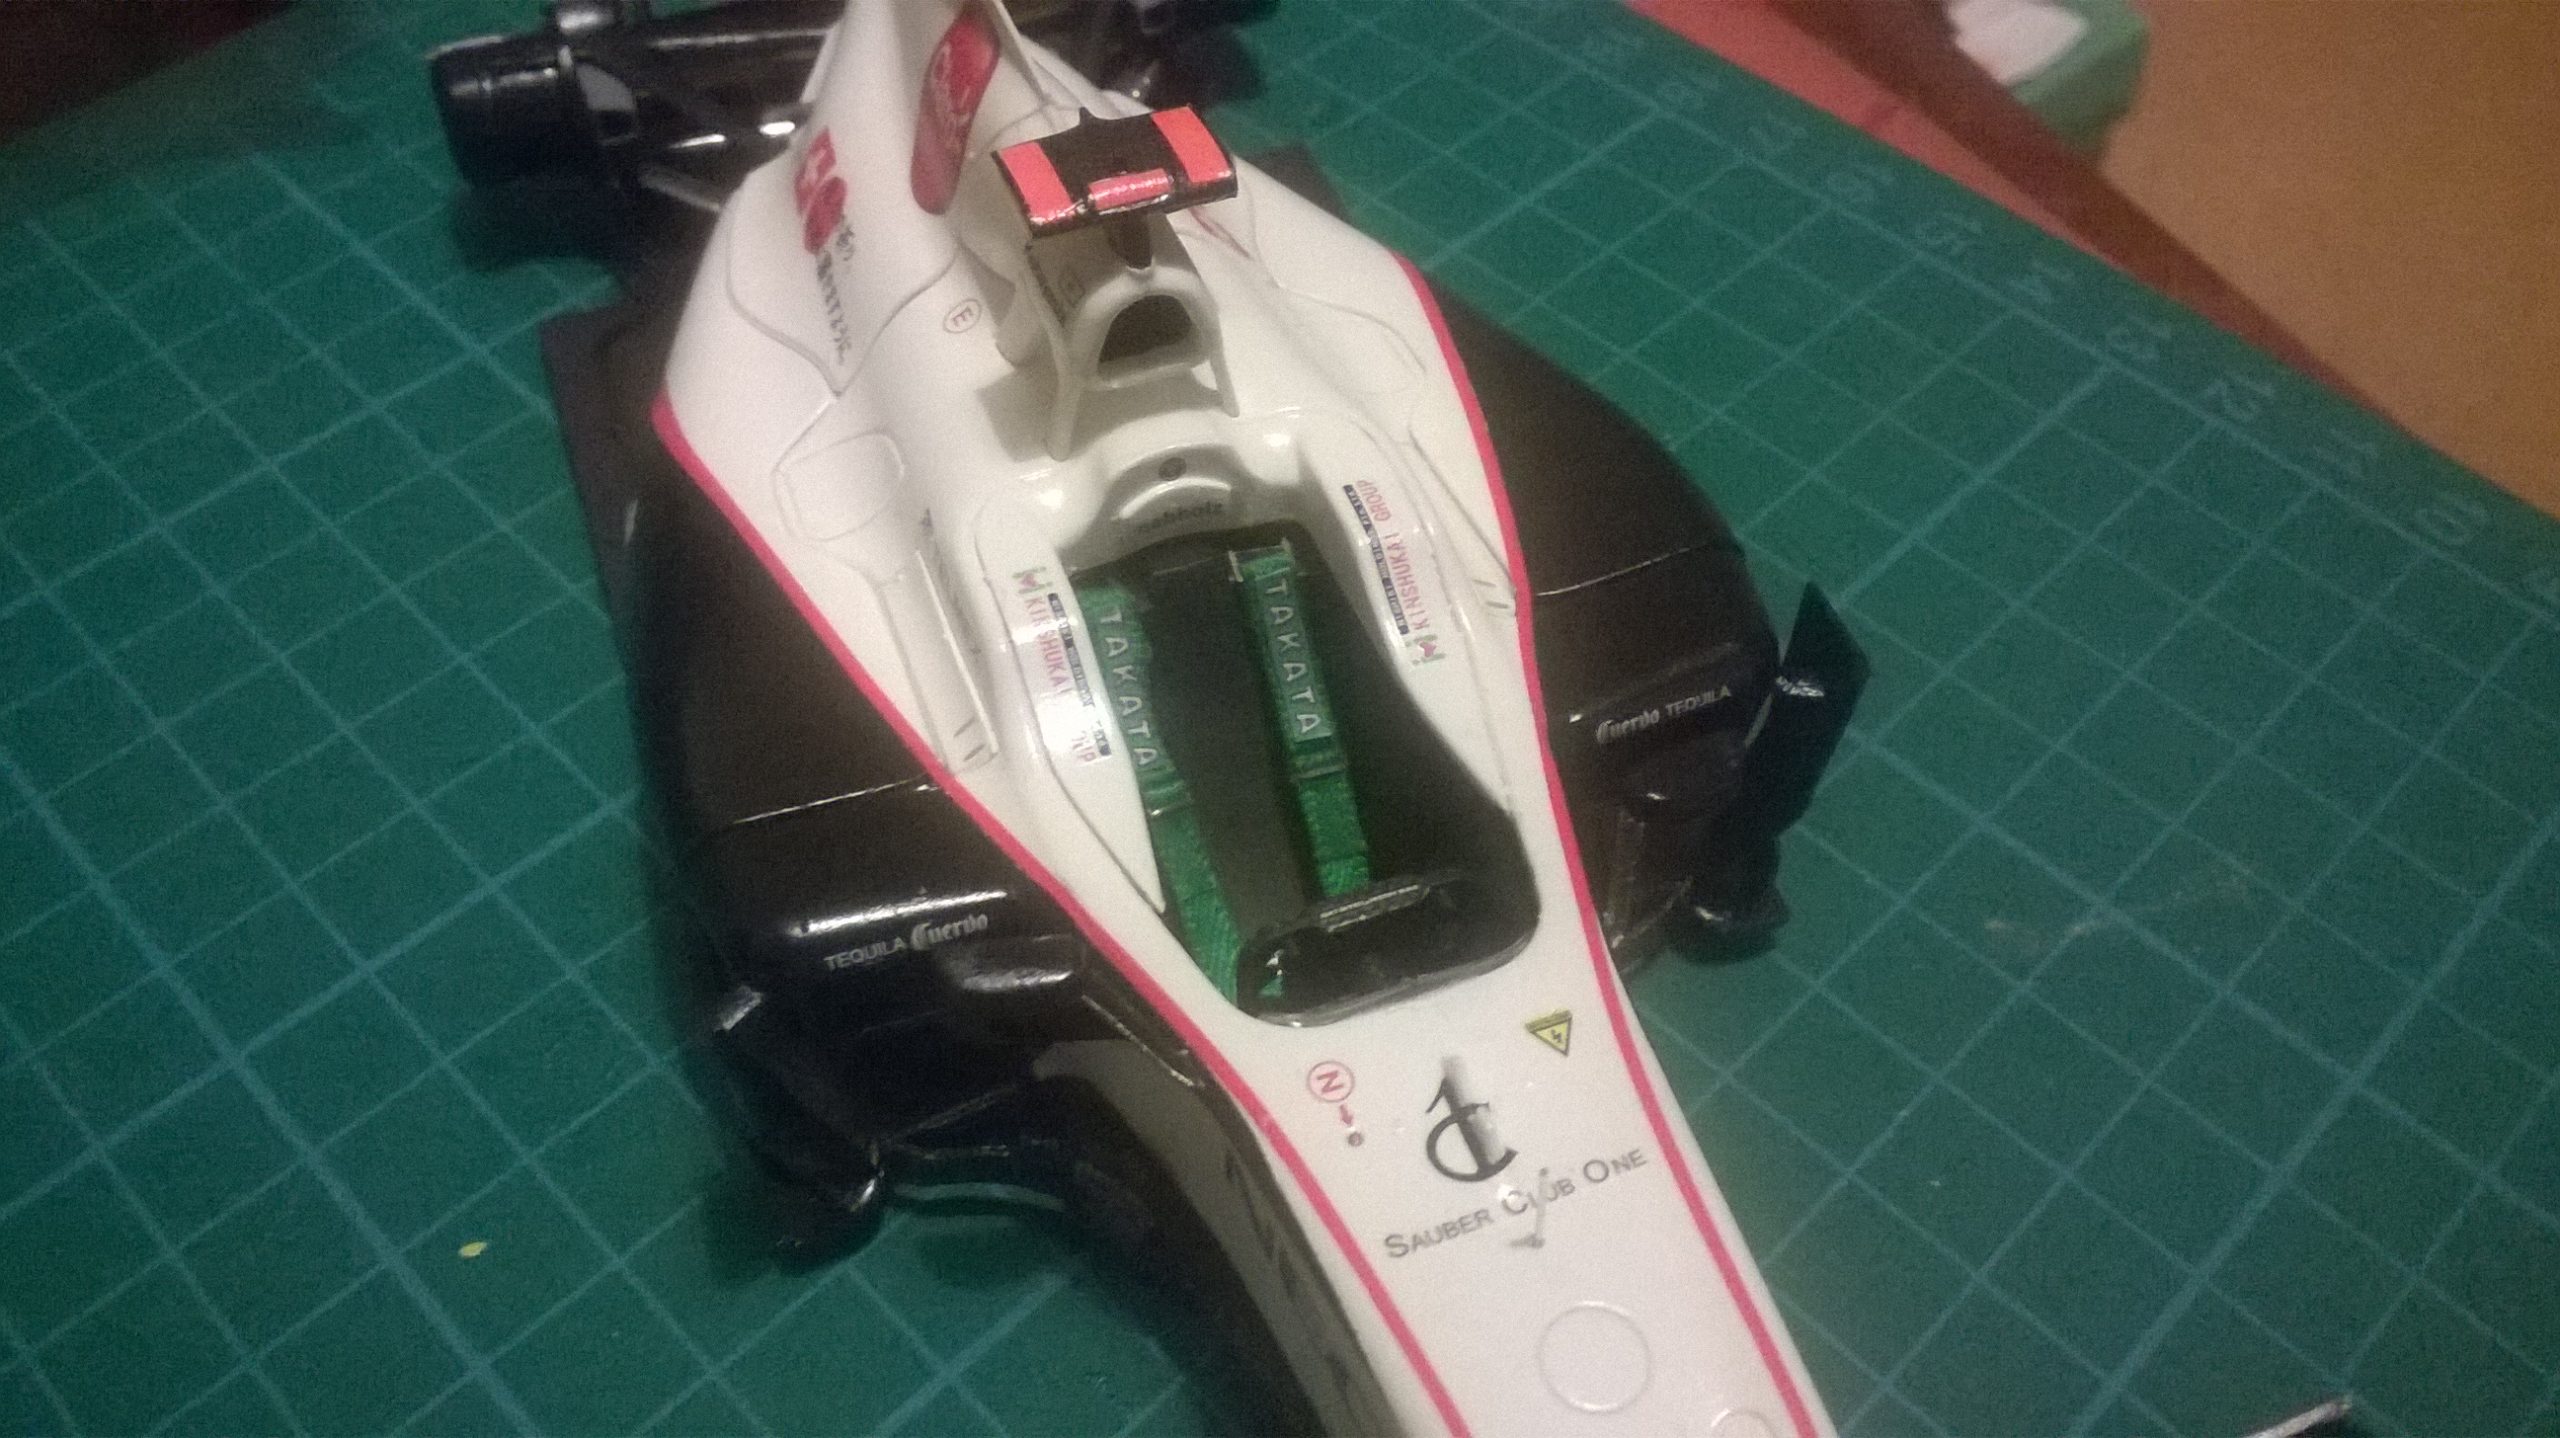
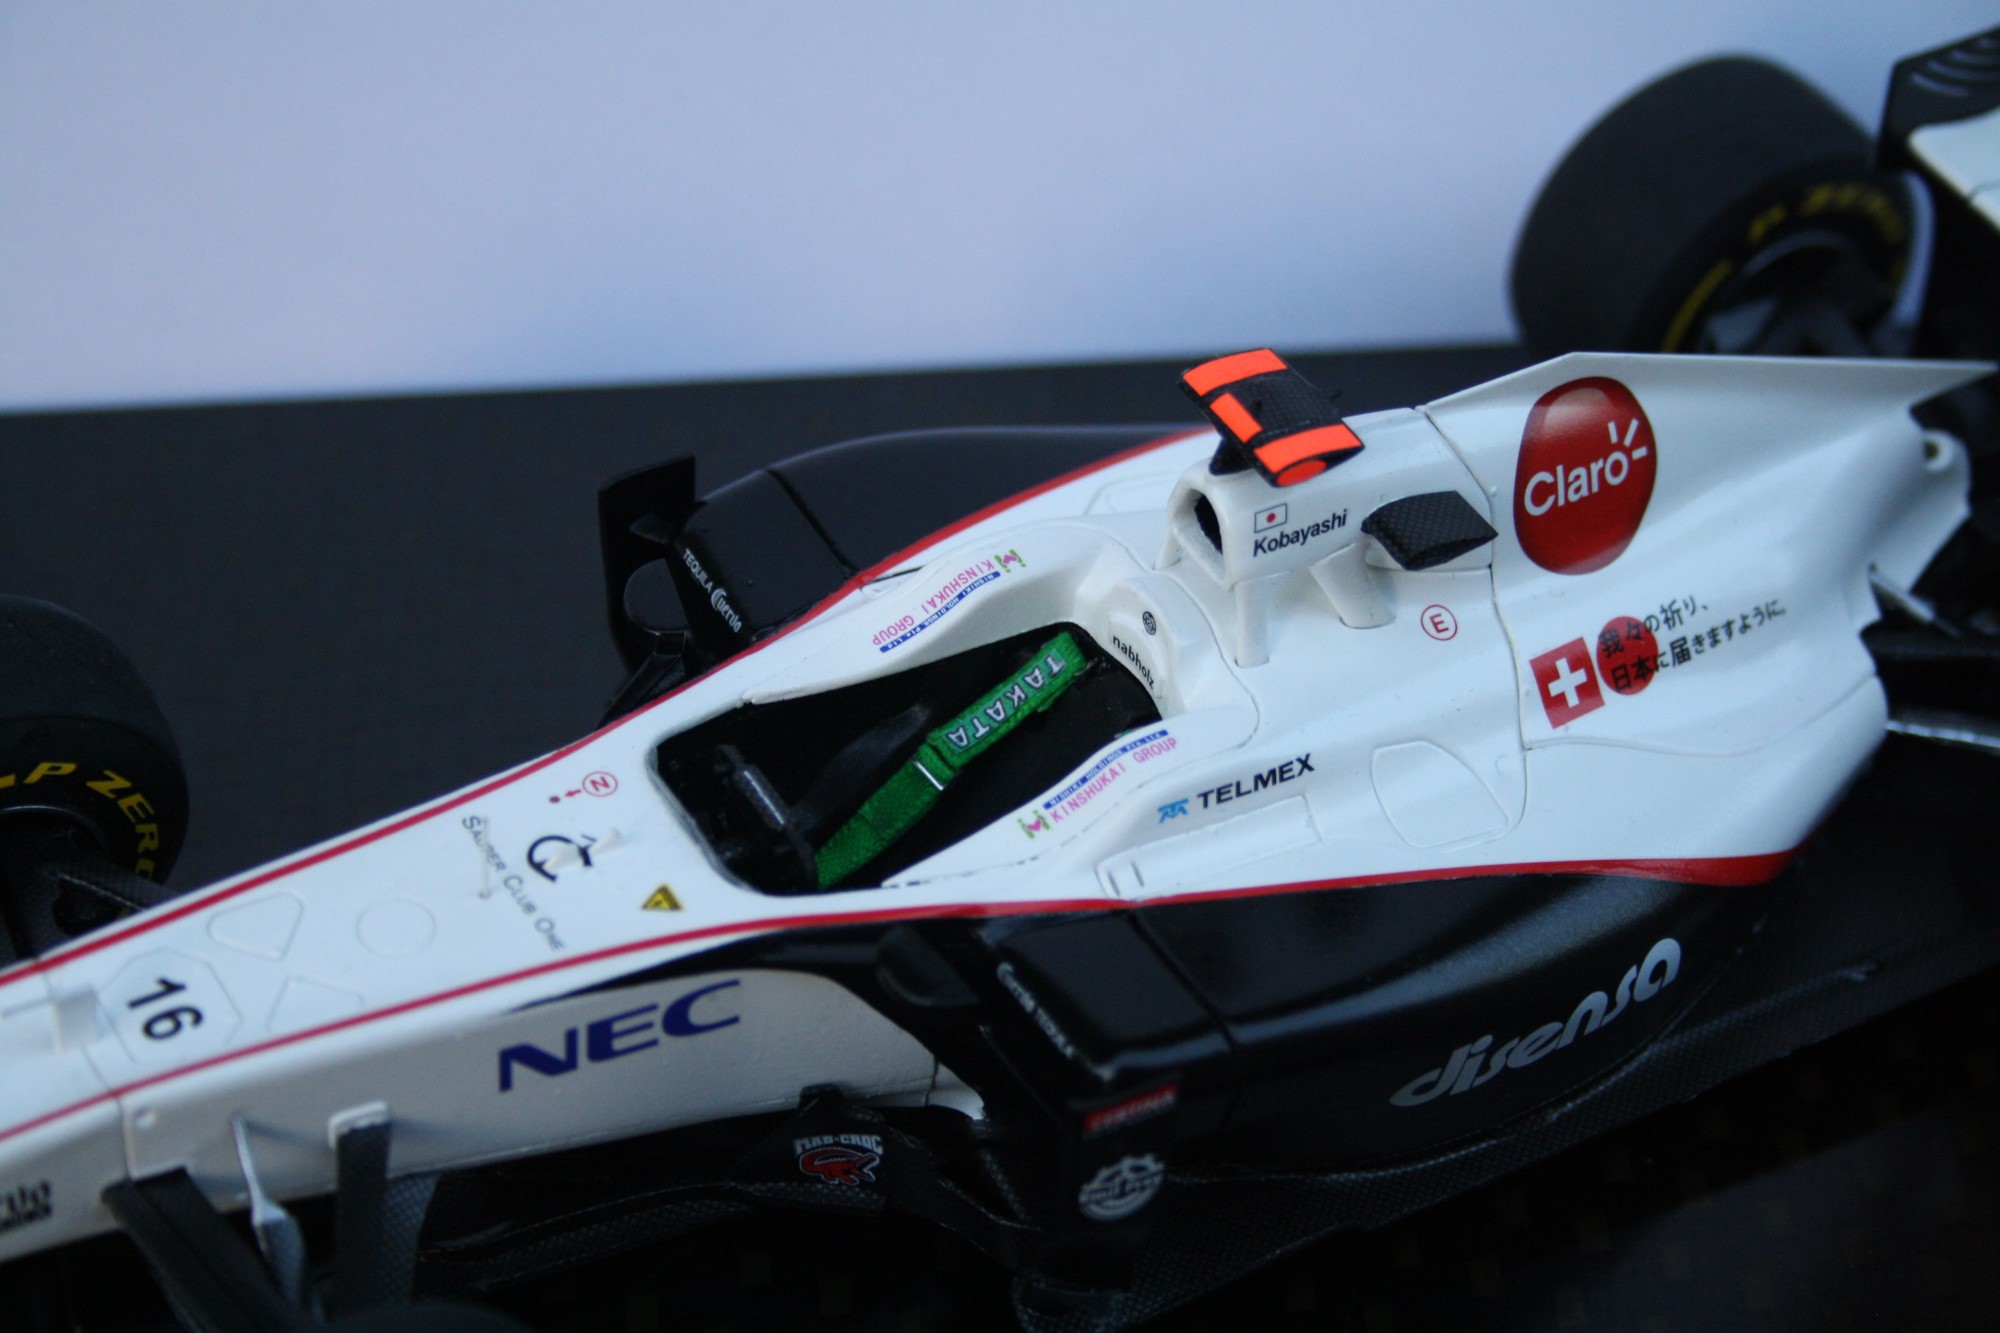
As the most modern F1 car in my model kit collection I wanted to dedicate more time to the Sauber’s finer details such as carbon fibre decals and seat belts. I used a Scale Motorsports plain weave pattern for the carbon fibre, and simply cut the shapes out as best I could. It certainly wasn’t the most accurate job, but from a distance it didn’t look too bad! There’s so many exposed carbon fibre surfaces on modern F1 cars that to paint it all semi-gloss black just didn’t make sense.
My first attempt at seat belts was a bit frustrating. I had a lot of trouble with the photo-etch buckles, and I still occasionally struggle with them. Eventually I produced something acceptable, and printed the Takata logos using a logo I’d found on Google, onto normal paper. I also replaced the aerials on the nose. I cut off the fat plastic bits and drilled holes and inserted some thin wire instead.
How do you apply tyre decals again?
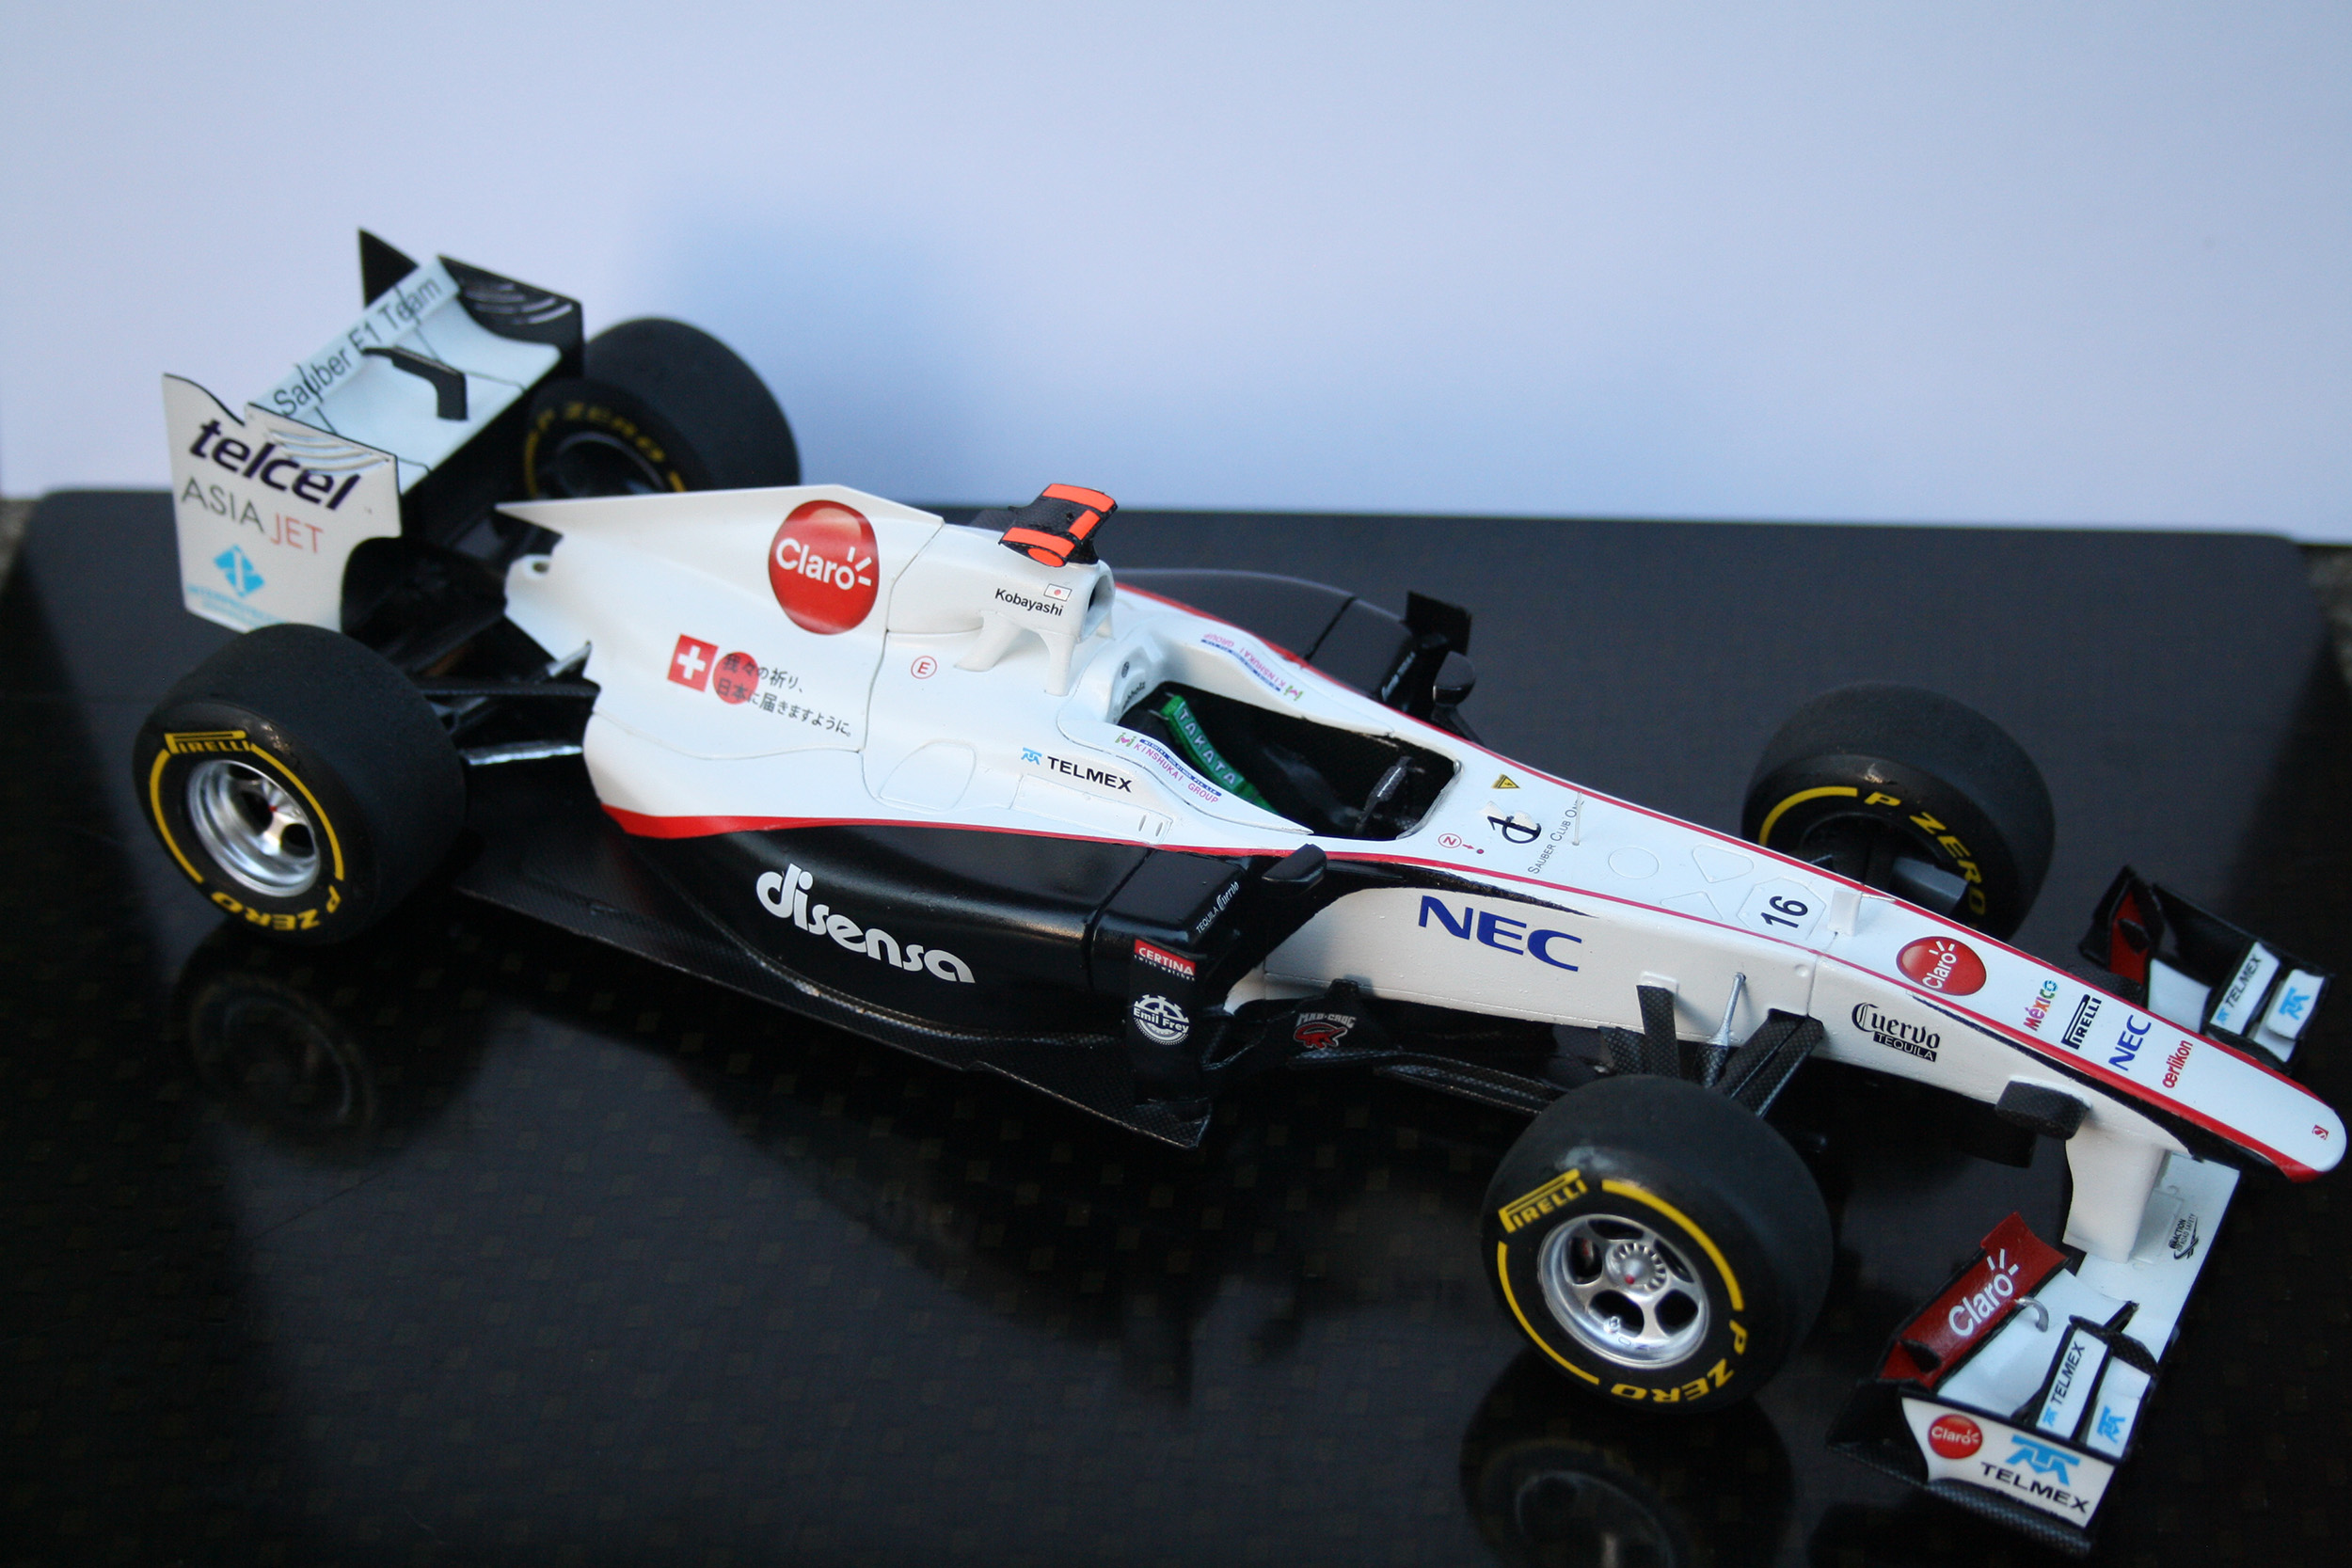
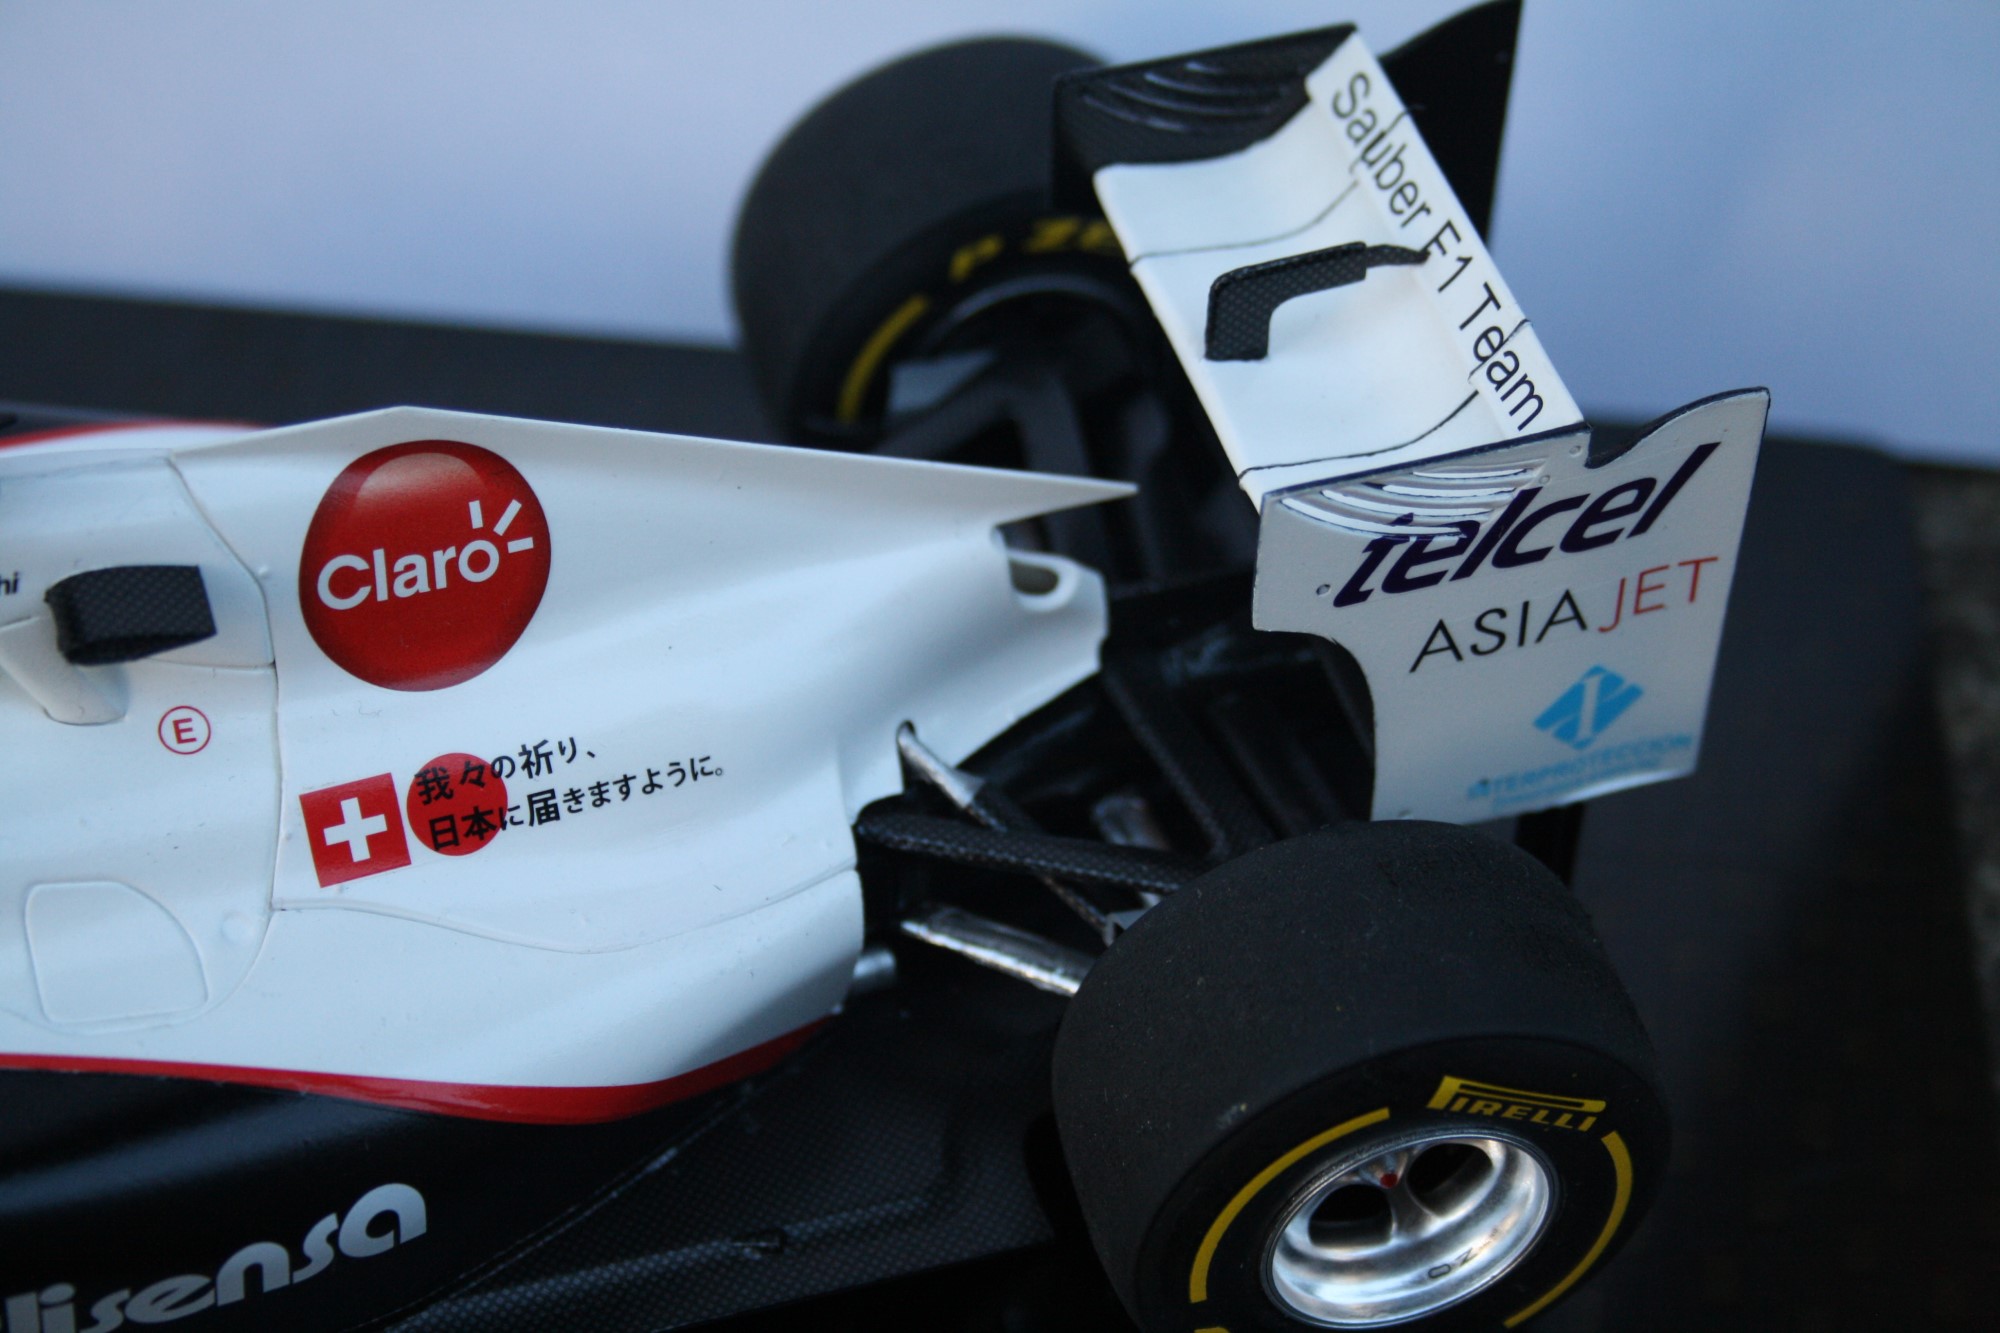
At this point in my model kit building career, I’d always struggled with tyre decals. What I hadn’t realised was that you’re supposed to peel off the decal and it’s thin backing paper from the thicker paper or card it comes attached to. I can’t recall the Fujimi Sauber C30 decal sheet and whether the tyre decals are just standard decals, or proper ones, like those included in Tamiya kits. Whatever they were, I had an absolute nightmare with them! The problem with the modern Pirelli tyres too is that each side of the tyre has four decals. The two curving stripes make it much harder to apply all four accurately and in line with each other. My ham-fisted attempts at getting the Fujimi decals on meant I had no chance.
So having screwed up first time, I tried again with a set of tyre decals from Model Factory Hiro (MFH) Club Barchetta. This new decal sheet (BP-506) came with a set of instructions, and this would be my eureka moment for tyre decal application. No more guesswork – I could actually see where I was applying the decal now! The Barchetta tyre decals went on a treat. The wheels come in a pre-painted silver colour which I was happy enough with, so I left them unpainted, and with that, I could call the kit finished.
What would I do differently next time?
The Sauber C30 is an unusual subject and I’d definitely consider building one again in future. There’s a number of things I’d do differently now I’m at a more advanced level:
- As mentioned earlier, I’d take more time to ensure the body panels fit really well. There’s some gaps which are quite unsightly if not corrected.
- I’d look to make a better job of the carbon fibre decals. Unfortunately a quick Google doesn’t throw up a dedicated carbon fibre decal sheet for the C30, which is a shame.
- Finally, I broke the front wing a couple of years after finishing the kit and lost one of the tiny elements. I’d avoid doing that next time!
This build diary was originally published in stages on f1m.com during 2014.
Al Serafini
hi nice build. I just finished the c31. cant seem to locate MFH tire decals. an u tell me where to get them? Looked everywhere on line but no luck.
Thanks, AL
James
Hi Al, thanks! I’m sorry about the confusion on the decals – I made a mistake – the sheet I used was actually Barchetta BP-506, and is this one here: https://www.scalemates.com/kits/club-barchetta-bp-506-formula-tire-decal-pirelli–955870# – the nice thing about that sheet is you get a full set of Pirelli tyre decals in three different colours – I used the yellow, but it also includes red and white too for the other compounds. I’ll go back and amend the blog with the correct information!